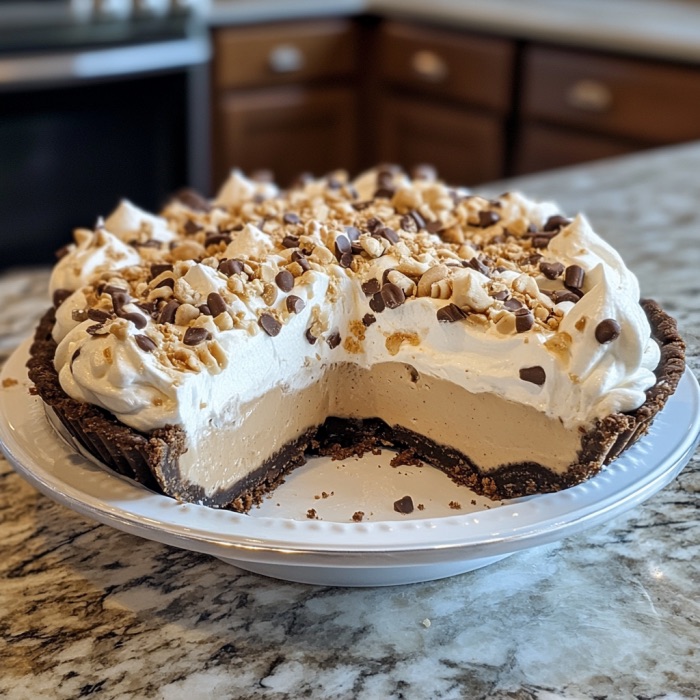
Peanut Butter Cream Pie Perfection
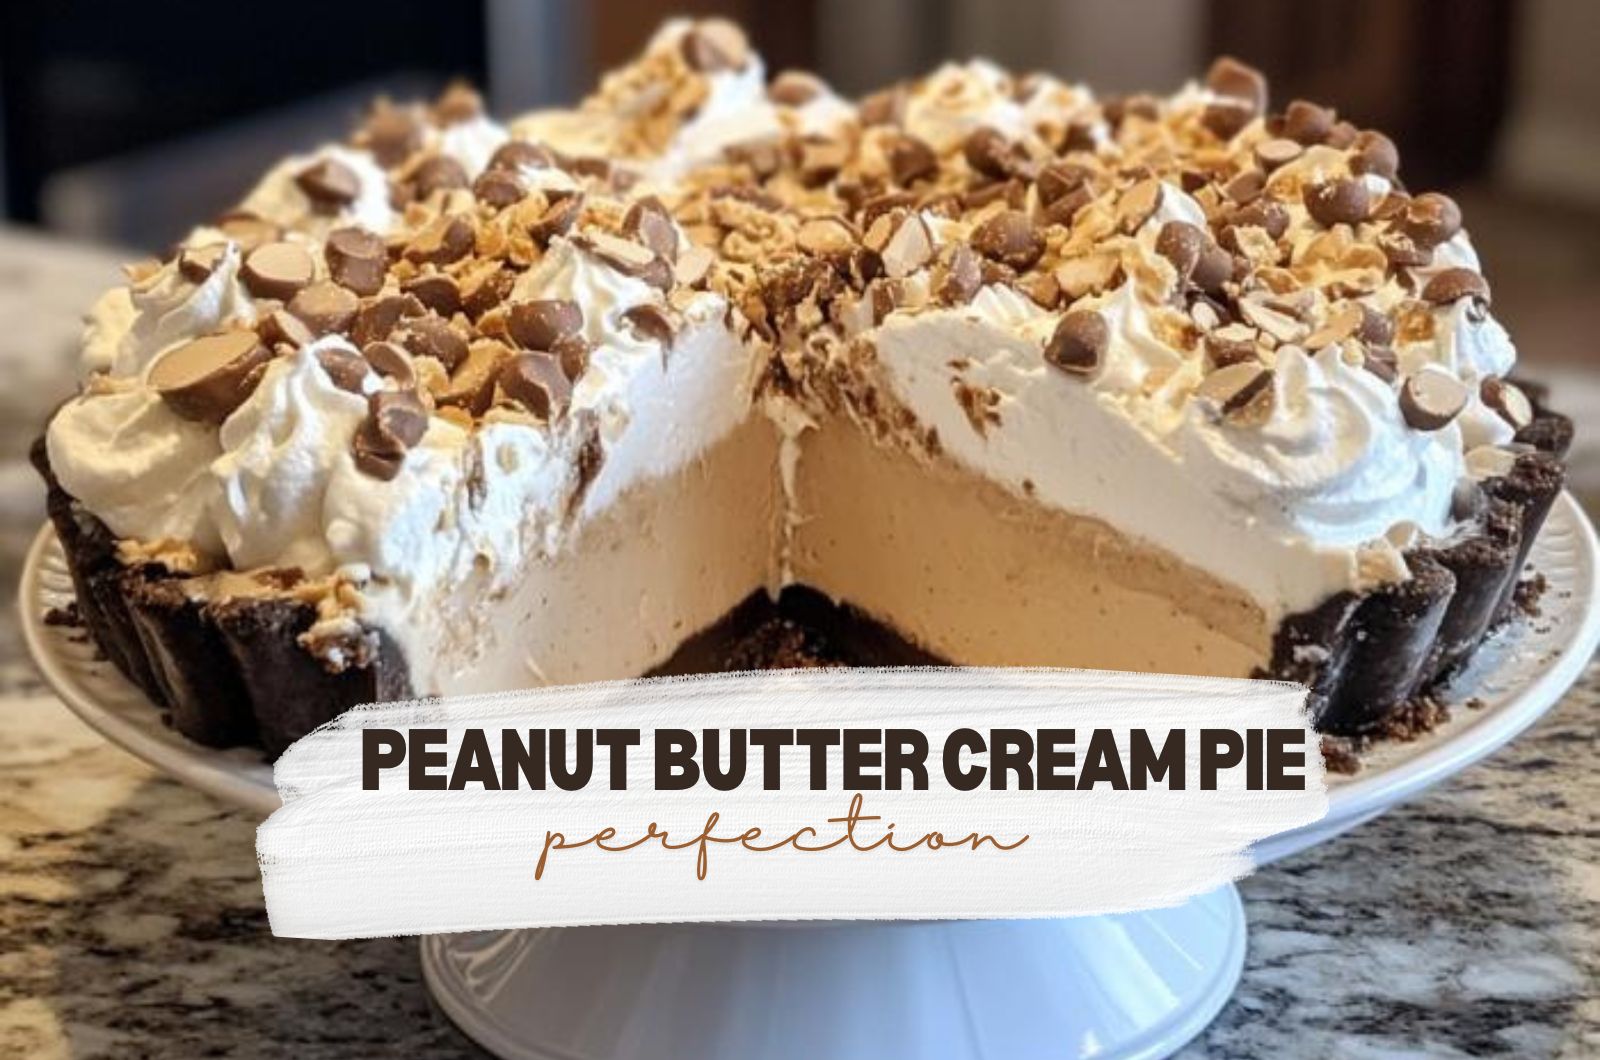
As a serious peanut butter fan, this Peanut Butter Cream Pie is a dream come true! It’s creamy, rich, and packed with all the peanut buttery goodness.
Since it’s no-bake, it’s super easy to make – no fuss, just pure indulgence. If you’re ready for a slice of heaven, let’s dive into this deliciously simple dessert!
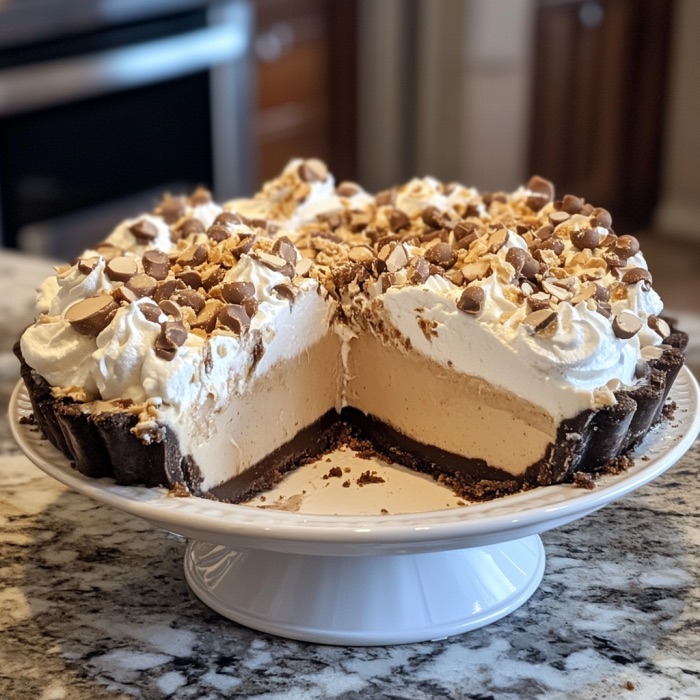

Peanut Butter Cream Pie
Treat yourself to this creamy Peanut Butter Cream Pie that is full of rich flavor and perfect for any peanut butter lover! 🥜
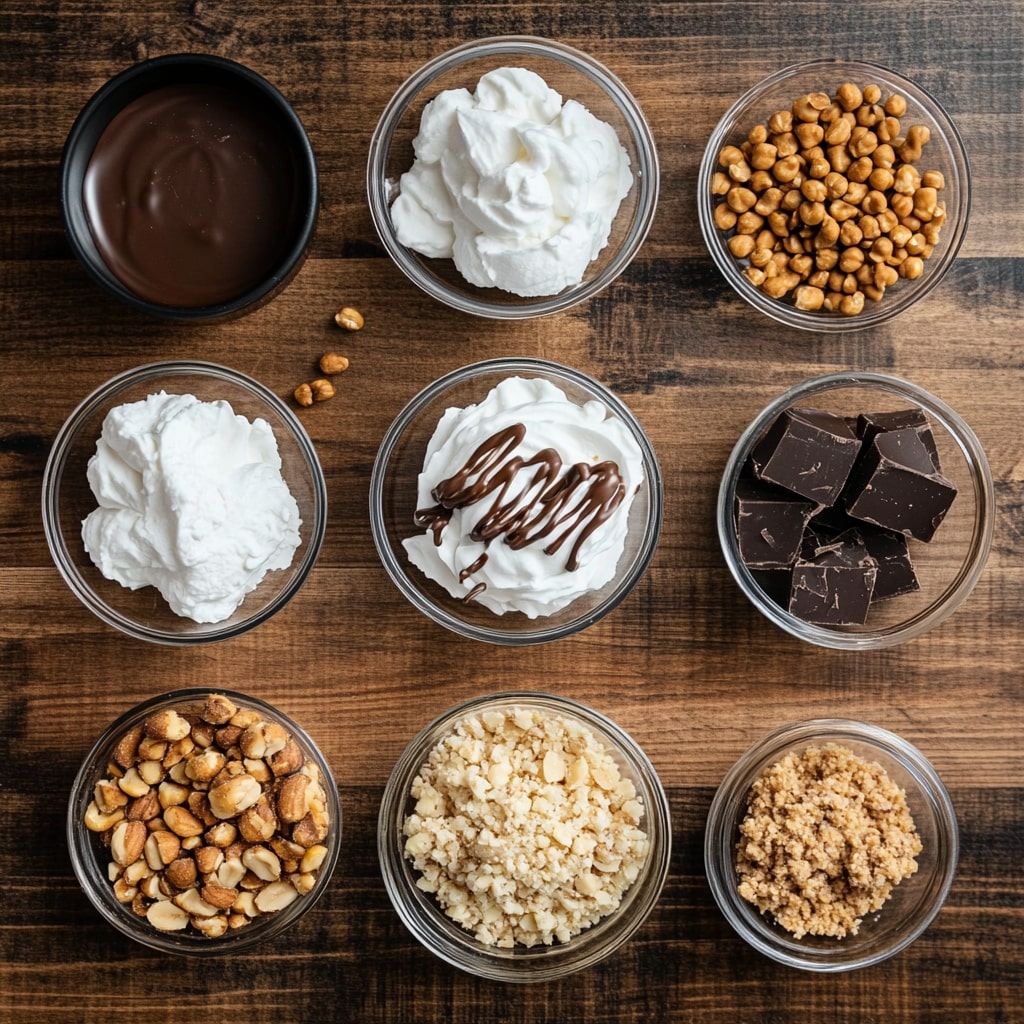
Ingredients
- FOR THE CRUSTt:
- 14 whole chocolate graham crackers (195 grams)
- 7 tablespoons (99 grams) unsalted butter, melted
- 1 tablespoon light brown sugar
- FOR THE FILLING::
- 8 ounces (227 grams) cream cheese
- 3/4 cup (90 grams) powdered sugar plus 2 tablespoons, divided
- 1 cup (270 grams) creamy conventional peanut butter
- 1 cup (240 grams) heavy whipping cream
- 1 teaspoon vanilla extract
- FOR THE TOPPING:
- Whipped cream
- Melted peanut butter
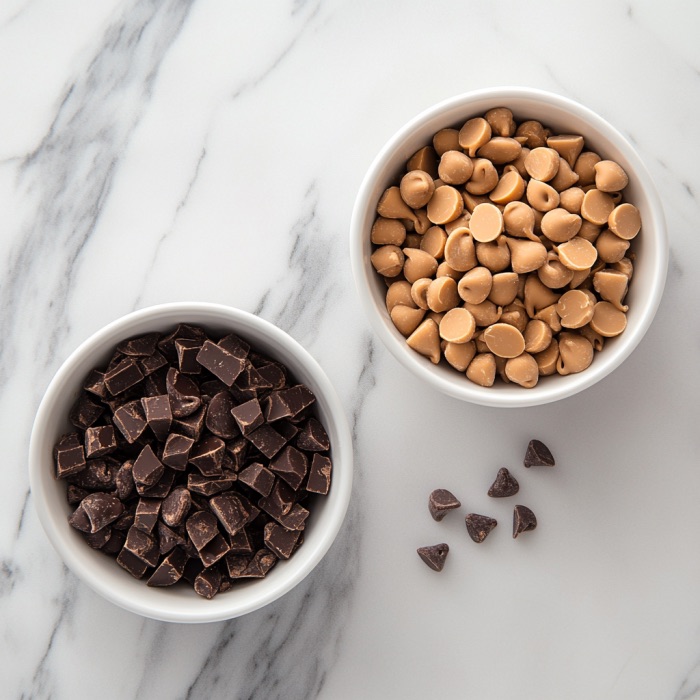
- Chocolate
- Peanut butter chips
Nutrition Information:
Yield: 10 Serving Size: 1Amount Per Serving: Calories: 338Total Fat: 24gSaturated Fat: 12gTrans Fat: 1gUnsaturated Fat: 10gCholesterol: 48mgSodium: 379mgCarbohydrates: 22gFiber: 1gSugar: 12gProtein: 9g
Substitute Ingredients
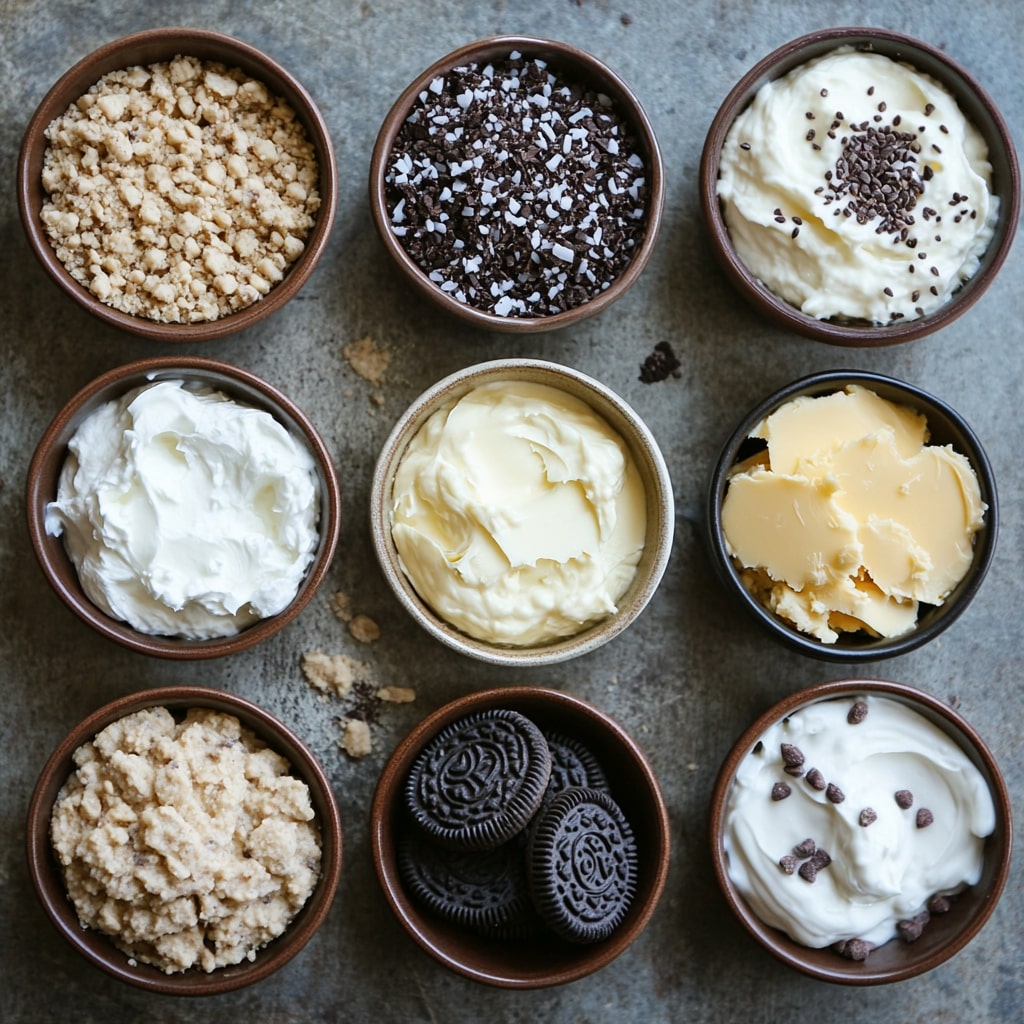
For the crust, you can replace chocolate graham crackers with crushed Oreos (with or without the filling) or digestive biscuits for a slightly different texture and taste.
Swap unsalted butter with salted butter, just skip the added salt.
In the filling, mascarpone works as a smooth substitute for cream cheese, while almond butter or sunflower seed butter can replace peanut butter for a unique flavor.
If you don’t have heavy cream, whipped topping or coconut cream can work well.
Instructions
1. Preheat the Oven: Start by setting your oven to 325°F. While it’s warming up, you can get everything ready for the crust.
This step ensures the oven is perfectly heated and your crust turns out irresistibly golden and fragrant. Preheating is key, so don’t skip it—your pie deserves it!
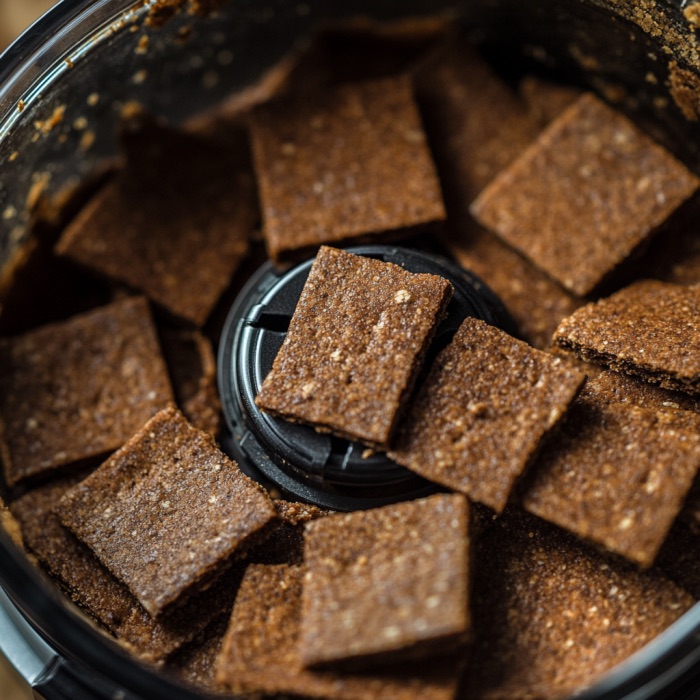
2. Make the Crust: Grab your food processor and toss in the crackers and sugar. Pulse until they turn into fine, sandy crumbs.
Next, drizzle in the melted butter and pulse again until the mixture is evenly moistened—it should feel like damp sand.
Press this buttery crumb mixture firmly into the bottom and up the sides of a 9-inch pie plate. A measuring cup or the bottom of a glass works wonders to pack it down evenly.
Pop it into the oven for 10-12 minutes until it smells toasty and divine. Once done, let the crust cool completely on a wire rack—it needs to be ready to cradle that creamy filling.
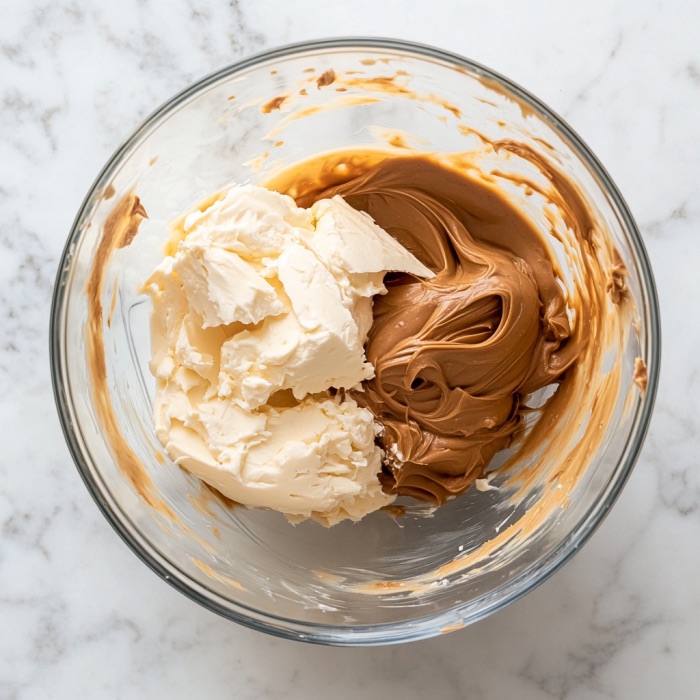
3. Prepare the Filling: In a large mixing bowl, combine the cream cheese, ¾ cup of powdered sugar, and the star ingredient: peanut butter.
Using an electric mixer, whip the ingredients together for about 3 minutes until the mixture is silky smooth, fluffy, and totally irresistible.
The cream cheese gives it a rich, tangy base, while the peanut butter delivers that signature nutty flavor. Trust me, this filling is pure bliss in every bite.
4. Whip the Cream: In another bowl, pour in the heavy cream and whip it with an electric mixer. If you’ve got a whisk attachment, now’s the time to use it!
Start on medium speed, gradually increasing to high until the cream thickens and forms soft peaks.
Add the remaining 2 tablespoons of powdered sugar and a splash of vanilla extract, then keep whipping until stiff peaks form.
You’re aiming for a cloud-like texture that will make your pie irresistibly creamy.
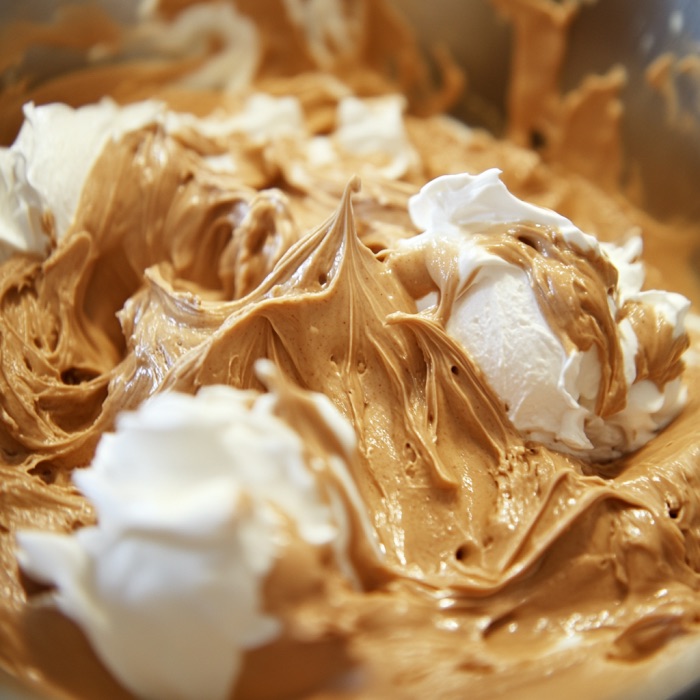
5. Combine and Chill: Gently fold the whipped cream into the peanut butter mixture using a spatula. Be patient—folding keeps the mixture light and airy.
Once it’s all combined and beautifully creamy, pour the filling into your cooled crust. Smooth out the top, and then let the pie chill.
If you’re in a hurry, freeze it for 3-4 hours for a firmer set, or let it rest in the fridge for at least 6 hours for a softer, mousse-like texture.
6. Add the Toppings: Now comes the fun part: toppings! Melt some peanut butter and chocolate in separate bowls and transfer them into resealable or piping bags.
Snip a tiny corner off each bag and drizzle the melted goodness over the top of the pie in decorative swirls or zigzags.
Feeling extra indulgent? Top with a dollop of whipped cream and sprinkle on mini Reese’s Cups, peanut butter chips, or even some chocolate shavings for a dessert that’s as beautiful as it is delicious.
7. Serve and Store: Decide how you’d like to serve your masterpiece. For a firmer bite, serve it straight from the freezer; for a softer, creamier texture, let it chill in the fridge.
Serving Suggestions
This pie is a showstopper whether served frozen for a firm bite or chilled for a softer, mousse-like texture.
Top it with whipped cream, drizzled chocolate, and melted peanut butter for classic flair.
For extra indulgence, sprinkle on crushed peanuts, mini Reese’s Cups, or toffee bits. Pair it with a hot cup of coffee or a cold glass of milk for the ultimate treat!
Storing Leftovers
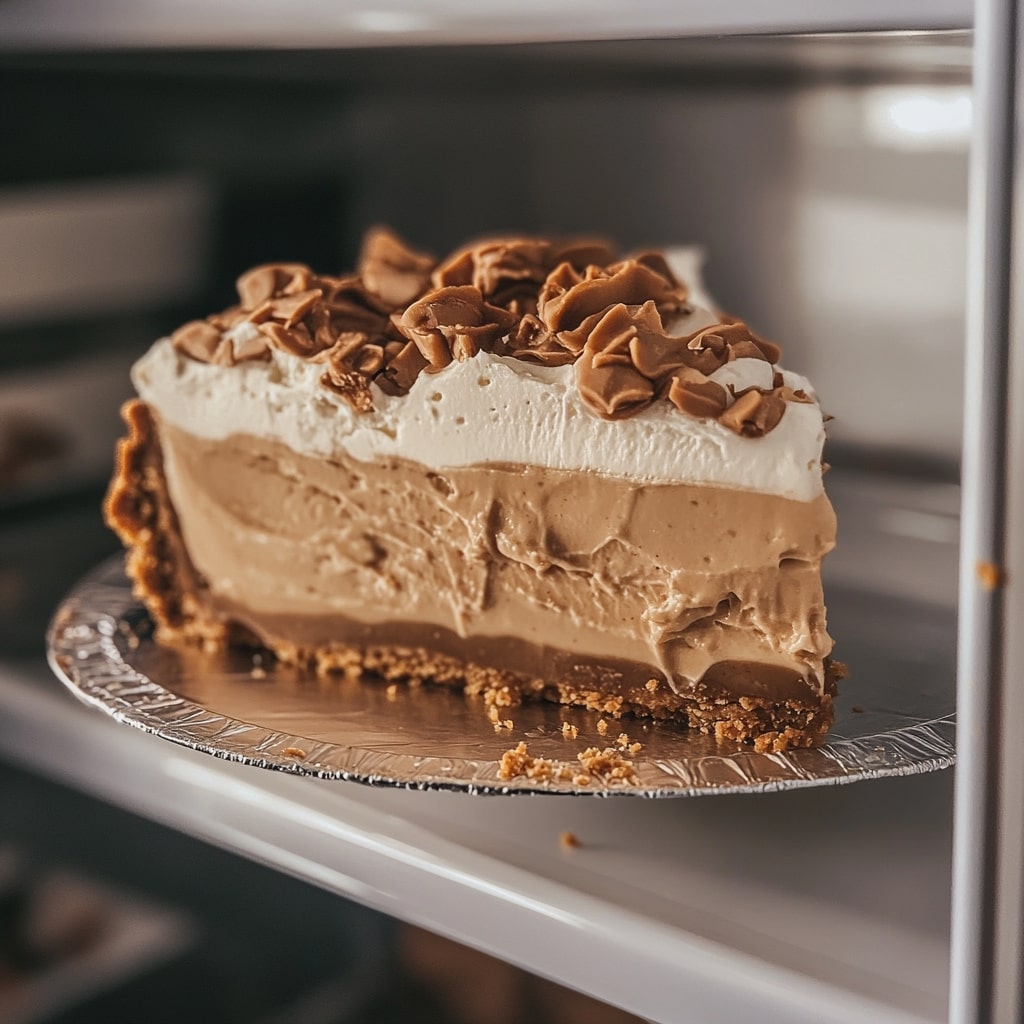
To keep your pie fresh and delicious, store leftovers in an airtight container in the fridge for up to 3 days.
For longer storage, wrap it tightly in plastic wrap or foil and freeze for up to a month. When freezing, make sure to place it on a flat surface to maintain its shape.
Thaw in the fridge overnight for the perfect texture before serving.
This no-bake peanut butter pie is creamy, dreamy, and topped with all the chocolatey peanut butter goodness you can imagine. Perfect for peanut butter lovers and anyone with a sweet tooth! Enjoy!