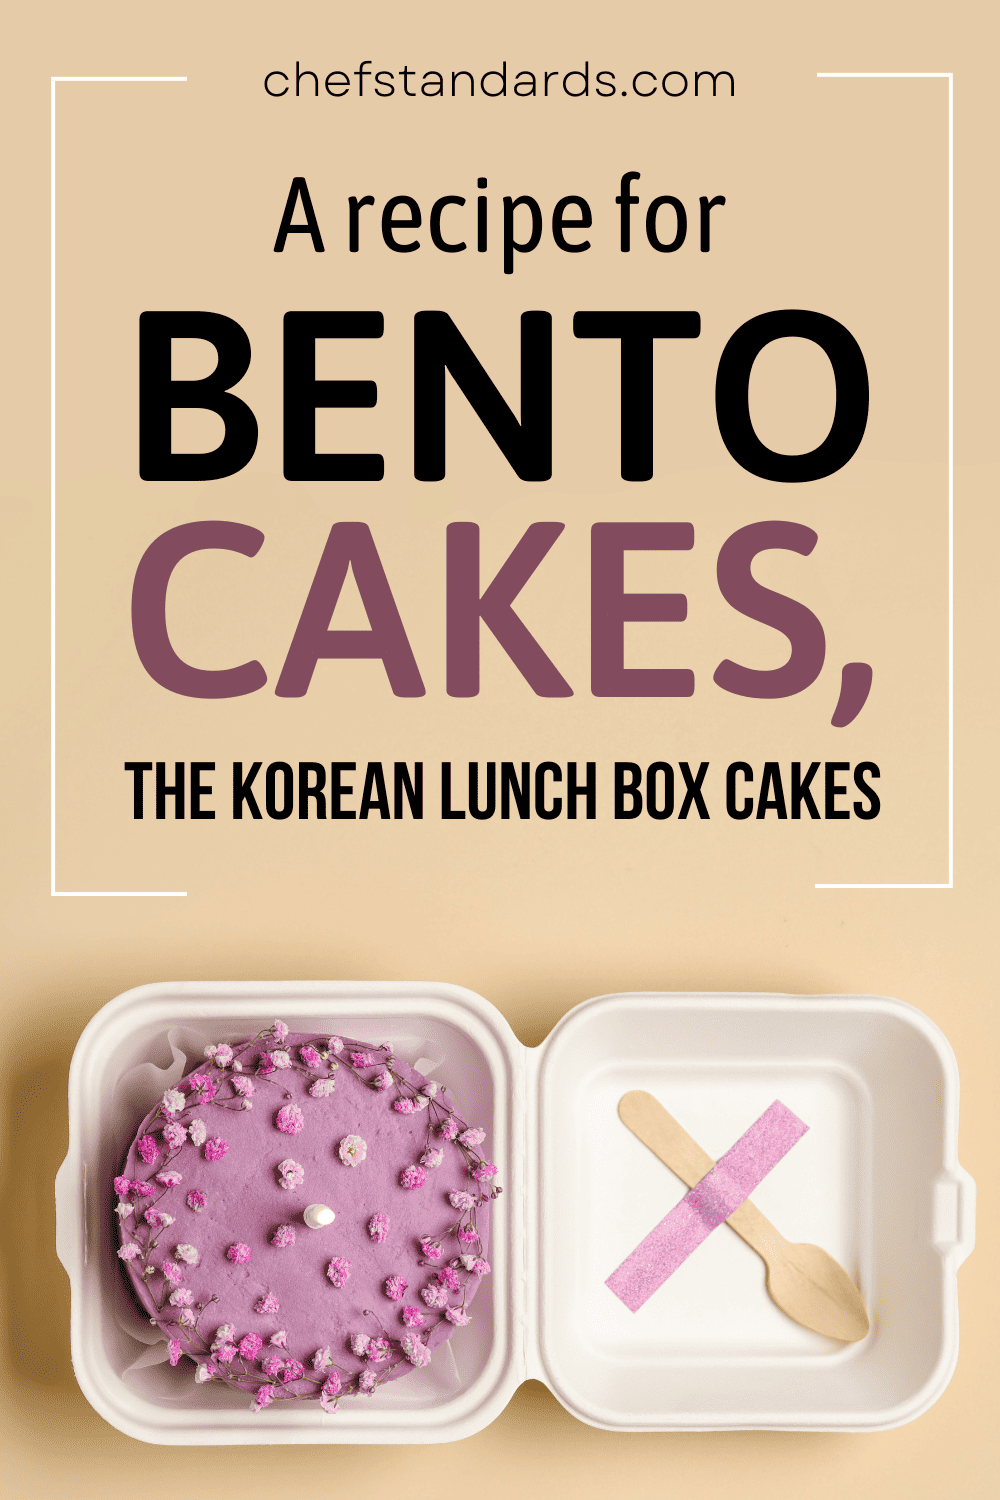
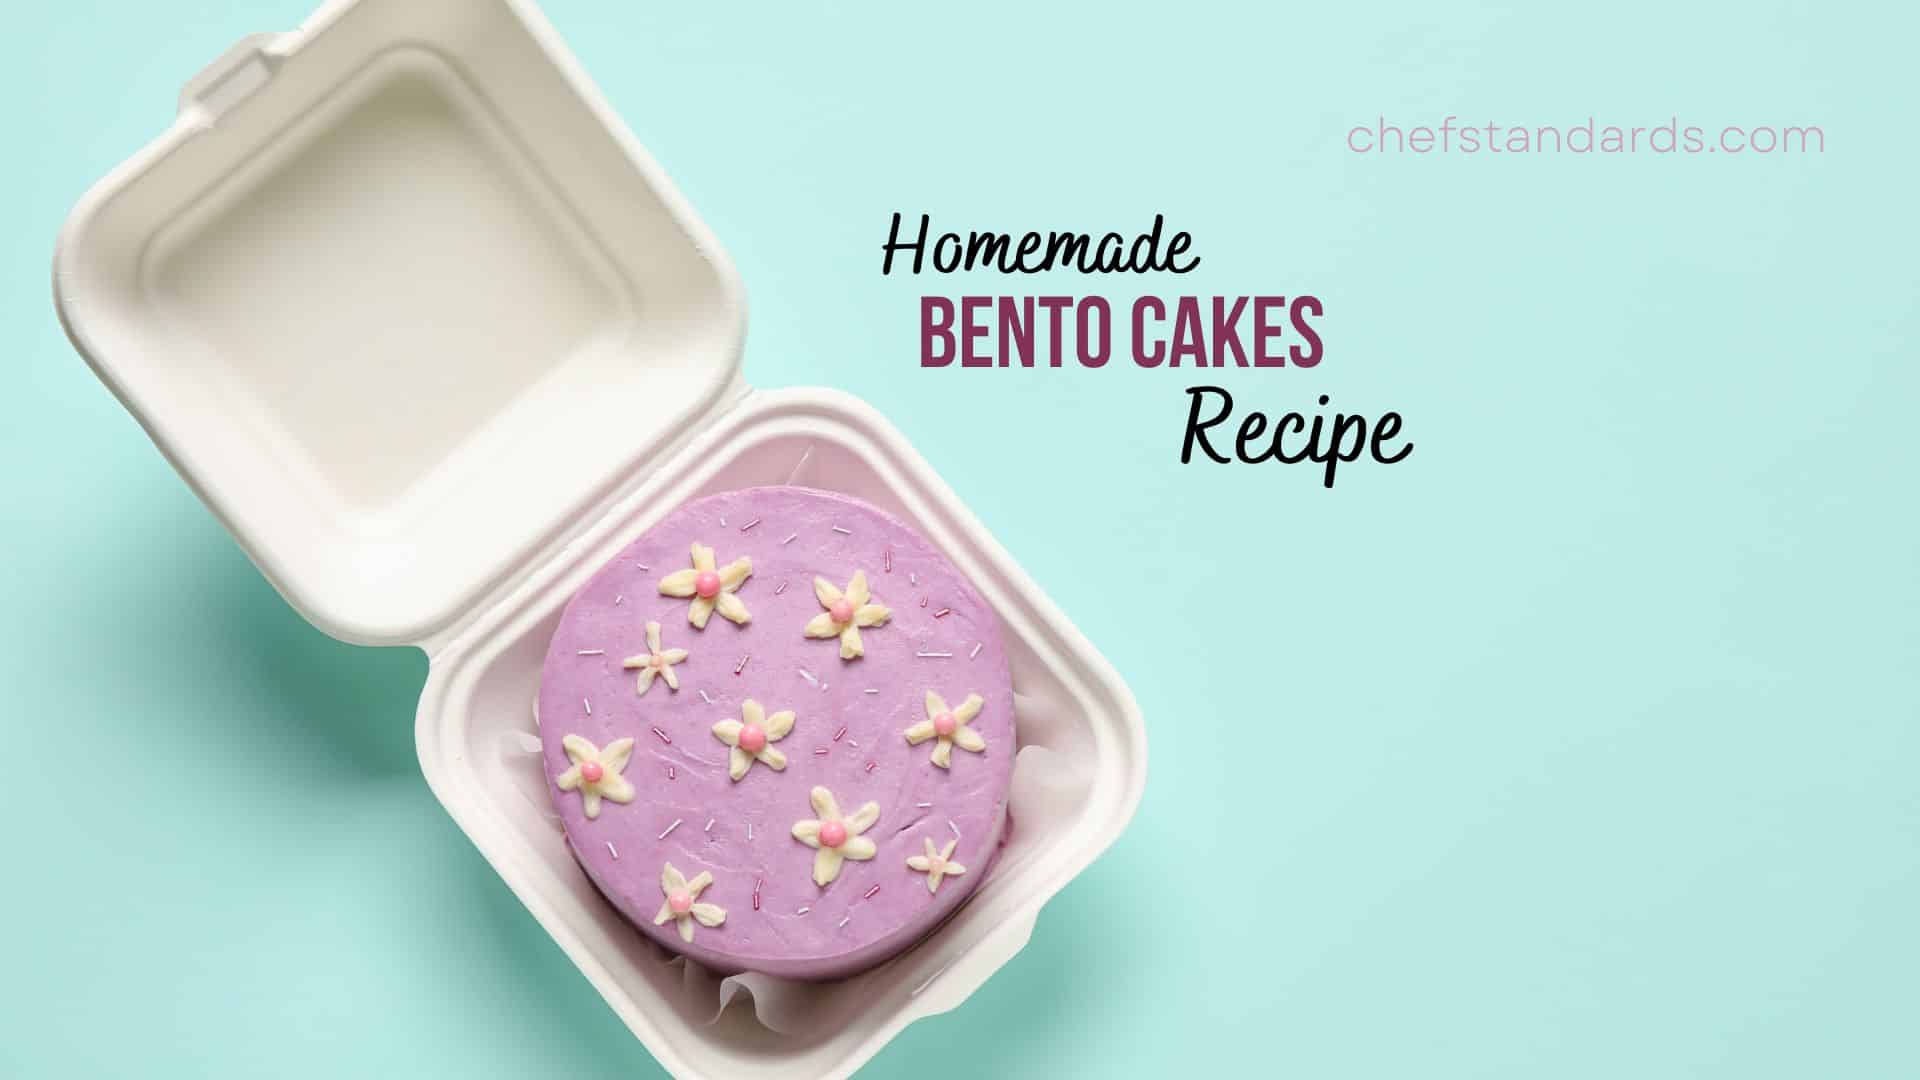
Homemade Bento Cakes Recipe + Nutritional Value
It’s relatively difficult to explain my love for bento cakes if you aren’t a fan of them, but I’ll give my best.
These mini-cakes originated in South Korea and they are a true work of art. “Although bento cakes were initially found and popularized in the bakeries of South Korea, the term ‘bento’ is a Japanese word which translates to ‘convenience'”, as stated by Deccan Herald.
If you see me eating bento cakes, then you can be 100% sure that I’m in a good mood. What puts me in an even better mood is sharing my bento cake recipe with others and potentially making their taste buds scream with joy!
Thinking out loud: Perhaps sharing the recipe will inspire me to write a proper declaration of love for bento cakes at the end of this article, which is something you wouldn’t want to miss for sure.
Korean Bento Cakes Recipe
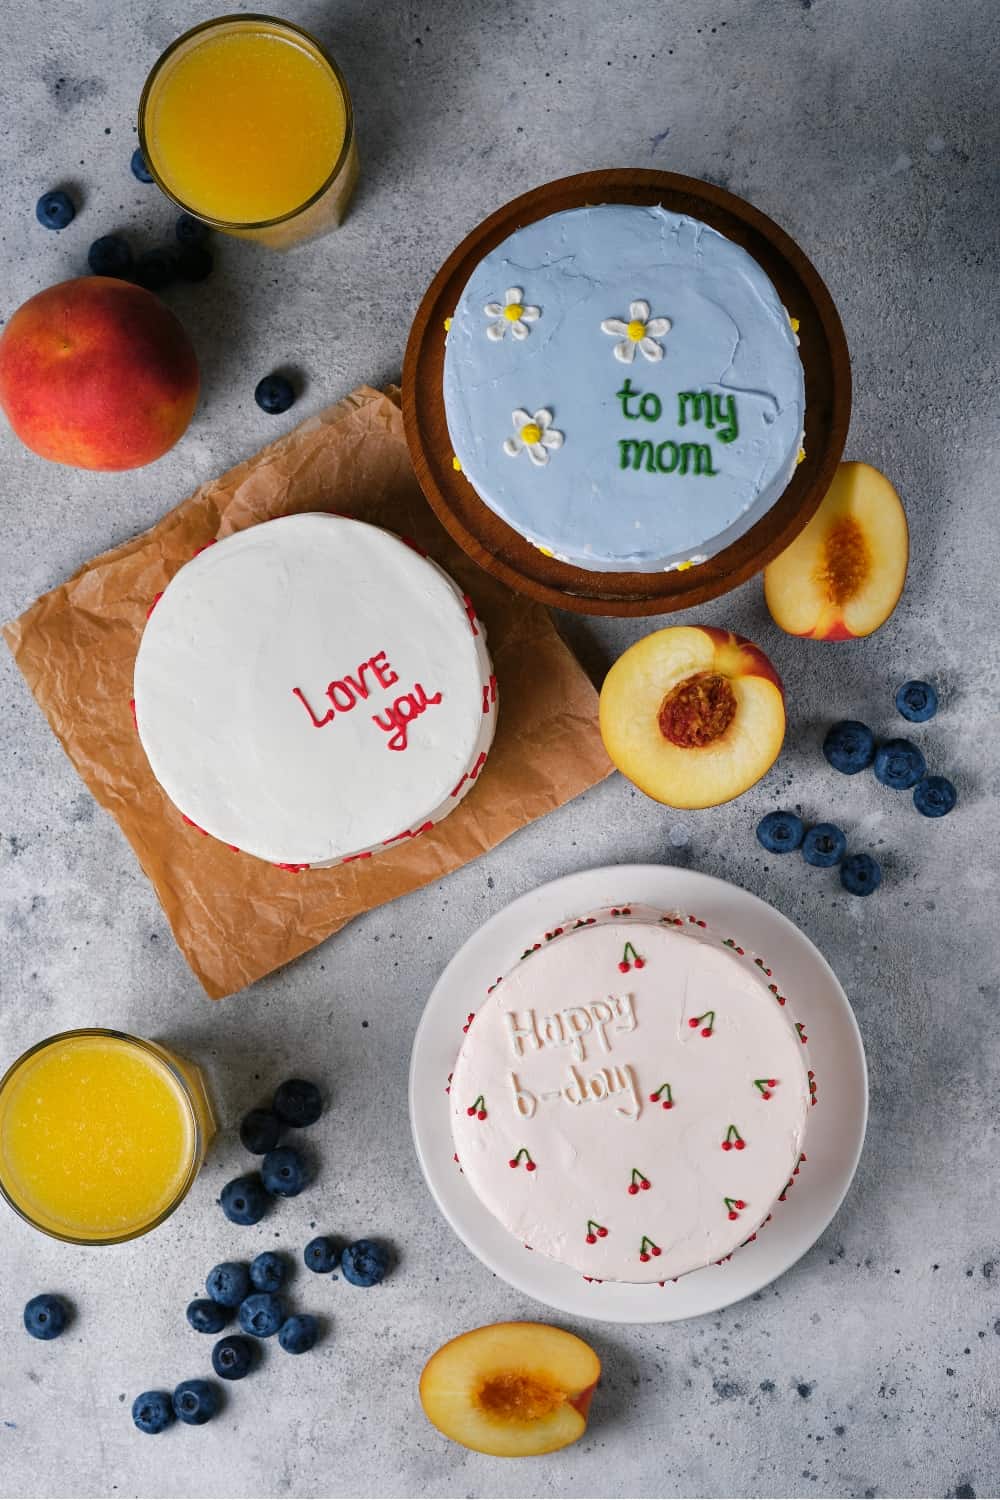
Here’s my own version of the cute and delicious bento cakes that you can also make at home. This recipe will yield 3 cake layers, so if you only want to bake one, divide the ingredients by three. You will also need a sieve, spatula, and a hand mixer for this recipe.
Ingredients
- For the cake layers
- 1/3 cup powdered sugar
- 1/2 cup flour
- 2 tablespoon cocoa powder
- 2 tablespoon milk
- 2 tablespoon oil
- 2 tablespoons butter
- 2 eggs
- 1/2 teaspoon baking powder
- 1/2 teaspoon vanilla extract
- 1/2 teaspoon Ovalette
- 1/2 teaspoon salt
- For the frosting
- 500 g sugar
- 150 g vegetable shortening
- 150 g unsalted butter
- 1/2 teaspoon salt
- For decoration
- Optional: your choice of powdered sugar, buttercream frosting, sprinkles, food coloring, cake pops, or crumbs.
Instructions
Baking cake layers
Step 1: Preheat your oven to 350°F.
Step 2: Grease a rectangular baking pan with either butter or melted margarine. Fold a piece of parchment.
Step 3: Add flour, baking powder, and salt to a large glass measuring cup (for easy pouring) and mix to combine. Beat eggs for 30 seconds at medium speed with your stand mixer.
Step 4: Put your powdered sugar in a measuring cup. Pour a small amount of powdered sugar into the eggs that have been beaten.
Step 5: Increase the speed to the max and beat for at least 8 minutes. At this point, scrape the powdered sugar off the bowl with a spatula or scraper and mix thoroughly.
Step 6: You should mix the eggs, sugar, Ovalette, and vanilla essence in a bowl. Then add the sifted all-purpose flour, cocoa powder, and baking powder and fold to combine them into the mixture until it is well blended.
Step 7: Cut the butter into small pieces and place it into a microwave-safe bowl and microwave for 2 minutes (stir halfway through the process). It should become foamy and hot once it is done cooking. Then add milk and oil.
Step 8: Pour the batter into your oiled or greased cake pan and bake in a preheated oven for 30 minutes.
Step 9: Check for doneness with a toothpick. When done, the layers should chill at room temperature first and then be put into the fridge.
Making frosting
Step 1: Add the whipped cream, powdered sugar, vanilla extract, and salt to the bowl. Whisk on high for about 1 minute until it's firm.
Step 2: Add vegetable shortening to the mixture and beat for another 3 minutes until it smoothens. After this, add sifted powdered sugar.
Step 3: When the peaks are stiff enough, continue whisking at high speed.
Step 4: Scrape down the sides of the bowl with a spatula and give it one last mix. Cover and place in the fridge until needed.
Decorating
Step 1: Use parchment paper for your decorating while you place your cake on it.
Step 2: Use a cookie cutter for 3 cutouts. Carefully remove the cut-out cakes. Pick and swap which 3 of the cutouts stack together to make the best cake.
Step 3: Assemble the lunchbox cake by adding buttercream to each layer and applying it in turn. Add another coat of frosting on that layer until you are satisfied with how it looks. Then pour your buttercream icing into a piping bag.
Step 4: Frost your cake by spreading frosting evenly on the top and sides of the cake.
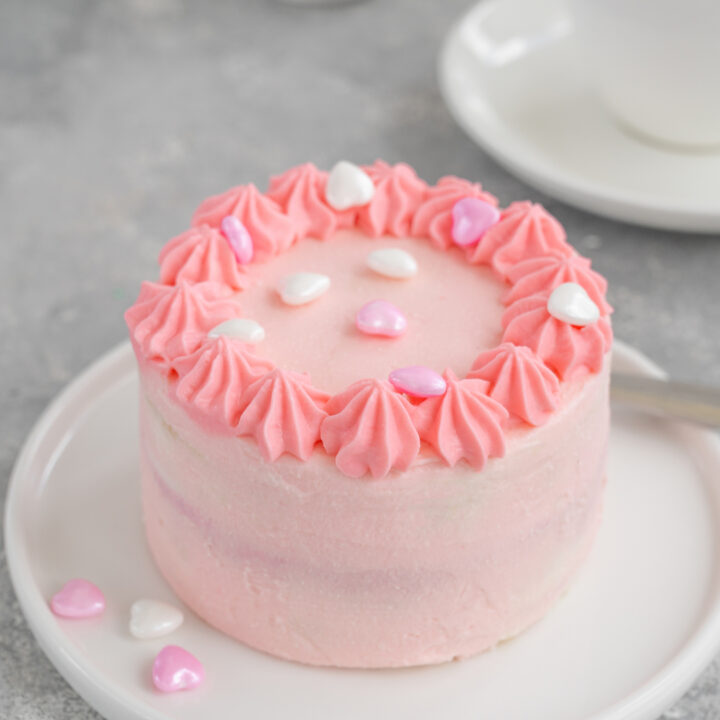
Step 5: Add sprinkles, candies, or piped decorations to the top for extra cuteness!
Nutrition Information:
Yield: 12 Serving Size: 1Amount Per Serving: Calories: 549Total Fat: 31gSaturated Fat: 14gTrans Fat: 0gUnsaturated Fat: 15gCholesterol: 78mgSodium: 257mgCarbohydrates: 68gFiber: 0gSugar: 62gProtein: 2g
Nutritional Value
Don’t let the size of these cute cakes fool you! Even though they’re small, these are still cakes and should be consumed moderately.
Here’s what 100 grams of bento cake gives to your body:
• Calories: 360
• Carbohydrates: 56 g
• Sugar: 23 g
• Total fat: 19 g
• Protein: 2 g
• Sodium: 47 mg
NOTE: The nutritional facts for a 6-inch cake can vary depending on the ingredients used. In other words, some recipes may have higher amounts of sugar or fat content than others which can impact the nutritional value of the cake.
Why Do I Love Bento Cakes?
I got really inspired at the end of the recipe, so here’s my declaration of love for bento cakes written in layers:
Having a bento cake after a meal is a different kind of happiness.
You can get extra creative when decorating bento cakes.
Bento cakes can be made ahead of time and kept in the refrigerator.
They are one of the most convenient and delicious desserts or gifts.
You can use different frosting recipes without butter.
They look incredibly cute.
They are perfect for any occasion!
And why do you love bento cakes? 😀
P.S. Did you know that you can make tiramisu bento cakes as well? Simply replace ladyfinger cookies (or other cookies) with bento cakes in a classic and delicious tiramisu recipe.
See also: How Long Does Cake Last In The Fridge? + Cake Storage Tips