15 Expert Tips For Perfecting The Pulled Pork Sandwich
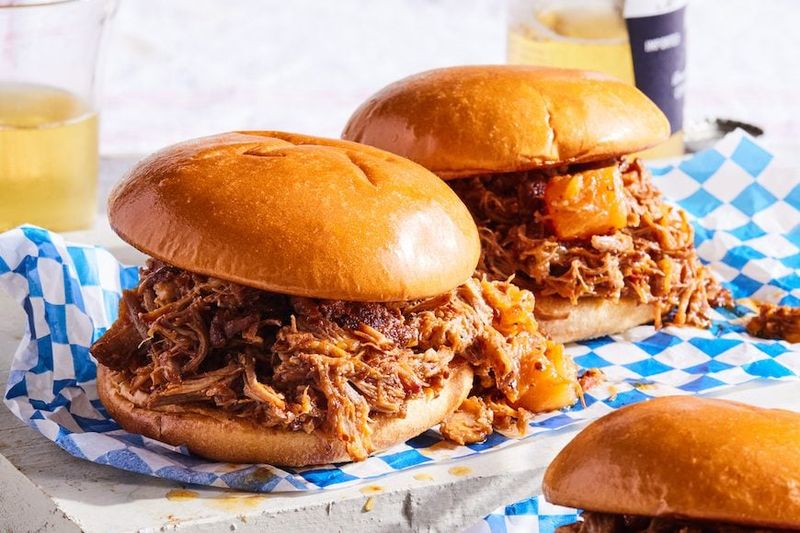
Pulled pork sandwiches are the ultimate comfort food, combining tender, smoky meat with the perfect blend of sauces and toppings. Whether you’re a backyard BBQ enthusiast or just love a good sandwich, mastering this classic requires attention to detail.
These expert tips will transform your pulled pork game from amateur to pitmaster level, impressing friends and family with every juicy, flavorful bite.
1. Choose The Right Cut Of Meat
Forget those lean cuts! Pork shoulder (also called Boston butt) reigns supreme in the pulled pork universe. This magnificent hunk of meat contains the perfect ratio of fat to muscle, creating that melt-in-your-mouth texture we all crave.
When shopping, look for meat with good marbling throughout. Those white streaks of fat aren’t your enemy – they’re flavor bombs waiting to explode! A bone-in cut often provides better flavor, though boneless works fine for beginners.
2. Brine Before You Dine
Transforming ordinary pork into extraordinary pulled pork starts with brining. This magical bath of salt, sugar, and spices infuses moisture and flavor deep into the meat fibers before cooking even begins.
Mix ½ cup salt and ½ cup brown sugar per gallon of water, then add aromatics like garlic, peppercorns, and bay leaves. Submerge your pork completely and refrigerate overnight or up to 24 hours.
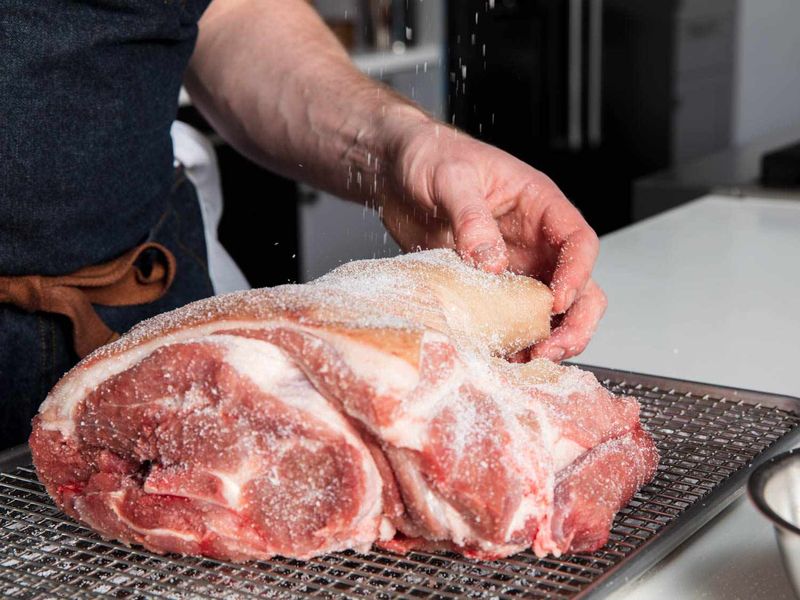
3. Rub It The Right Way
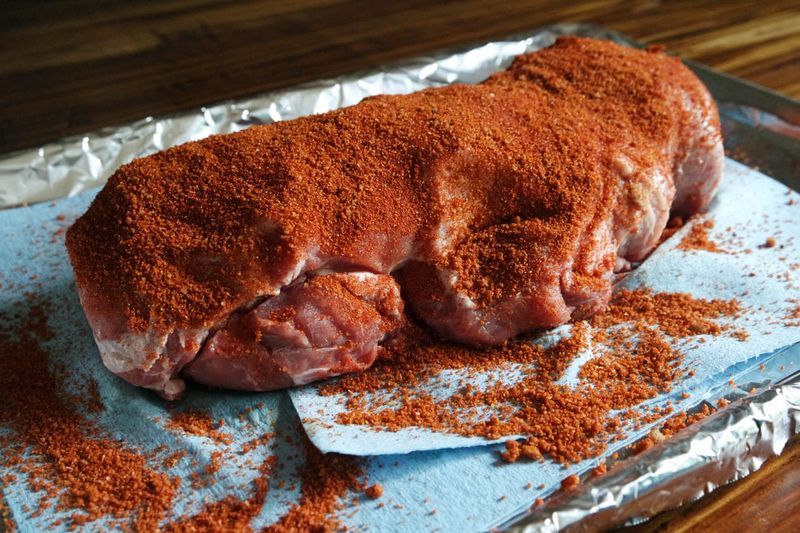
Slathering your pork with a knockout dry rub isn’t just about flavor – it’s about creating that coveted bark, the dark, chewy exterior crust that adds textural magic to every bite. Mix brown sugar, paprika, garlic powder, onion powder, cumin, and black pepper as your base.
Here’s the game-changer: apply yellow mustard first! This thin layer helps the rub stick and creates amazing flavor without leaving any mustardy taste behind. Massage that rub into every nook and cranny of your meat at least 12 hours before cooking.
4. Wood Selection Makes A Difference
Not all smoke is created equal! The wood you choose dramatically influences your sandwich’s final flavor profile. Hickory delivers that classic, robust BBQ punch, while apple and cherry woods offer sweeter, milder notes perfect for balancing spicy rubs.
Avoid pine, spruce, or any resinous woods – they contain toxic compounds and will make your pork taste like a pencil. For beginners, fruit woods are forgiving and crowd-pleasing. Even oven-cooked pork can benefit from wood – just add a few drops of liquid smoke to your rub or braise!
5. Low And Slow Is The Way To Go
Rushed pulled pork is sad pulled pork! The collagen-heavy shoulder absolutely demands long cooking at low temperatures (around 225-250°F) to transform from tough to tender. We’re talking 1.5-2 hours per pound – yes, really!
This marathon cooking session allows the tough connective tissues to slowly dissolve into gelatin, creating that signature succulent texture. Resist the urge to crank up the heat when hunger strikes. The meat’s internal temperature needs to reach at least 195°F before it’s truly pullable.
6. The Spritz Secret
Misting your pork throughout the cooking process isn’t just pitmaster showmanship – it’s science! A periodic spritz prevents the exterior from drying out while helping smoke particles adhere to the meat’s surface, creating deeper flavor.
Fill a spray bottle with apple cider vinegar, apple juice, or beer. Every hour after the first two hours of cooking, give your meat a quick, gentle misting. Don’t overdo it – you’re not drowning the meat, just adding a kiss of moisture.
7. Master The Stall With Wrapping
Panic not when your meat’s temperature plateaus around 160°F! This frustrating “stall” happens as moisture evaporates from the surface, cooling the meat like sweat cools your body. The solution? The Texas Crutch – wrapping your pork to push through this BBQ purgatory.
Double-wrap tightly in heavy-duty aluminum foil or butcher paper, adding a splash of liquid like apple juice or cider for extra steam. This creates a mini pressure cooker effect, speeding up the cooking process while keeping moisture locked in.
8. The Essential Rest Period
Hold those forks! The difference between good and legendary pulled pork happens during the rest. After reaching temperature, wrap that beautiful meat bundle in towels and place it in a cooler (no ice!) for at least one hour, preferably two.
During this magical rest, the meat’s juices redistribute throughout instead of gushing out when cut. The proteins relax, and the temperature remains hot enough to continue breaking down tough bits. The internal temperature actually rises slightly before slowly falling.
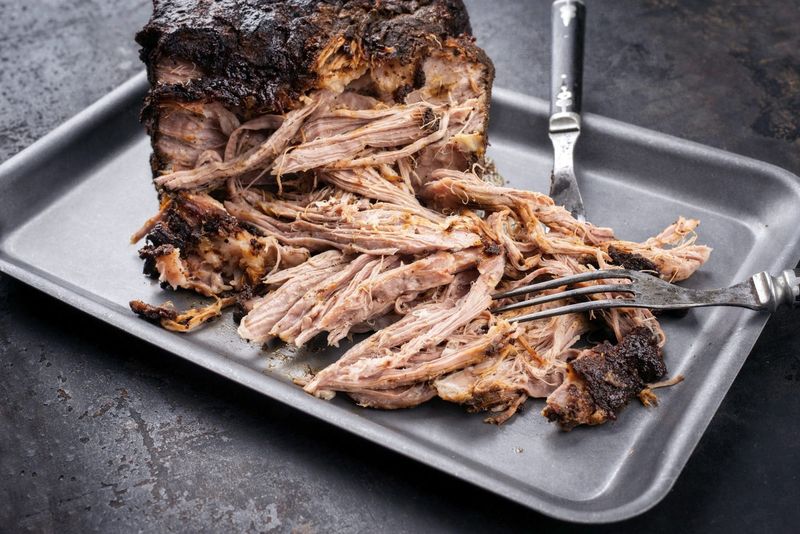
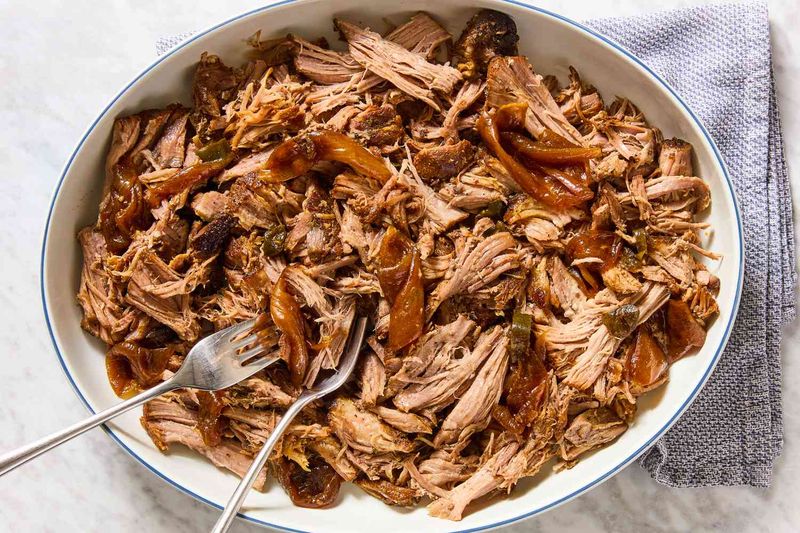
9. Pulling Technique Matters
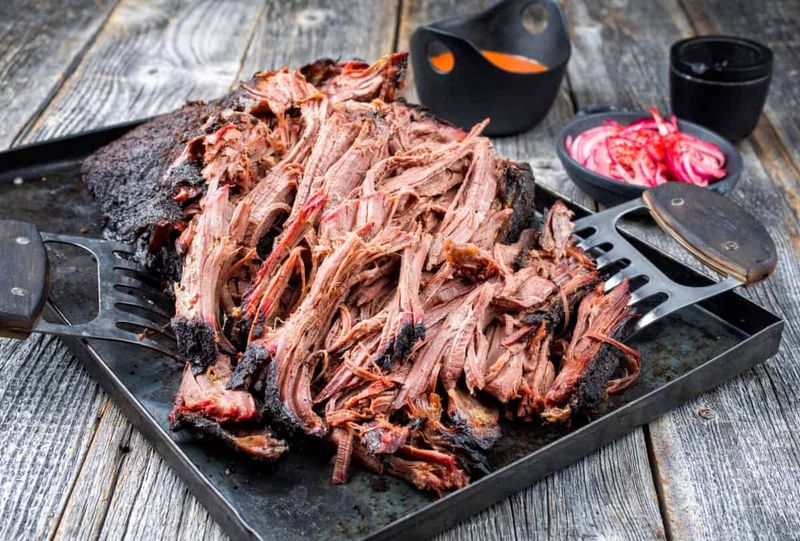
Ditch those forks and claws! The best tool for pulling pork is sitting at the end of your arms. Once rested, don heat-resistant gloves and hand-pull your meat while it’s still warm (around 160-170°F) for the perfect texture. Separate and discard large fat pieces as you go.
Hand-pulling allows you to feel the meat’s texture, removing any tough bits while preserving those succulent morsels of bark and juicy interior. For larger batches, try the “bear claw” method only after initial hand separation.
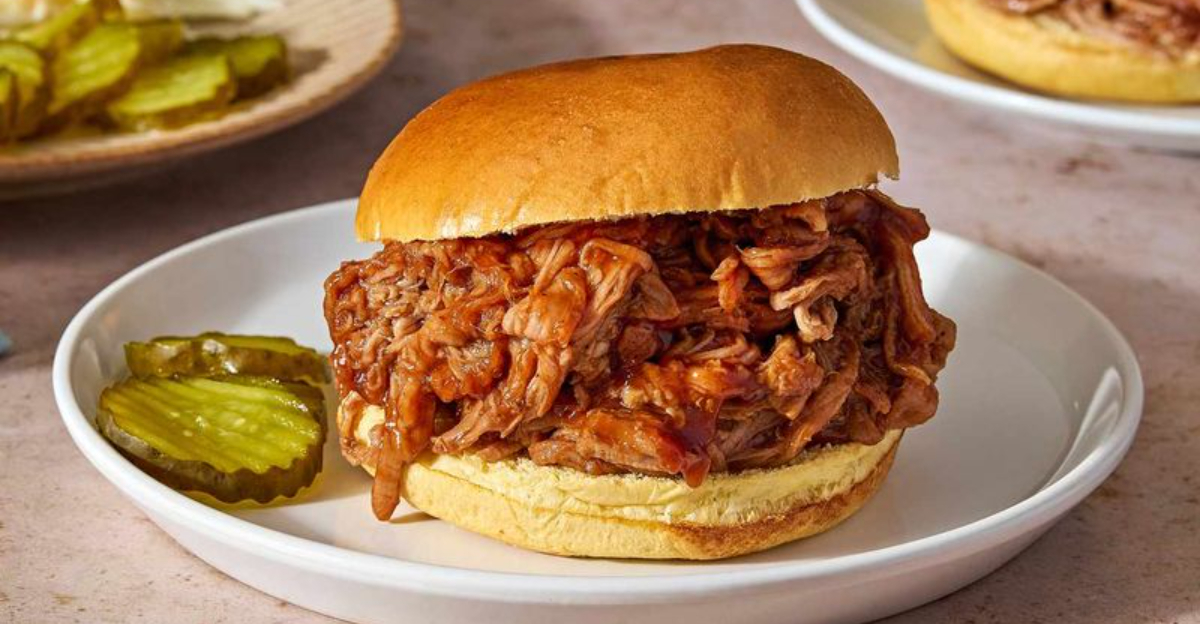
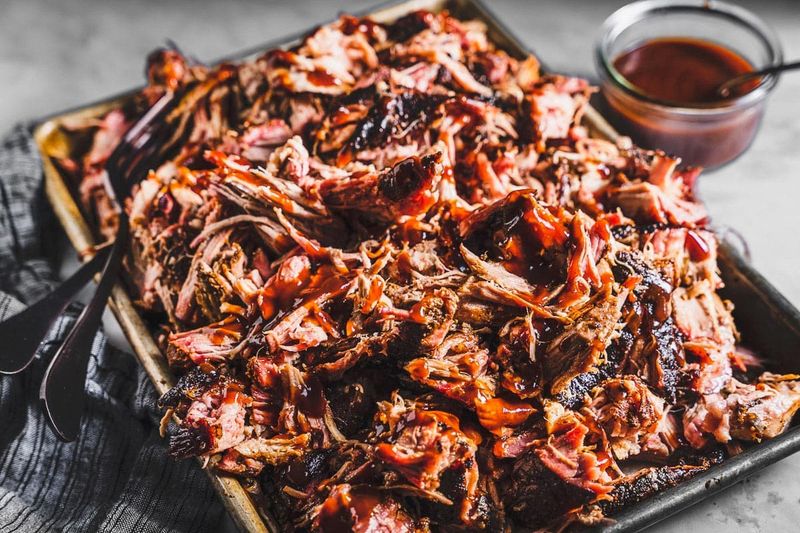
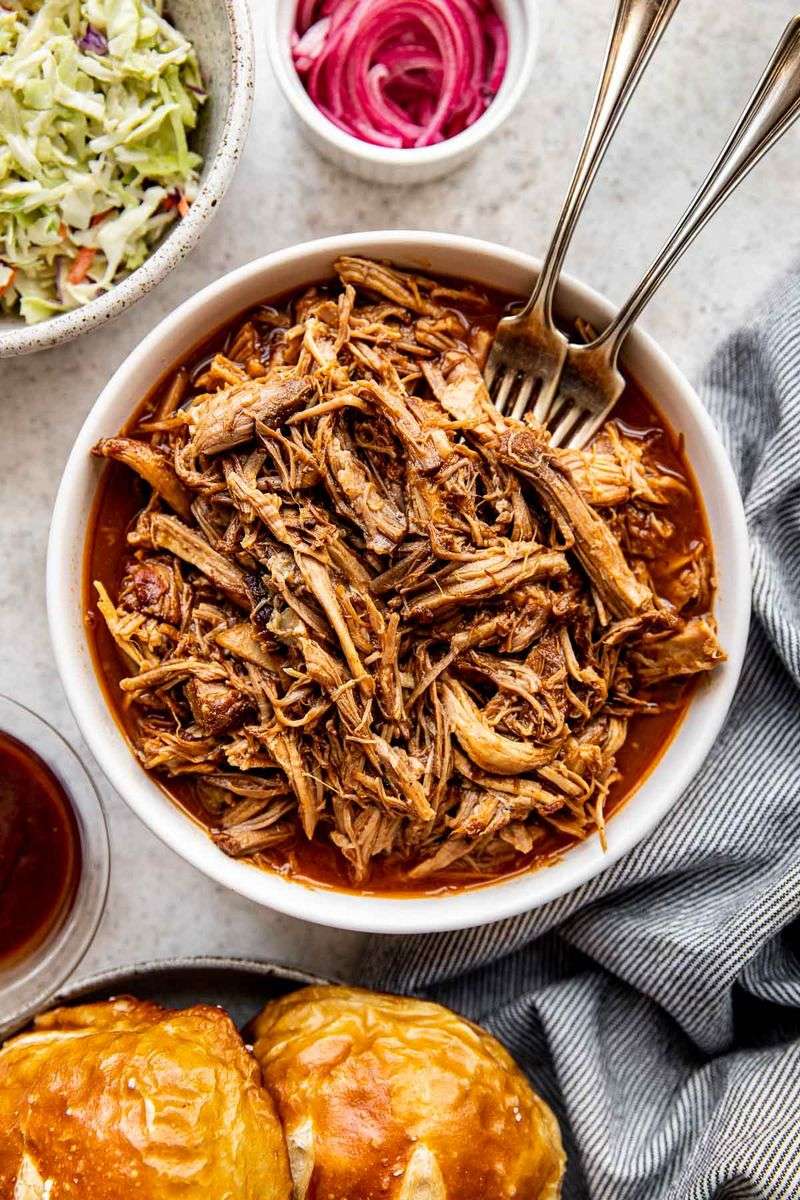
10. Sauce Strategy: Less Is More
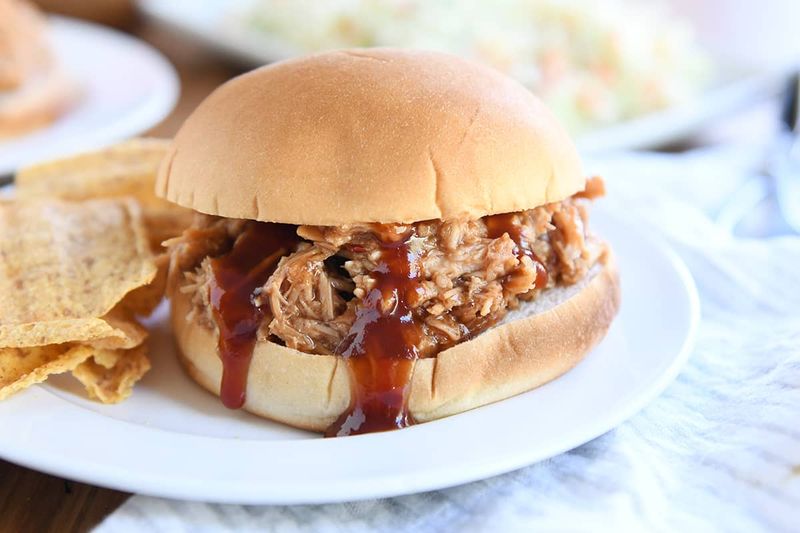
Sauce criminals drown perfectly good pulled pork in rivers of sticky sweet BBQ sauce! Restraint is key – start with just enough sauce to lightly coat the meat, allowing diners to add more if desired. Remember: you spent hours developing flavor in that meat; don’t bury it.
Mix your sauce with the collected meat juices for a custom blend that complements rather than overpowers. Regional variations shine here: Carolina-style vinegar sauce cuts through richness, while Alabama white sauce adds creamy contrast.
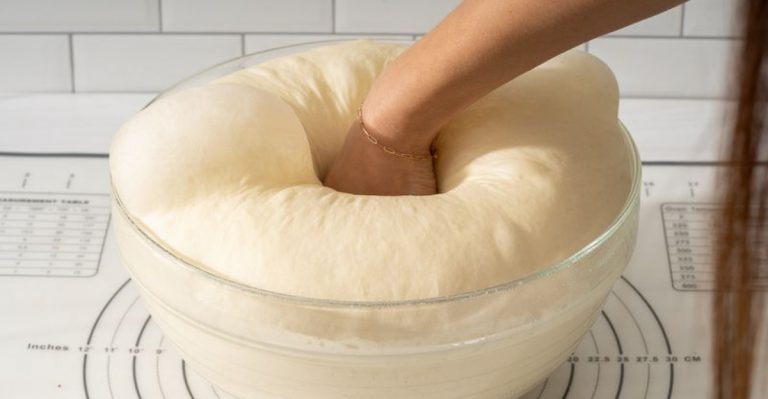
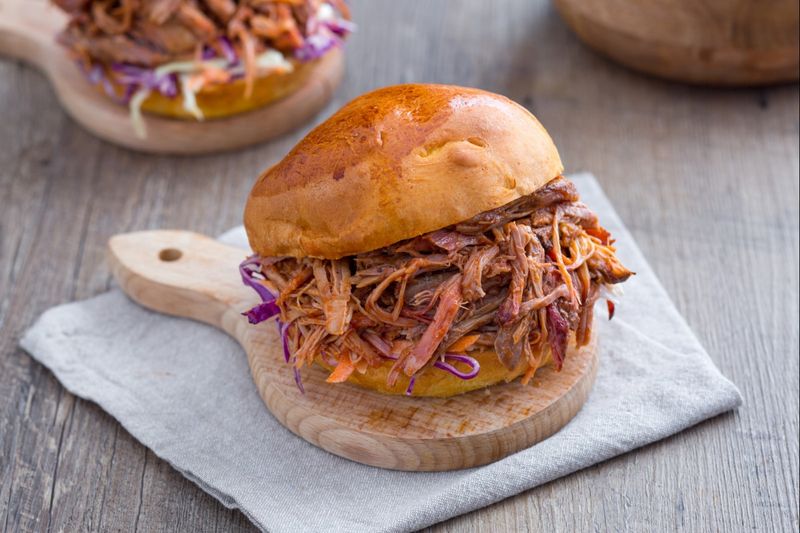
11. Bun Selection And Preparation
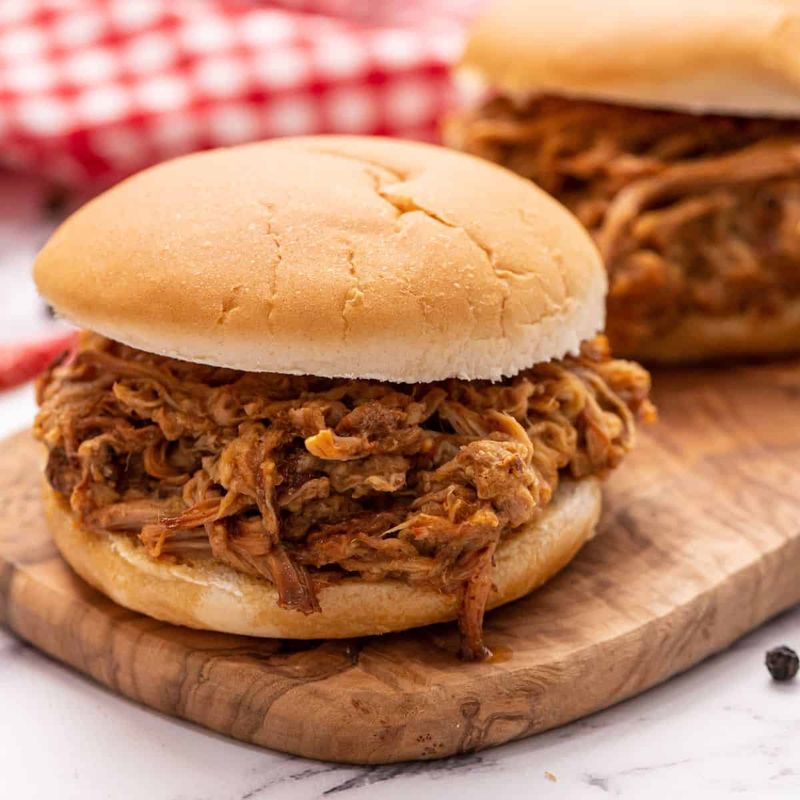
Flimsy bread commits sandwich suicide under the weight of proper pulled pork! Brioche buns offer buttery richness that complements the smoky meat, while potato rolls provide sturdy structure with pillowy texture. Whatever your choice, toasting is non-negotiable.
Butter those cut sides and toast until golden on a flat-top or in a skillet. This creates a moisture barrier preventing soggy-bottom syndrome while adding another flavor dimension.
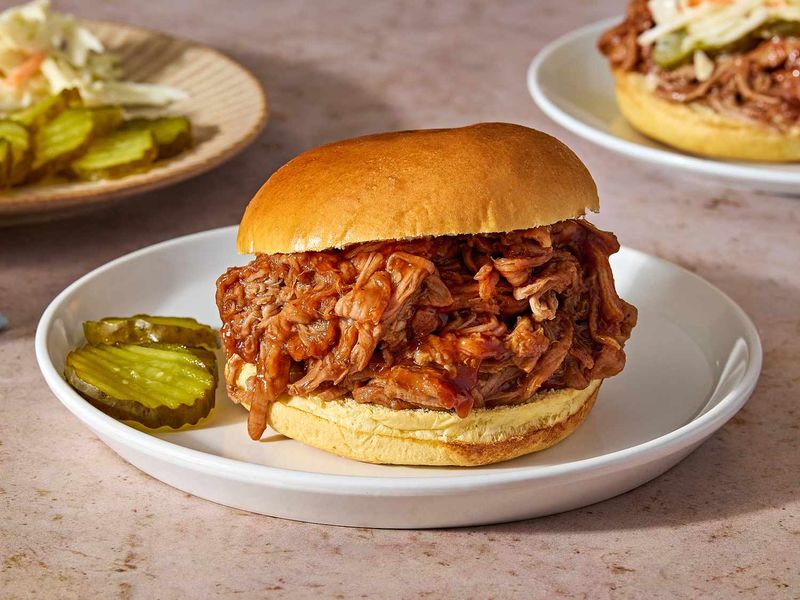
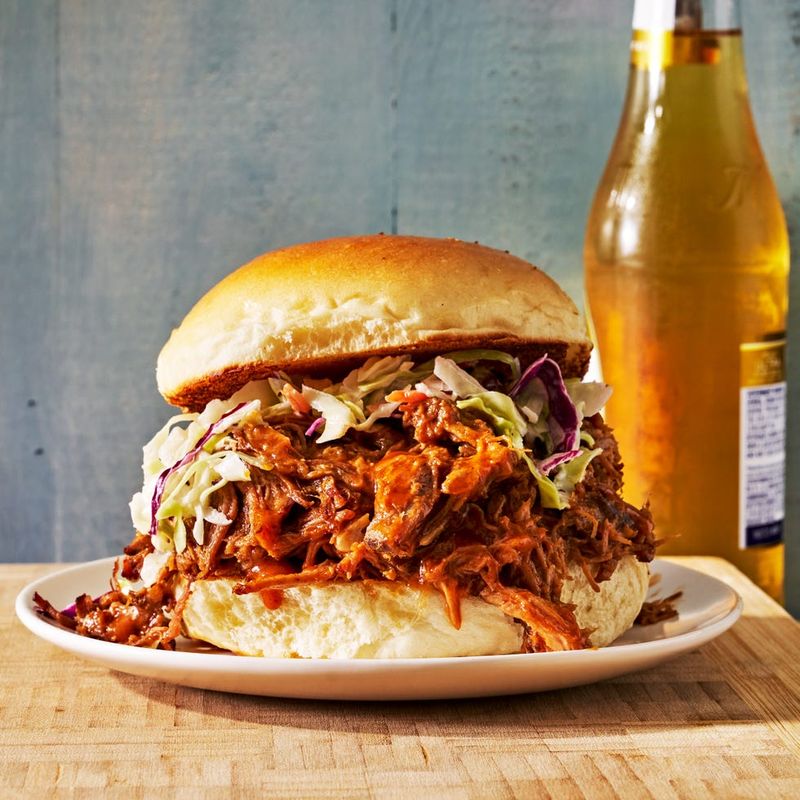
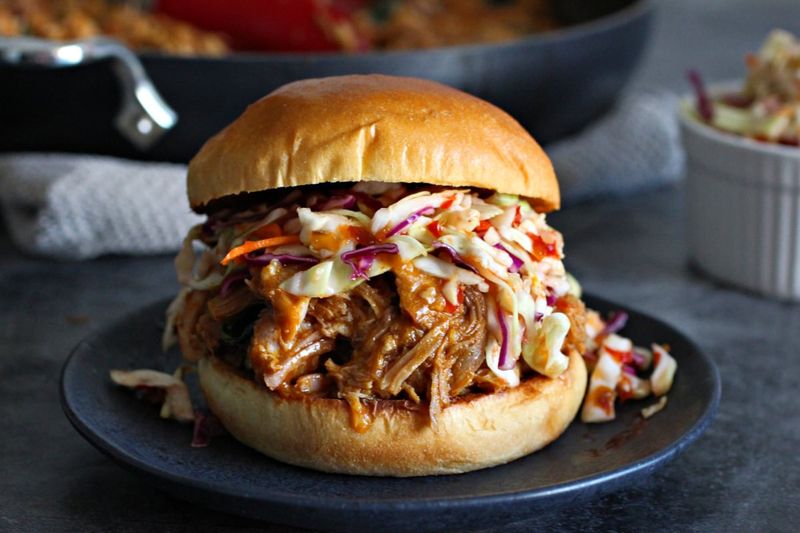
12. Texture Contrast Is Everything

Mind-blowing sandwiches need textural counterpoints! Creamy-crunchy-chewy-tender elements create excitement in every bite. Coleslaw isn’t just tradition – its crisp cabbage provides essential crunch against tender meat.
Make your slaw with vinegar rather than mayo for acidic contrast cutting through rich pork. Add quick-pickled red onions for tangy zip or thin-sliced jalapeños for heat with texture. For maximum crunch insurance, try thin-sliced apple or even potato chips!
13. Don’t Forget The Acid
Fatty, rich pulled pork screams for acidic balance! Without brightness cutting through that richness, your sandwich becomes one-dimensional and palate-fatiguing. Vinegar-based sauces aren’t just regional preferences – they’re flavor science.
Quick-pickle thinly sliced vegetables the day before – onions, cucumbers, or jalapeños in equal parts vinegar and water with a touch of sugar and salt. These pickled elements wake up your taste buds between bites of luscious meat.
14. Temperature Matters When Serving
Cold pulled pork is a culinary tragedy! The ideal serving temperature is warm-not-hot (around 140-150°F), where the fats remain silky without burning mouths. Reheated leftovers often taste better than freshly made because flavors have time to meld.
If making ahead, slightly under-sauce your meat, then refrigerate. Reheat gently with a splash of apple juice, chicken stock, or beer in a covered pan. Microwaving is a last resort – it creates hot spots and dries out edges.
15. Build A Leftover Strategy
Legendary pitmasters always cook extra pork on purpose! Properly stored pulled pork actually improves over 1-3 days as flavors meld in the refrigerator. Portion cooled meat in vacuum-sealed bags or airtight containers with a splash of juice to maintain moisture.
Beyond sandwiches, transform leftovers into pulled pork nachos, stuffed in baked potatoes, or folded into breakfast hash. Freeze portions flat in zipper bags with the air pressed out for up to three months – quick-thaw in warm water when cravings strike.