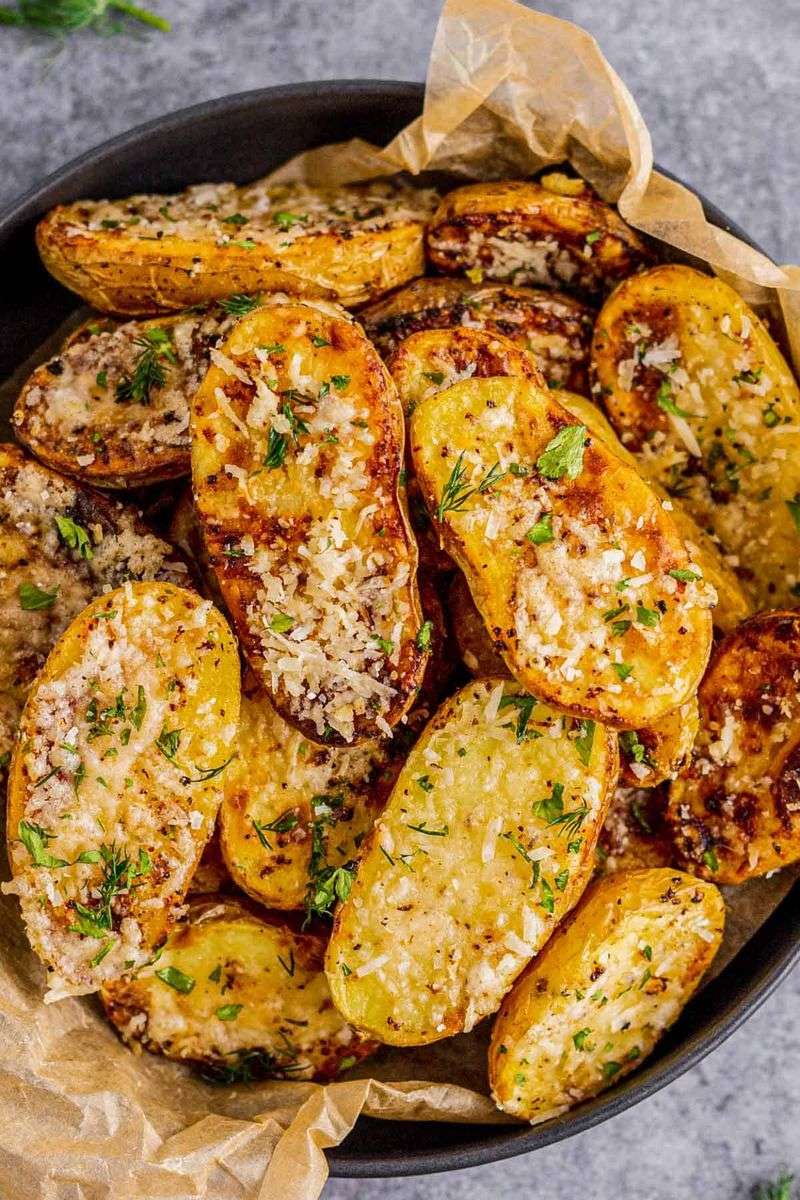
13 Essential Tips For Cooking Fingerling Potatoes
Fingerling potatoes are tiny flavor bombs that deserve special treatment in your kitchen. These elongated, finger-shaped spuds have creamy insides and thin skins that make them perfect for countless dishes.
Mastering a few simple techniques will transform these humble tubers into restaurant-quality sides that’ll have everyone reaching for seconds.
1. Don’t Peel Them
Tossing those delicate skins in the trash? You’re throwing away pure gold! Fingerling potato skins contain most of the nutrients and add a delightful textural contrast to the creamy interior.
The paper-thin skins crisp up beautifully when roasted and provide a rustic, earthy flavor that elevates your dish. Plus, keeping the skins intact helps the potatoes hold their shape during cooking.
2. Scrub Don’t Soak
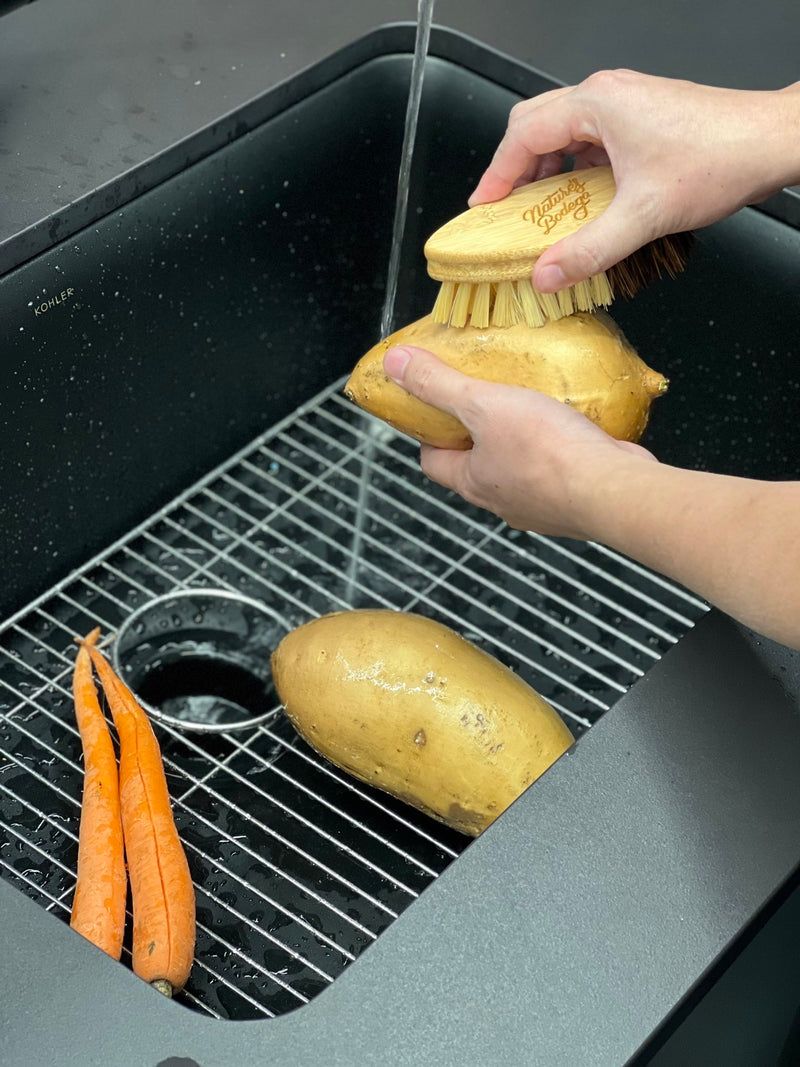
Mud-caked potatoes need cleaning, but drowning them isn’t the answer! A quick scrub under running water with a vegetable brush removes dirt without waterlogging these delicate spuds. Excessive soaking leaches away flavor and nutrients, leaving you with bland, mushy results.
The goal is clean potatoes that maintain their structural integrity and natural taste profile. Grab a brush and give them a gentle but thorough once-over, paying special attention to any crevices or eyes.
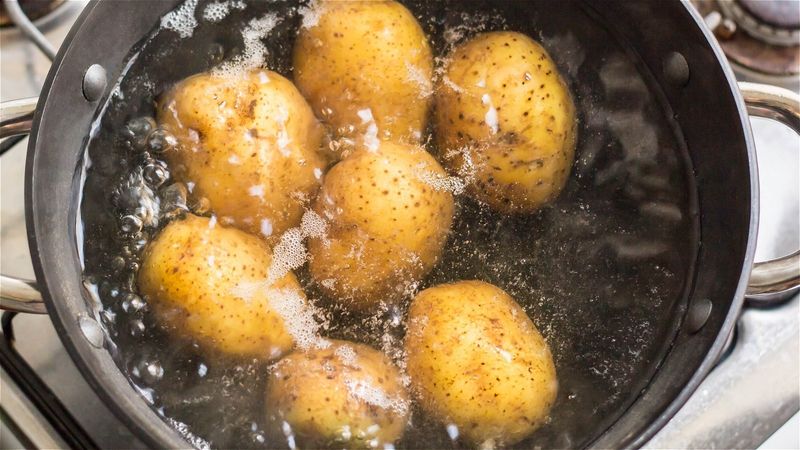
3. Start With Cold Water
Shocking! Plunging fingerlings into boiling water is potato abuse of the highest order. Always begin with cold water and let them warm up gradually like the divas they are. Cold-start cooking ensures even heat distribution from skin to center.
The gentle temperature climb allows starches to cook uniformly, preventing that dreaded mushy exterior/crunchy interior disaster. Fill your pot with enough cold water to cover the potatoes by an inch, then place on heat.
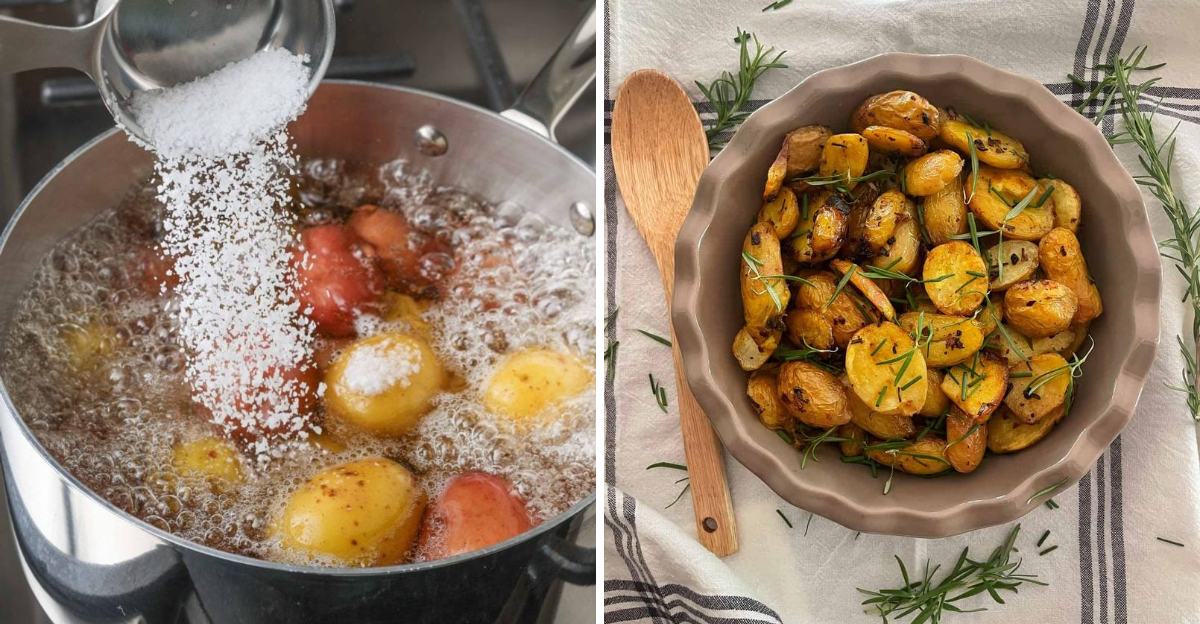
4. Salt The Water Generously
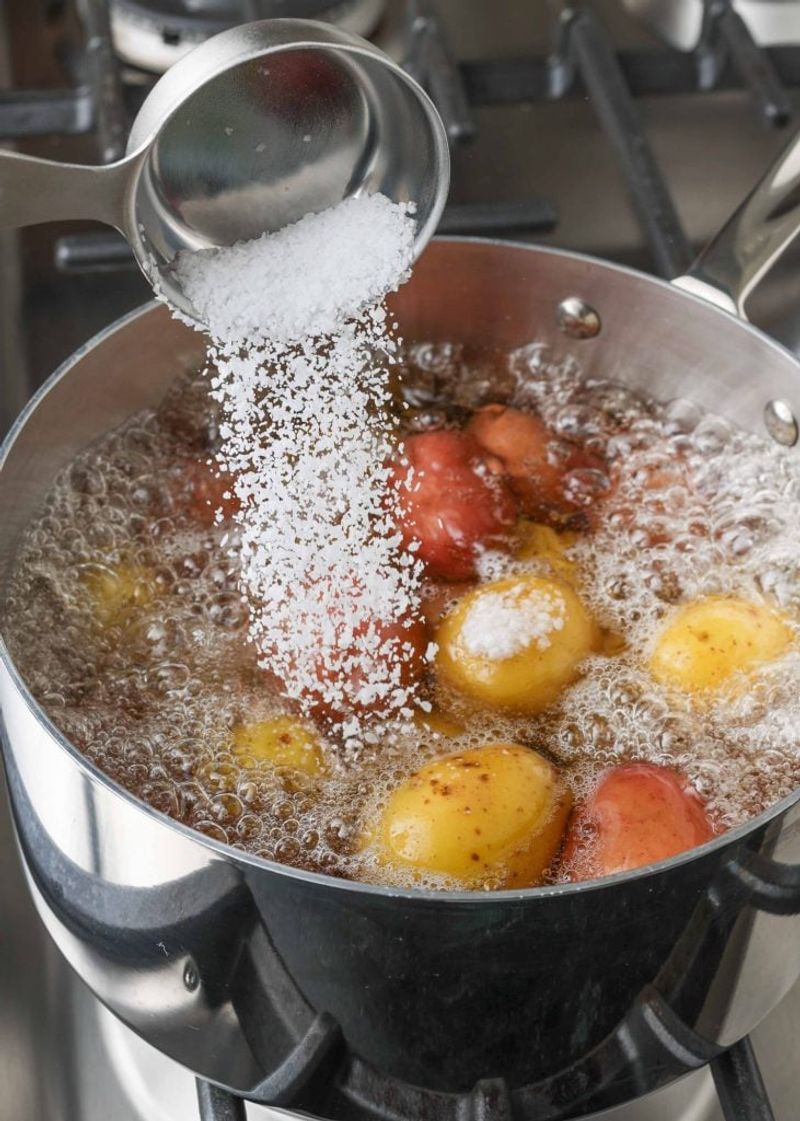
Wimpy salting leads to bland potatoes – period! Channel your inner chef and make that water taste like the sea. A generous handful of kosher salt isn’t excessive; it’s essential for potatoes that sing with flavor.
Salt doesn’t just sit on the surface – it penetrates the skin during cooking, seasoning fingerlings from the inside out. This foundational seasoning creates layers of flavor that no amount of post-cooking salt can replicate.
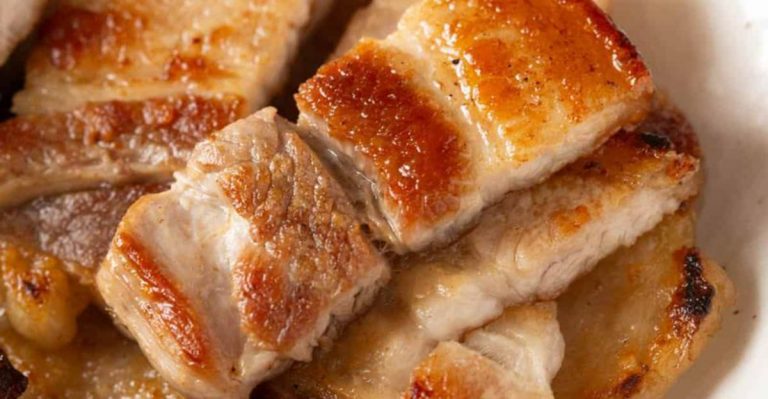
5. Parboil Before Roasting Or Grilling
Game-changing technique alert! Parboiling fingerlings for 5-7 minutes before they hit the oven or grill will revolutionize your potato game forever. This pre-cooking step gelatinizes the starches, creating the perfect foundation for that heavenly contrast between crispy exterior and fluffy interior.
Skip this step and you’ll likely end up with potatoes that are either burnt outside and raw inside, or fully cooked but lacking that magical textural contrast. After parboiling, drain thoroughly and let them steam dry for a minute.
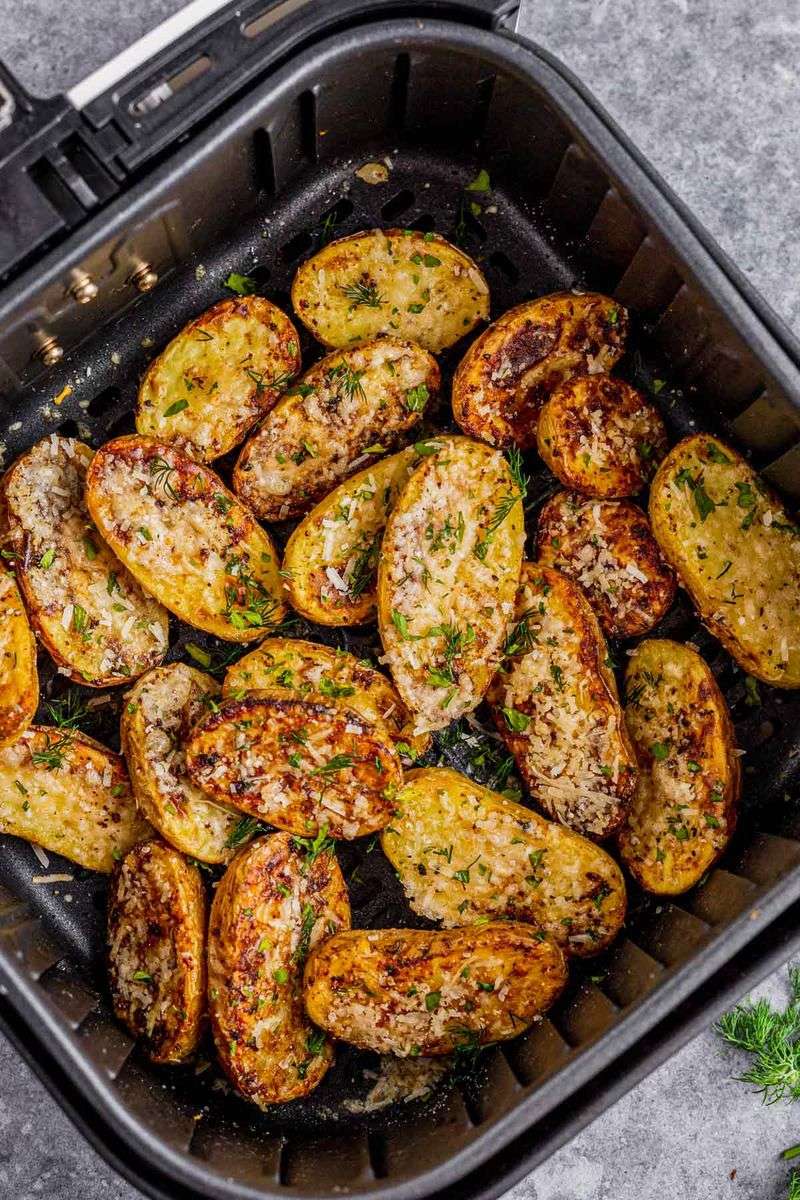
6. Slice Lengthwise For Crispier Roasting
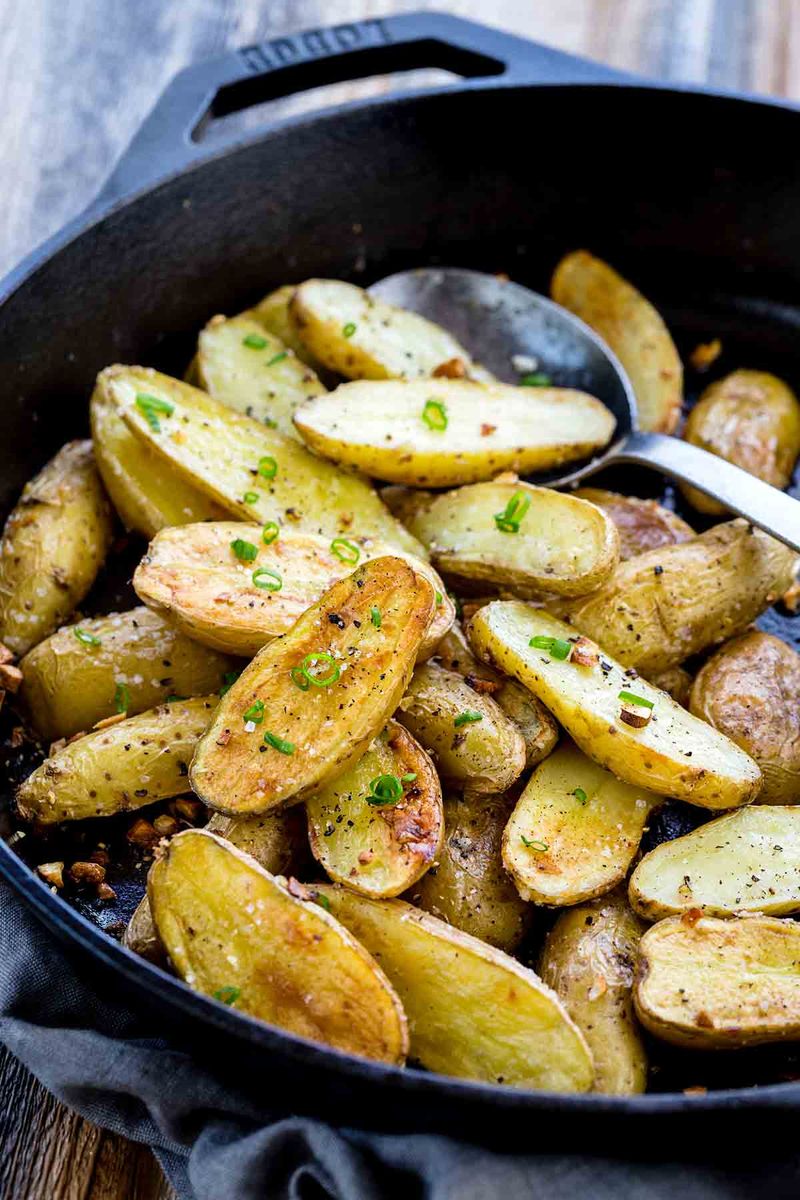
Halve those babies lengthwise and watch the magic happen! Cutting fingerlings along their long axis creates a flat surface that makes direct contact with your hot pan – the secret to achieving that golden-brown crust that makes people swoon.
The cut side caramelizes beautifully while the skin side maintains its integrity. This simple knife move doubles your crispy surface area, transforming good potatoes into unforgettable ones. For even cooking, try to halve potatoes of similar size.
7. Dry Before Roasting
Water is the arch-nemesis of crispy potatoes! Pat those parboiled or freshly washed fingerlings bone-dry with paper towels before they go anywhere near hot oil or your oven. Moisture creates steam, and steam is the sworn enemy of crispiness.
Taking an extra minute to thoroughly dry your potatoes is the difference between soggy disappointment and crispy potato bliss. For ultimate drying power, spread them on a clean kitchen towel after draining and let them air-dry for 5 minutes.
8. Use High Heat (425°F/220°C)
Crank that oven dial! Fingerlings need blazing heat to transform from humble spuds to caramelized wonders. At 425°F, magic happens – sugars caramelize, skins crisp, and interiors become pillowy perfection.
Lower temperatures lead to dried-out, leathery potatoes that never develop that coveted golden exterior. Your oven needs to be properly preheated too – don’t rush this step or your potatoes will absorb oil rather than sear in it.
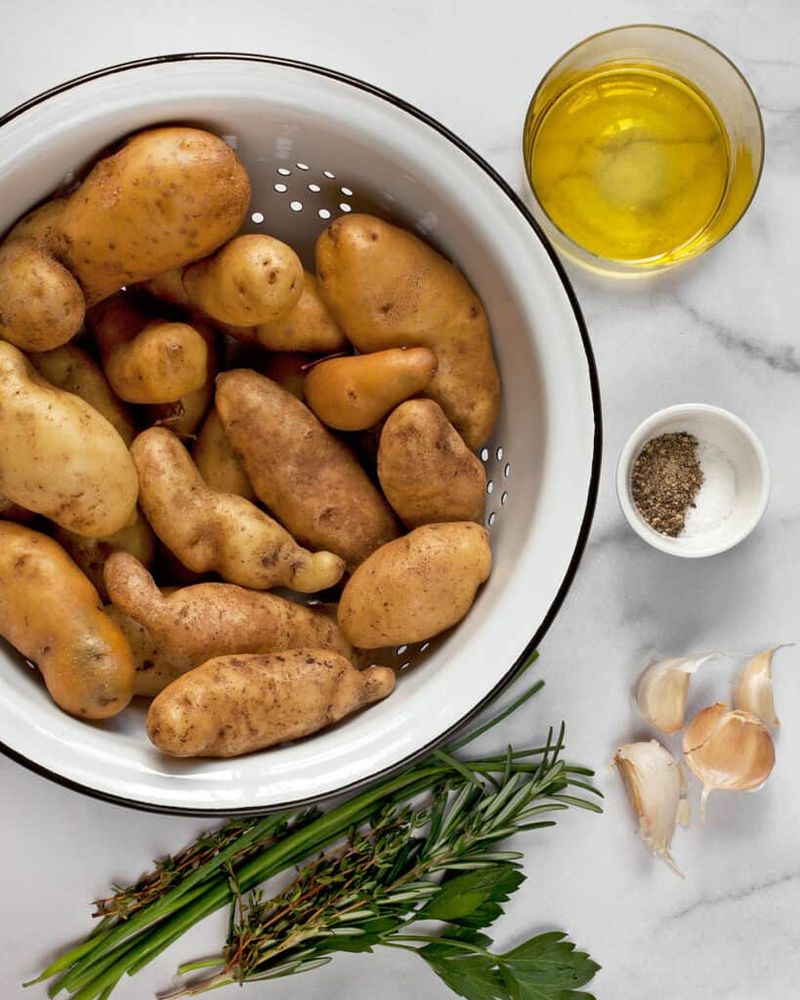
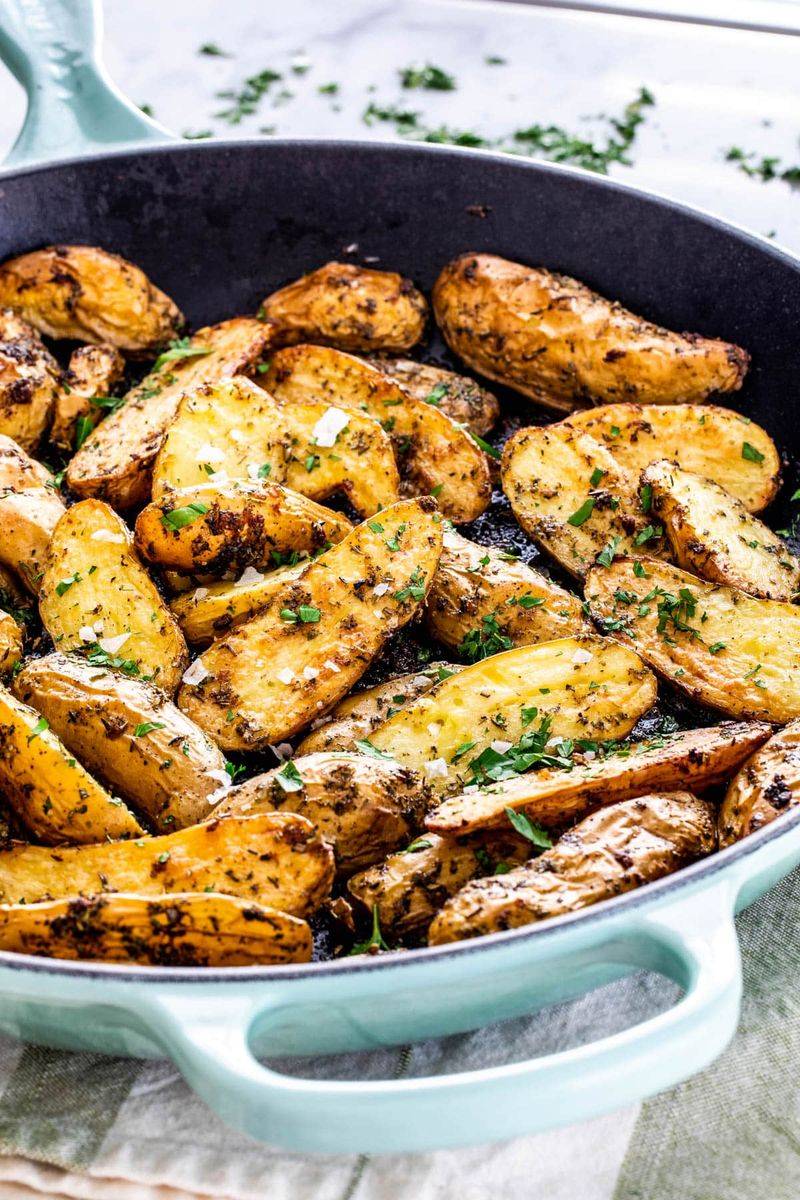
9. Toss With Olive Oil And Herbs
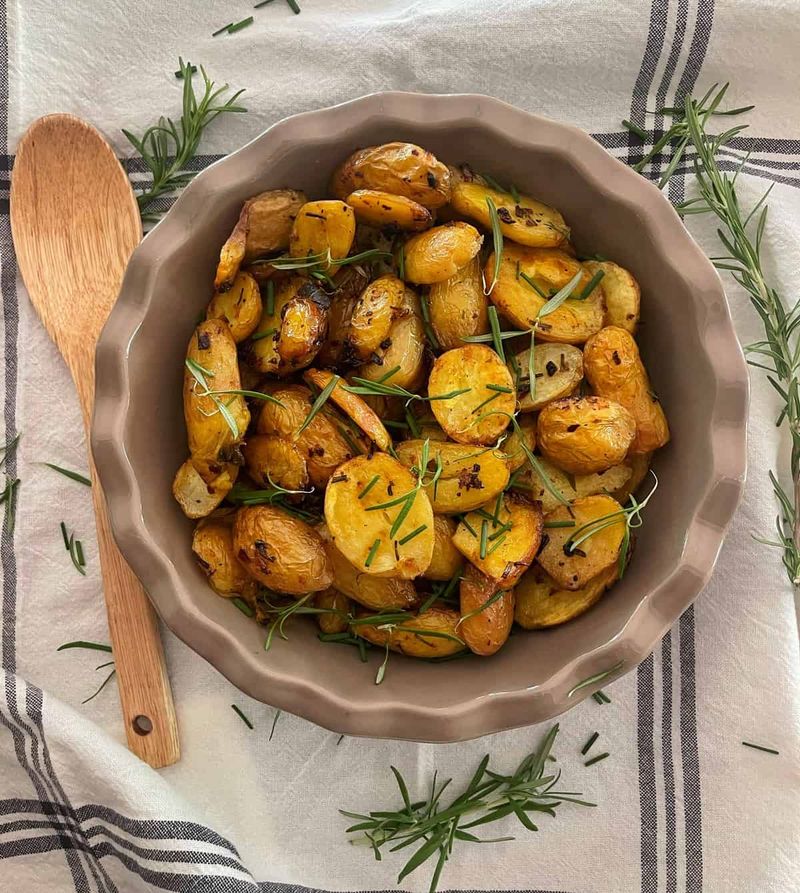
Naked potatoes are sad potatoes! Create a flavor party by tossing your fingerlings with quality olive oil and fresh herbs before cooking. The oil conducts heat evenly while helping seasonings stick to every nook and cranny.
For a foolproof combo, try rosemary, thyme, and garlic with a pinch of smoked paprika. Don’t be stingy with the oil – about 1 tablespoon per pound of potatoes ensures proper browning without greasiness.
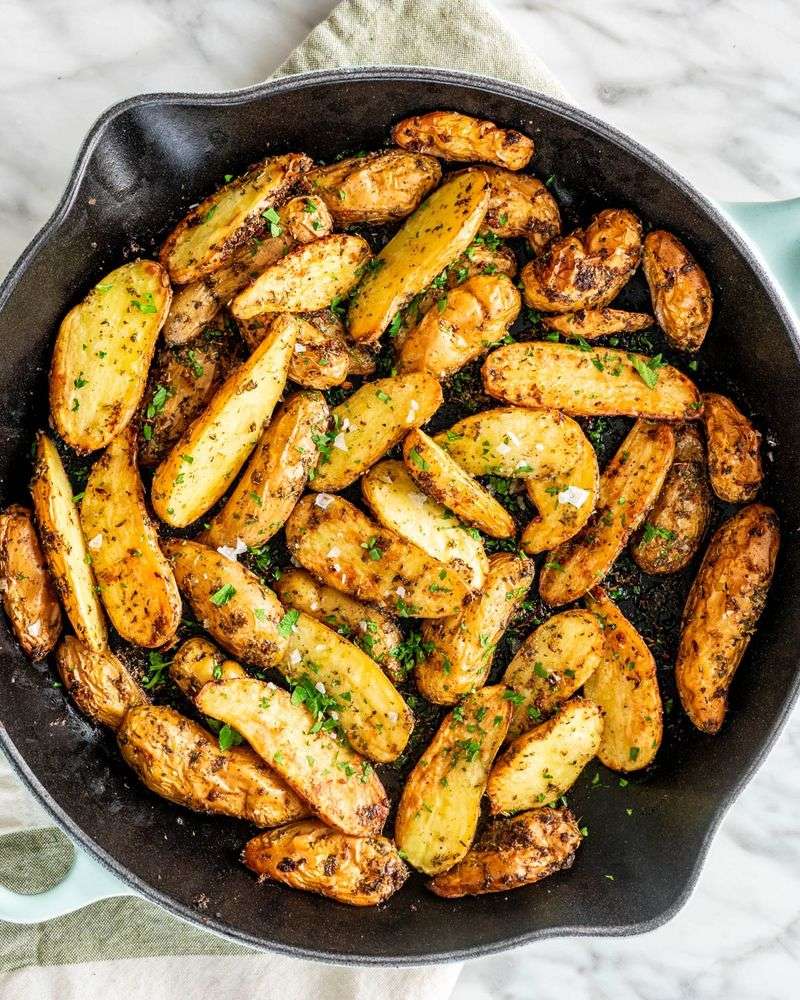
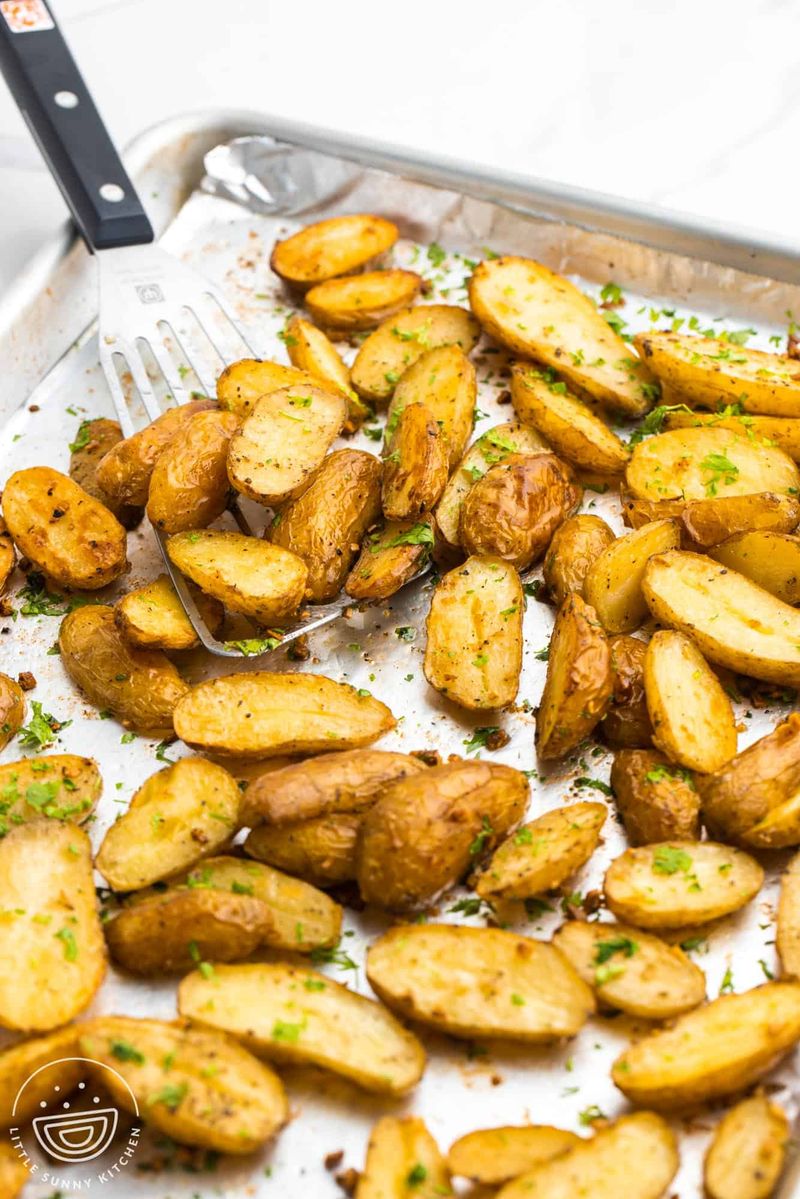
10. Don’t Overcrowd The Pan
Potato claustrophobia is real! Cramming too many fingerlings onto one baking sheet turns your roasting adventure into a steaming disaster. Each potato needs personal space – think first-class seating, not economy.
When potatoes touch during roasting, they steam each other instead of browning. The result? Pale, soft potatoes instead of crispy, caramelized gems. Use two pans if needed or roast in batches. Arrange your fingerlings cut-side down with at least half an inch between pieces.
11. Flip Halfway Through
Lazy cooks skip the flip – and miss out on potato perfection! Giving those fingerlings a mid-roast turn ensures even browning and prevents the dreaded burnt-bottom syndrome. Set a timer for the halfway mark (usually 12-15 minutes in).
When it chimes, open the oven and quickly flip each potato piece using a thin metal spatula. The already-golden undersides should now face up, allowing the other sides to get equally bronzed.
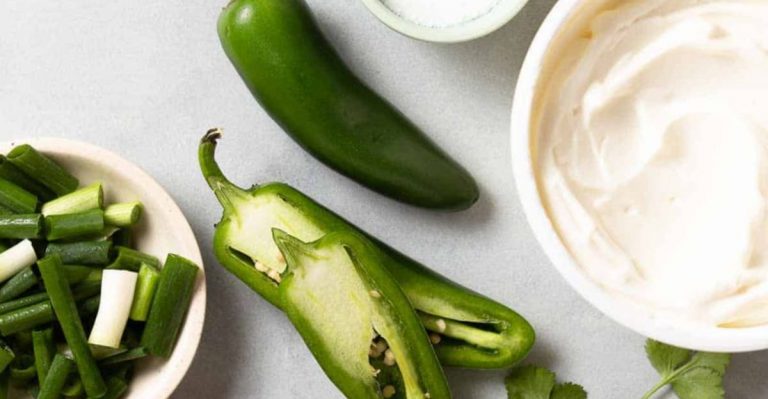
12. Finish With Acid
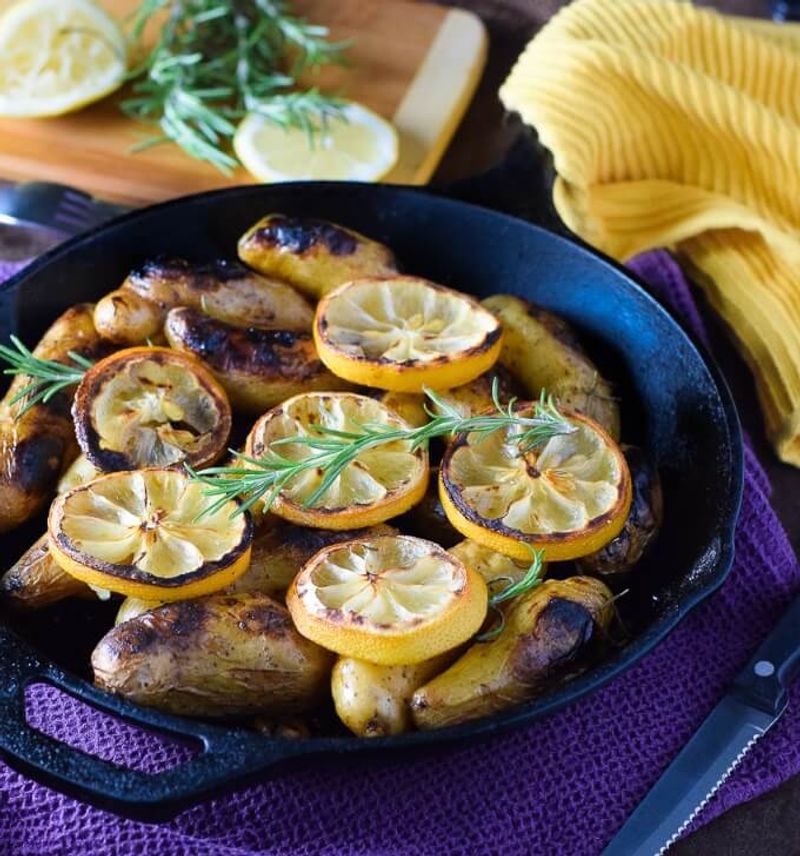
POW! A splash of acidity after cooking cuts through the richness of roasted fingerlings like lightning through clouds. This final flourish balances flavors and wakes up your taste buds. Try a squeeze of lemon juice, a drizzle of sherry vinegar, or even a spoonful of tangy yogurt sauce.
The acid brightens the earthy potato flavor and makes each bite more complex and interesting. Wait until just before serving to add your acidic element – applying it too early will make potatoes soggy.
13. Use Leftovers For Hash Or Salads
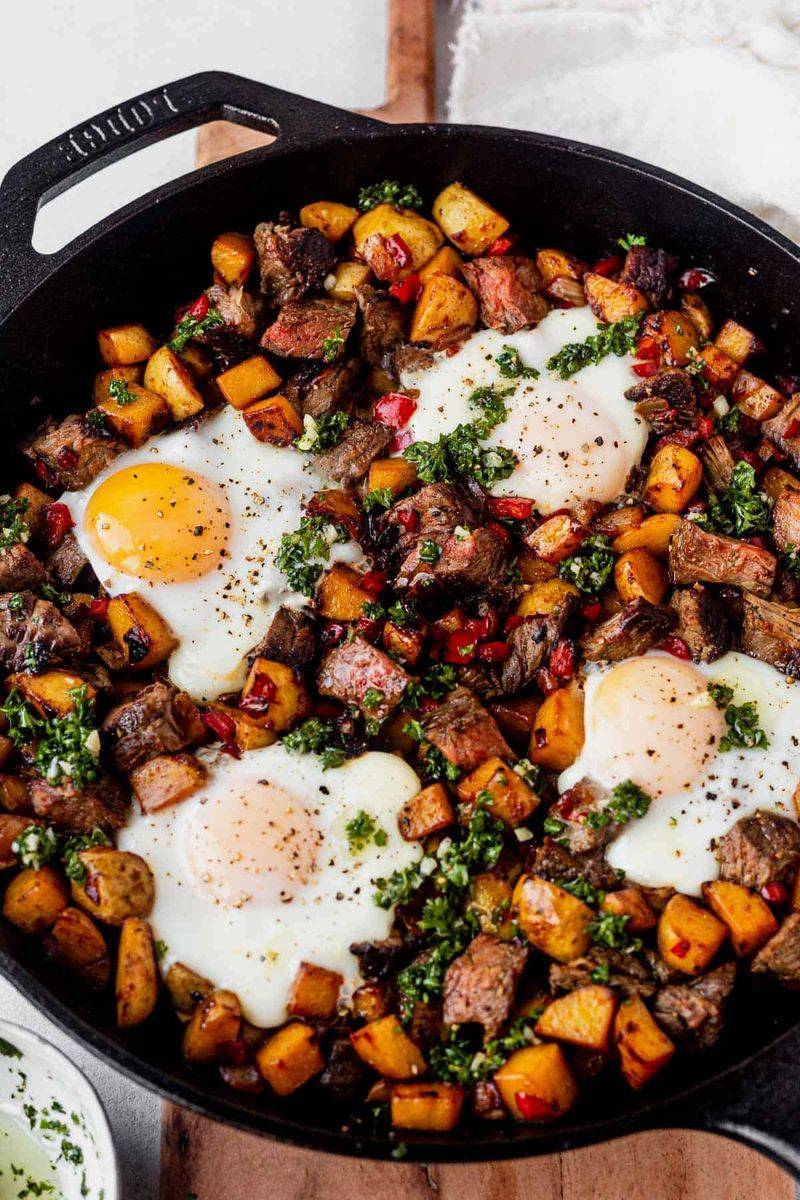
Leftover fingerlings? Lucky you! These little gems transform overnight into the foundation for breakfast masterpieces or lunch sensations that’ll make your colleagues jealous. For a quick morning hash, chop cold fingerlings into chunks and crisp them in a hot skillet with onions and bell peppers.
Add an egg on top and breakfast is served! Or cube them for potato salad with a mustard vinaigrette, fresh herbs, and whatever crunchy vegetables you have on hand.