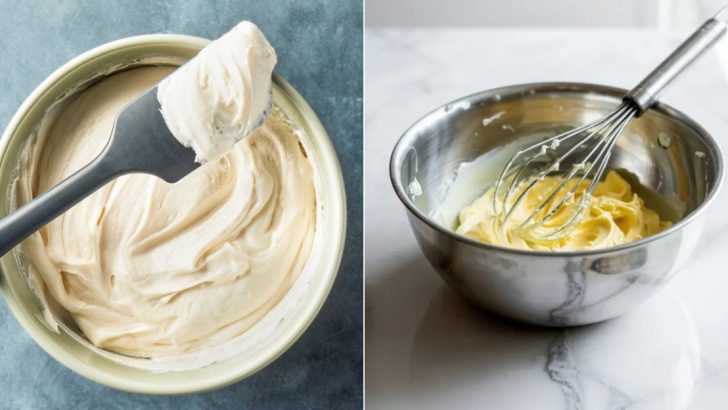
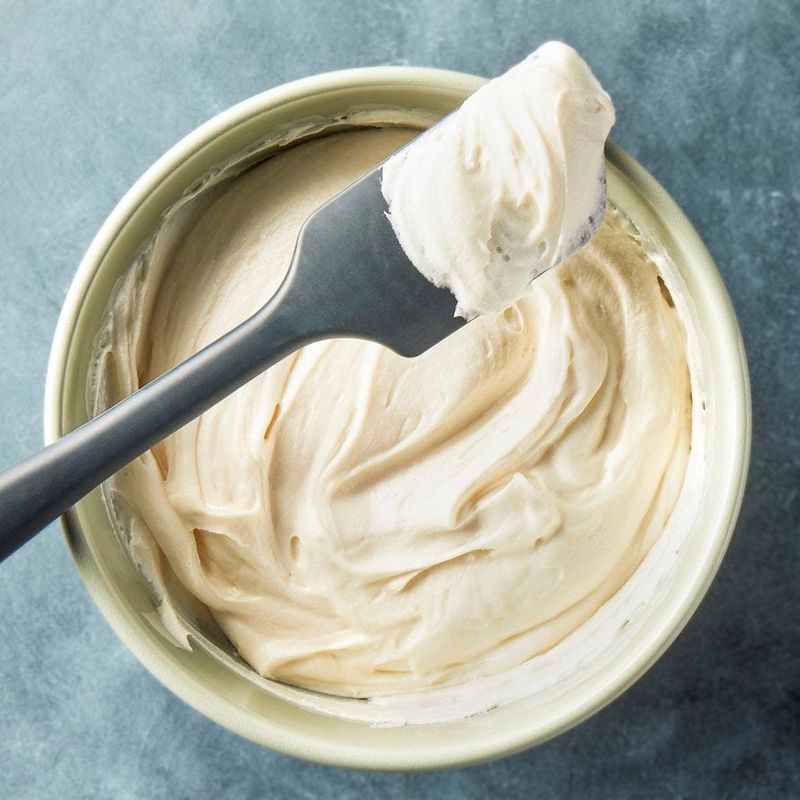
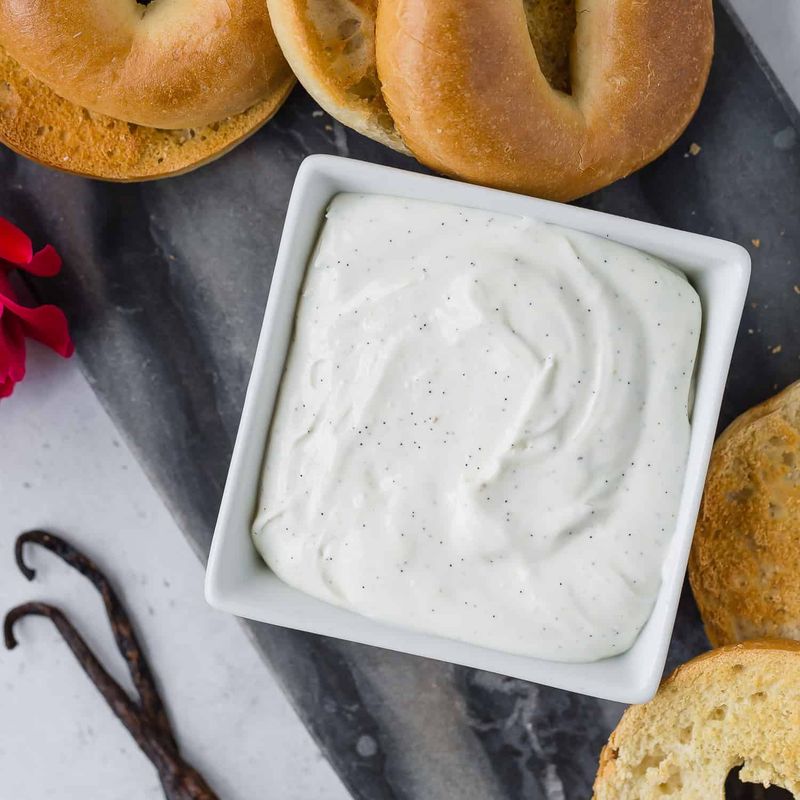
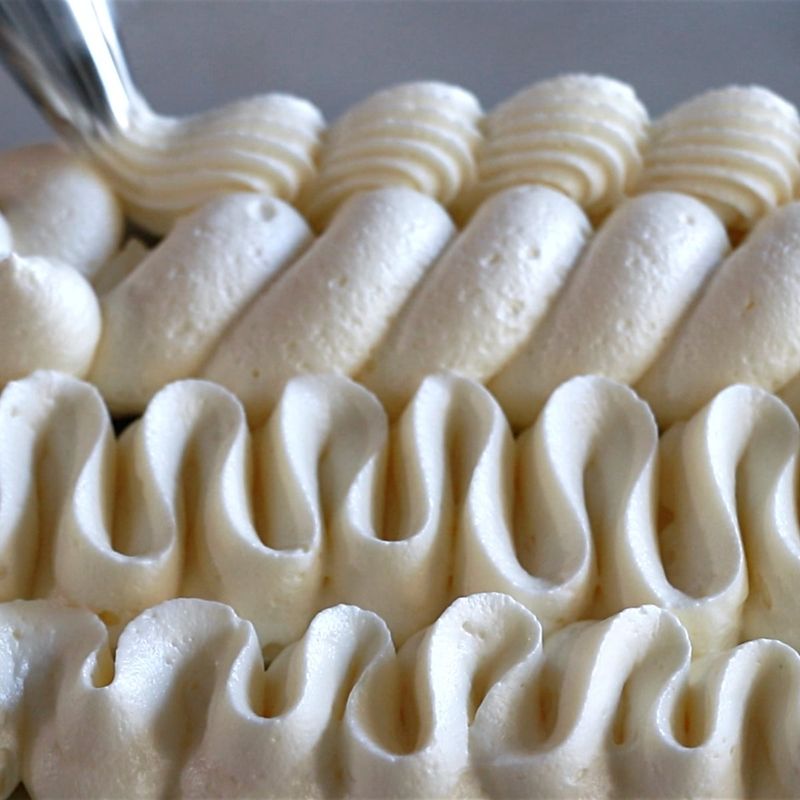
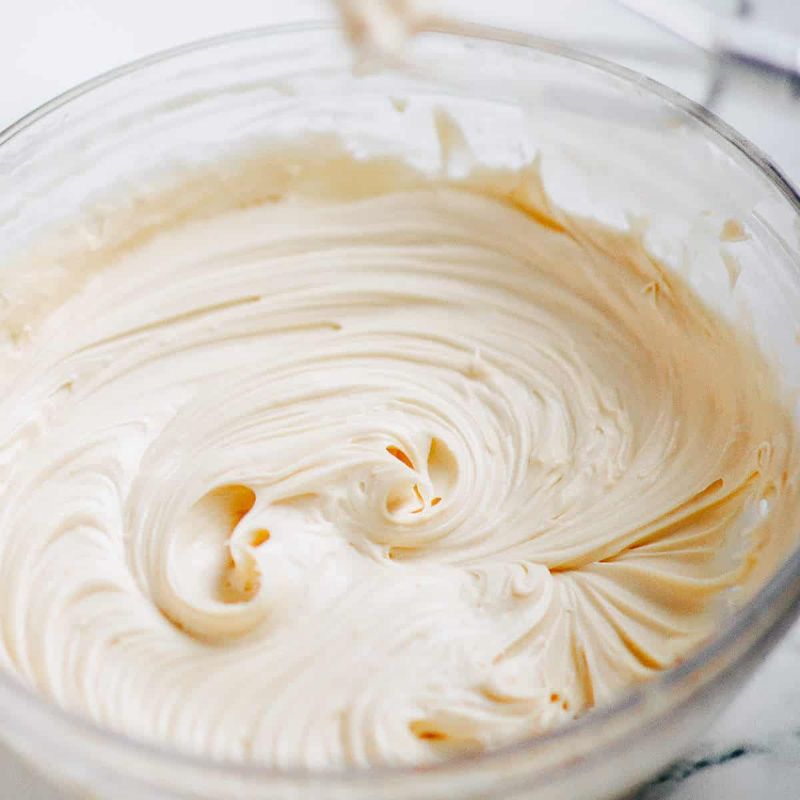
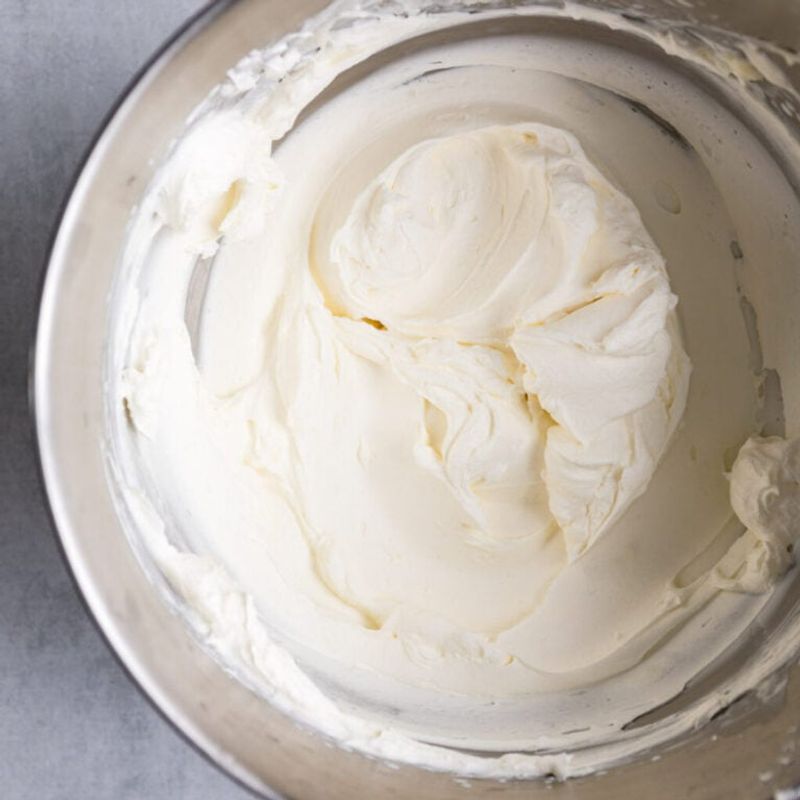
Cream cheese frosting is the crowning glory on many beloved desserts, from carrot cake to red velvet cupcakes.
Getting that perfect silky-smooth texture can sometimes feel like kitchen wizardry gone wrong. Fear not, frosting fans!
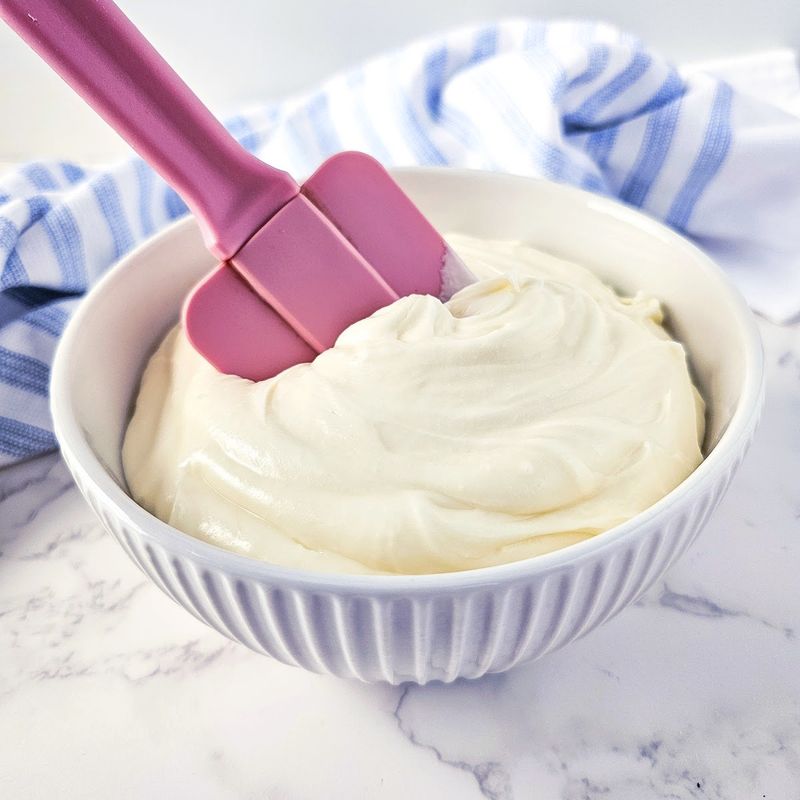
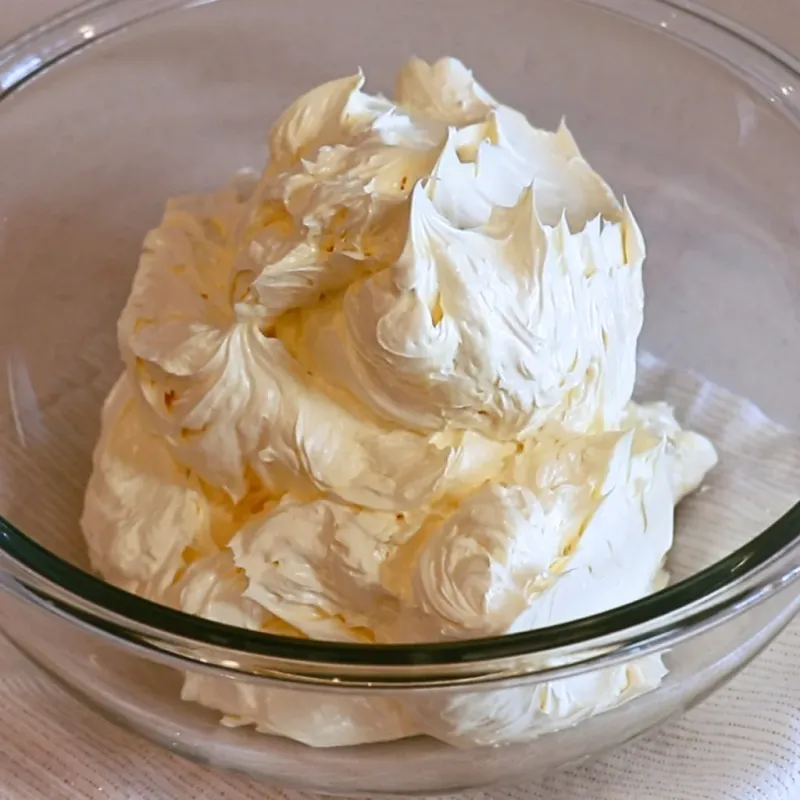
I’ve gathered fifteen foolproof techniques to ensure your cream cheese frosting turns out velvety and lump-free every single time.
1. Room Temperature Ingredients Are Non-Negotiable

Cold cream cheese is the arch-nemesis of smooth frosting! Leave your cream cheese and butter on the counter for at least an hour before mixing.
Impatient bakers beware – microwaving as a shortcut often leads to partially melted disasters. The patience pays off with a perfectly blendable base that whips without a single lump in sight.
2. Sift Your Powdered Sugar Like A Pro
Those annoying lumps in your frosting? Most of the time, it’s ‘cause the powdered sugar wasn’t sifted properly.
Grab a fine-mesh sieve and make it rain sugar from above. This extra step might seem fussy, but those 30 seconds of sifting will save you minutes of frustrated mixing later. Your taste buds will thank you!
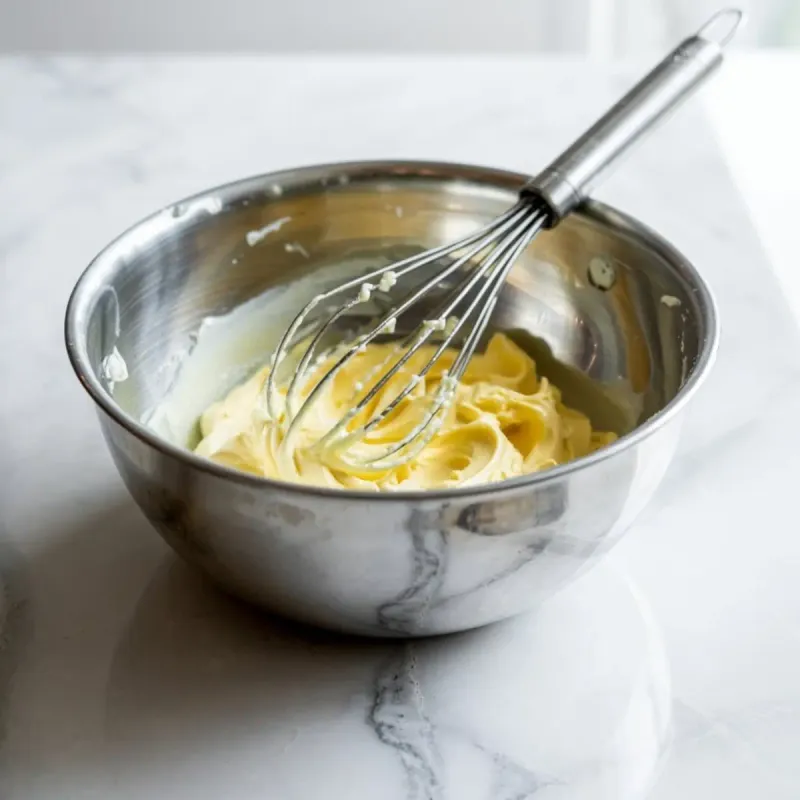
3. Whip The Cream Cheese First
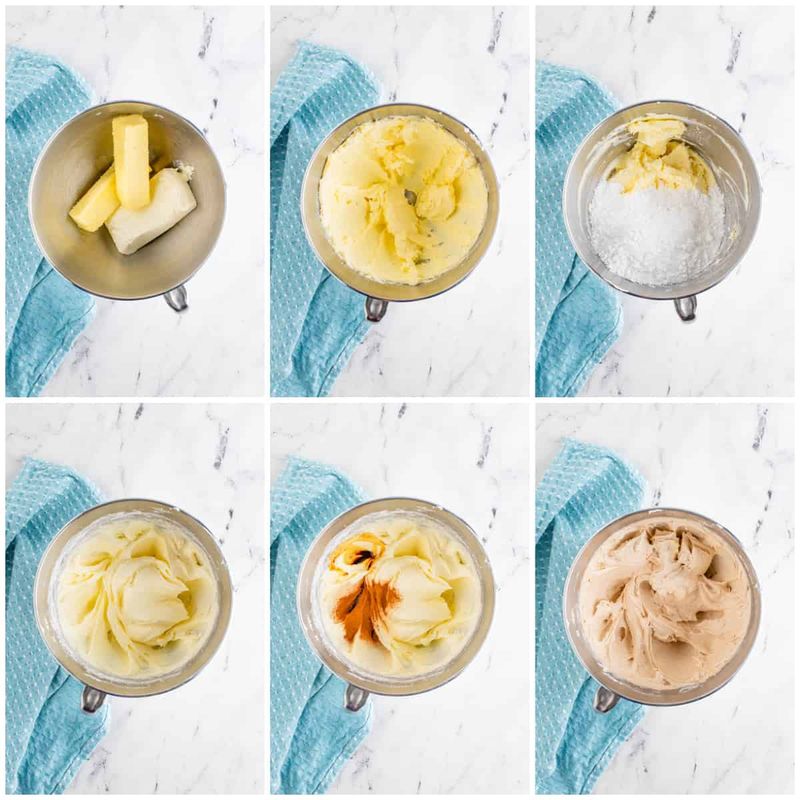
How about starting with just the cream cheese? Beat it solo until completely smooth before adding any other ingredients.
This foundational step creates the silky base upon which frosting dreams are built. Once your cream cheese resembles a fluffy cloud, then – and only then – should you introduce butter to the party. Try this method for dramatically smoother results!
4. Butter Quality Makes A Difference

Though bargain butter might save pennies, it won’t save your frosting! Higher fat-content European-style butters create a more luxurious texture than their water-filled counterparts.
Splurge on the good stuff for special occasions – your cake deserves it! The extra fat helps emulsify everything beautifully, resulting in that dreamy, melt-in-your-mouth consistency everyone craves.
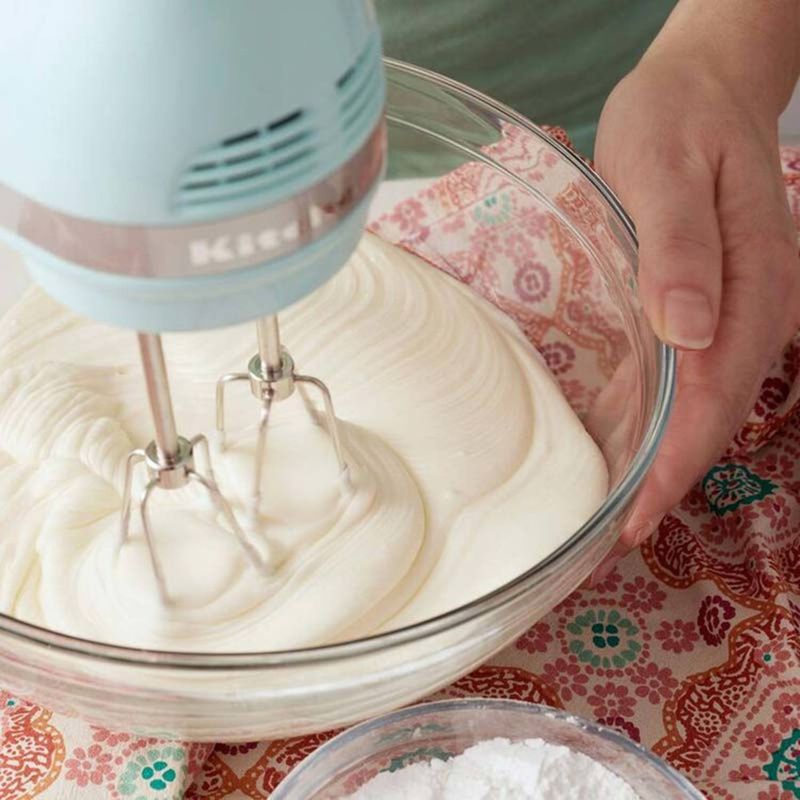
5. The Paddle Attachment Is Your BFF

Forget the whisk attachment – it’s a rookie mistake! Your stand mixer’s paddle attachment creates the perfect texture without incorporating excessive air.
Too much air leads to bubbles that pop later, causing that dreaded “cratered” look. The paddle gently creams ingredients together while maintaining structural integrity. Switch to this game-changing tool and watch your frosting transform!
6. Add A Splash Of Heavy Cream

If your frosting seems too thick or stiff, a tablespoon of heavy cream works magic! Unlike milk, heavy cream adds richness without thinning too much.
Pour it in gradually while mixing at low speed. The transformation happens almost instantly – from dense and difficult to silky and spreadable. This trick saves countless frostings on the brink of failure!
7. Vanilla Bean Paste > Extract
What if I told you that switching from extract to vanilla bean paste could revolutionize your frosting? Those tiny black specks aren’t just pretty – they signal authentic flavor!
The paste’s thicker consistency doesn’t add unwanted moisture like liquid extract. Your frosting maintains the perfect texture while gaining gourmet visual appeal and deeper flavor. Share your secret when guests ask about those fancy little flecks!
8. Cream Cheese Brands Matter
Philadelphia isn’t just a city – it’s the gold standard for cream cheese frosting! Generic brands often contain more water and stabilizers that affect texture.
Bargain brands might save you a dollar but cost you smoothness. Full-fat, name-brand cream cheese provides consistent results that make your frosting lusciously professional. Can you really put a price on frosting perfection?
9. Low Speed Is The Secret Weapon
Cranking that mixer to high speed seems efficient, but patience yields perfection! Start at the lowest setting when combining ingredients.
Gradually increase to medium-low only after everything’s incorporated. This gentle approach prevents air pockets and that dreaded “too fluffy then deflated” phenomenon. Slow and steady wins the frosting race – your careful restraint will be rewarded!
10. Chill Between Steps For Structure
Though room temperature ingredients are essential for starting, strategic chilling creates magical structure! After initial mixing, pop your bowl in the refrigerator for 10-15 minutes.
This cooling period allows fats to slightly firm up before adding sugar. The result? A more stable emulsion that holds its shape beautifully. This pro technique is especially helpful for piping intricate decorations!
11. Add Sugar Gradually, Not All At Once
Dumping in all your powdered sugar at once? STOP RIGHT THERE! This common mistake guarantees a lumpy disaster.
Instead, sprinkle in sugar about 1/2 cup at a time while mixing on low. Each small addition should fully incorporate before adding more. This methodical approach creates the silkiest texture possible. Would you rather spend extra minutes mixing or hours fixing a ruined frosting?
12. Salt: The Unexpected Hero Ingredient
A tiny pinch of salt might seem counterintuitive in something sweet, but it’s actually revolutionary! Just 1/8 teaspoon of fine sea salt cuts through overwhelming sweetness.
Beyond balancing flavor, salt helps break down protein structures in the cream cheese, resulting in a smoother texture. This chef-approved secret elevates your frosting from amateur to gourmet with minimal effort. Try it once and you’ll never go back!
13. Scrape Down Those Bowl Sides
Ignoring the sides of your mixing bowl? That’s where lumps love to hide! Even with the best mixer, ingredients cling to the edges and avoid getting properly incorporated.
Stop the mixer frequently and get intimate with your spatula. Thorough scraping ensures every bit gets mixed to the same perfect consistency. This simple habit separates the good bakers from the great ones!
14. Cornstarch Trick For Stability
Who knew that a teaspoon of cornstarch could transform your frosting game? This baker’s secret weapon stabilizes frosting in warm conditions without changing the flavor.
Mix it with your powdered sugar before adding to prevent any clumping. Your frosting will hold its shape beautifully even on hot days. Perfect for summer weddings or outdoor parties where melting is a concern!
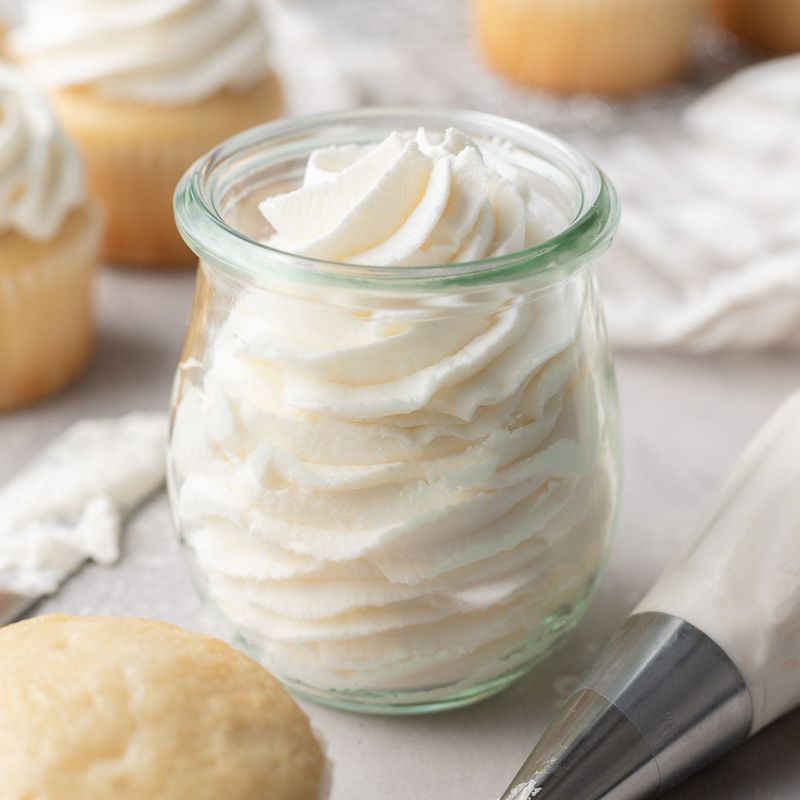
15. Final Whip On High Speed
After all ingredients are perfectly incorporated at low speed, a brief 30-second blast on high creates magic! This final flourish incorporates just enough air for that cloud-like texture without destabilizing.
Watch carefully – overmixing leads to runny results. The perfect moment comes when the frosting forms soft peaks that gently fall over. Stop immediately when you see this happening and prepare for frosting perfection!