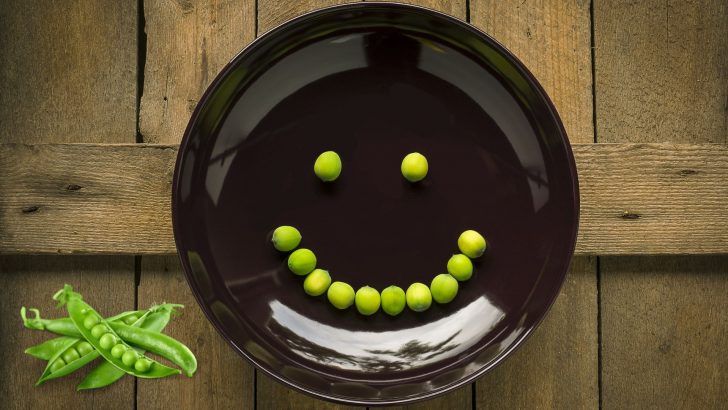
Peas may seem simple, but even the most seasoned cooks can make mistakes when working with them. Whether you’re tossing them into a salad or mixing them into a creamy pasta, a few common errors can leave your dishes lackluster.
Here are 16 pea mistakes that could be sabotaging your meals and how to fix them!
1. Overcooking Your Precious Green Pearls

Mushy, dull-colored peas? Yuck! Overcooking transforms these vibrant veggies into sad, soggy balls that lose both nutrients and flavor.
Quick-cooking is the secret – just 2-3 minutes for frozen peas and 3-5 for fresh. Remember: peas continue cooking from residual heat even after you’ve removed them from the stove!
2. Skipping The Ice Bath Plunge
Ever wondered why restaurant peas stay brilliantly green? They shock them in ice water! This simple step halts the cooking process immediately.
Without this crucial cold dunk, your peas continue cooking from their own heat, turning that gorgeous green into an unappetizing olive color. Grab a bowl of ice water and give those peas the polar plunge they deserve!
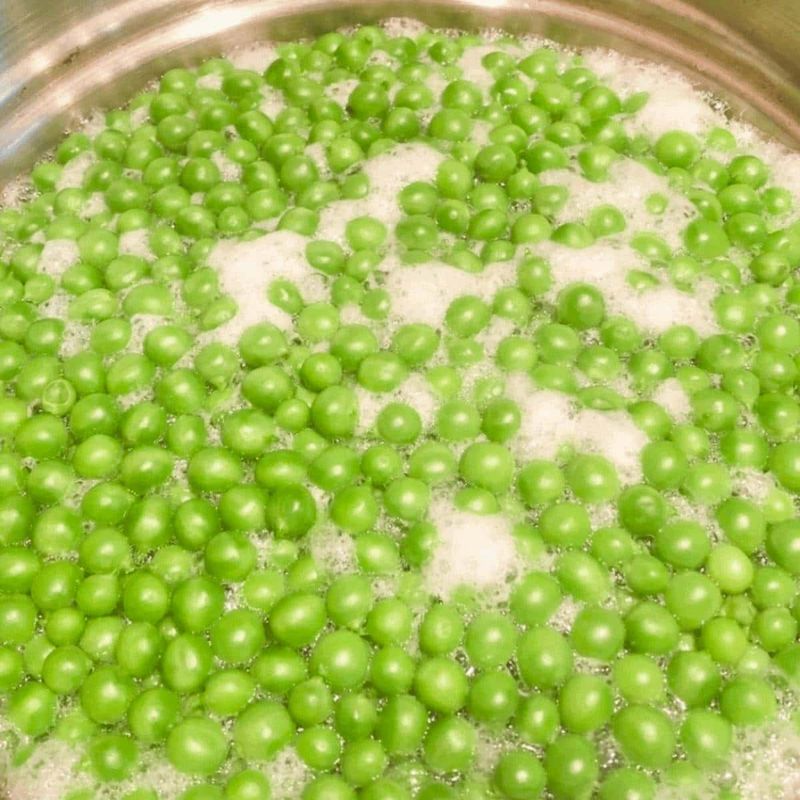
3. Forgetting To Season The Water
Plain water makes plain peas! Though these little green orbs have natural sweetness, they crave a salty bath to truly shine.
Adding salt to your cooking water seasons peas from the inside out, not just on the surface. For extra flavor magic, try a pinch of sugar too – it enhances their natural sweetness without making them actually sweet.
4. Using Ancient Frozen Peas

Those forgotten peas lurking in the back of your freezer? They’re probably suffering from freezer burn! Peas that have been frozen too long develop ice crystals and lose their sweet pop.
Fresh-frozen peas should be used within 3-4 months for optimal flavor. If your bag has mysterious chunks or excessive frost, it’s time to bid those peas farewell and start fresh!
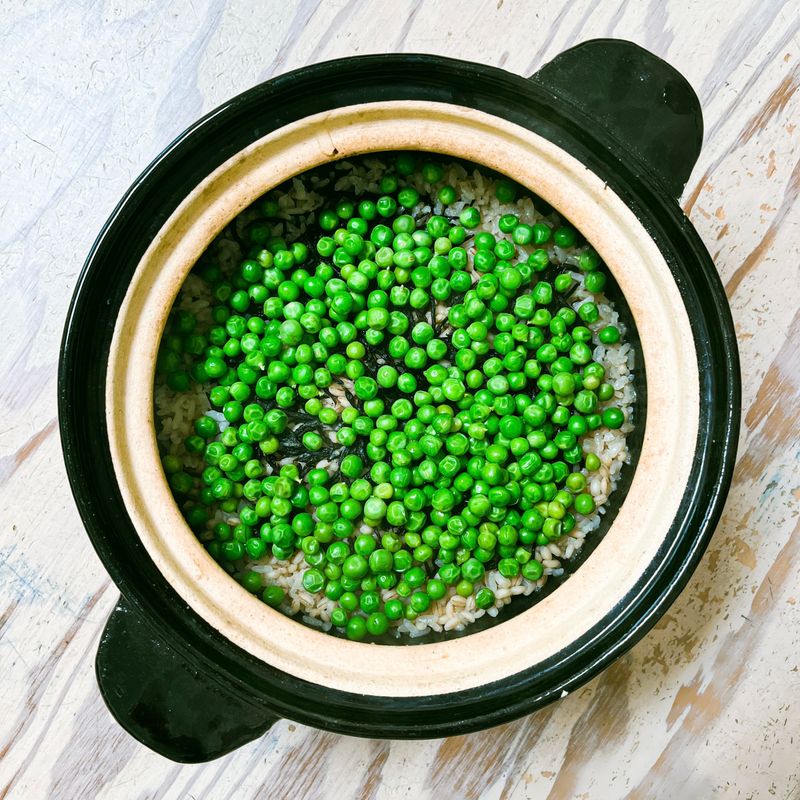
5. Adding Peas Too Early In Recipes
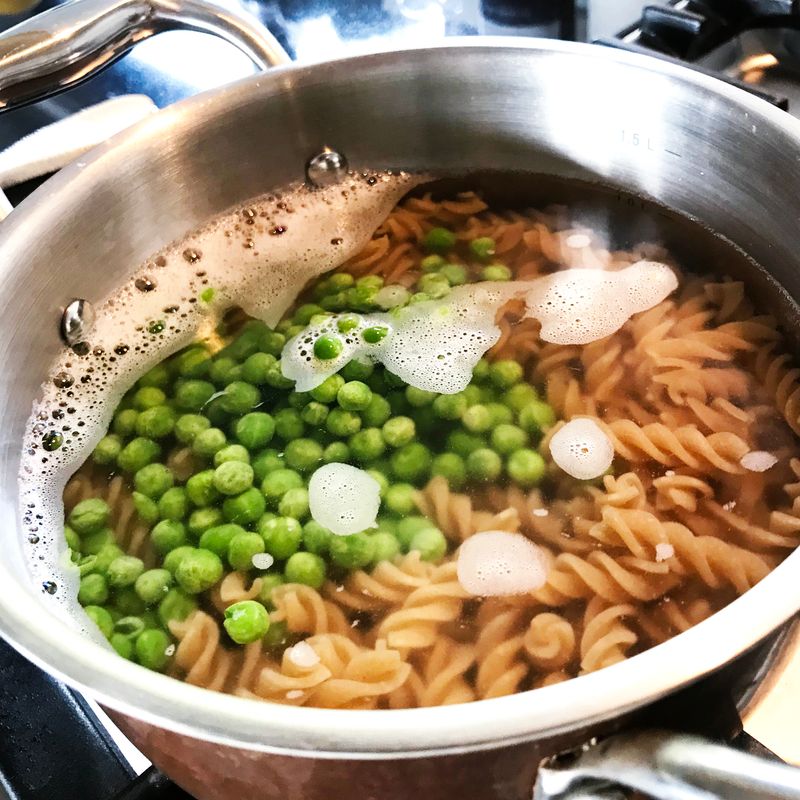
Throwing peas into your soup or pasta sauce at the beginning? Major mistake! These delicate green gems need minimal cooking time.
Add peas in the final minutes of cooking to preserve their bright color, sweet flavor, and satisfying texture. For stir-fries, they should be the last ingredient to hit the pan. Your dinner guests will notice the difference!
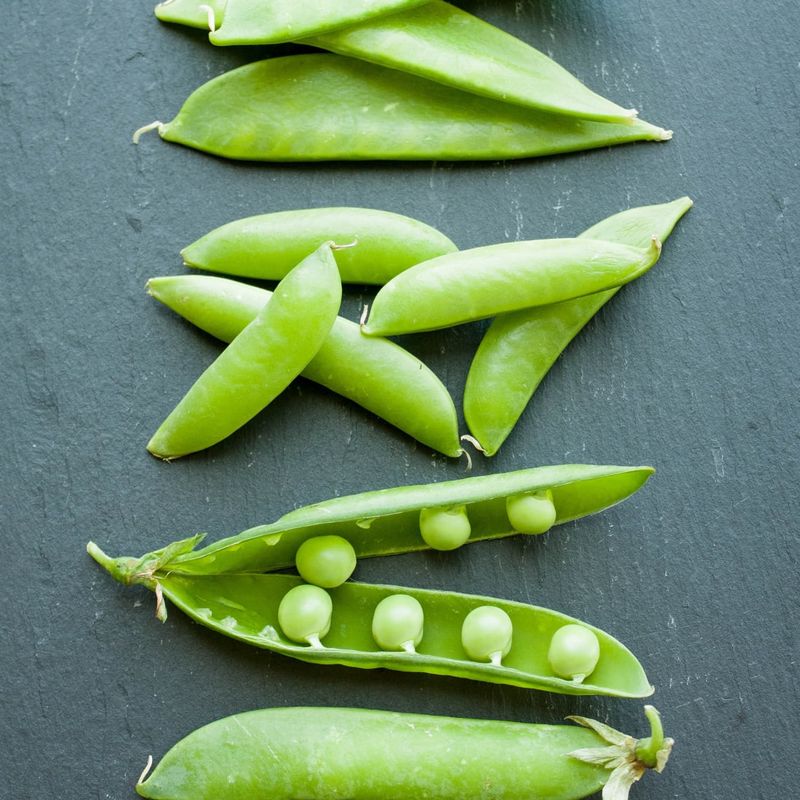
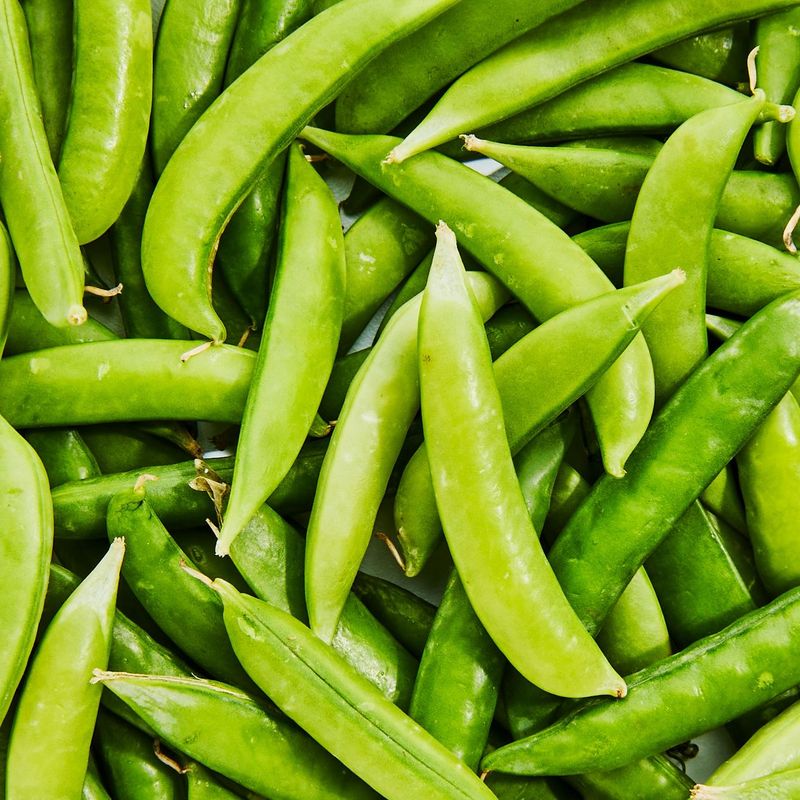
6. Ignoring Fresh Pea Pods
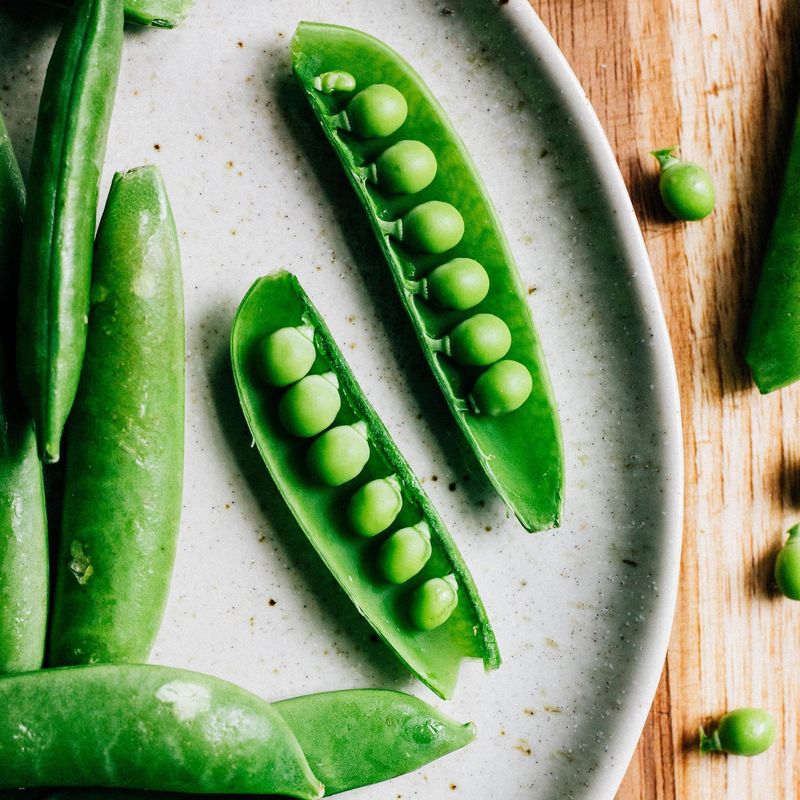
What if I told you the pods of sugar snap and snow peas are just as delicious as what’s inside? Many cooks wastefully discard these flavorful treasures!
These edible pods add incredible crunch and sweetness to stir-fries and salads. Unlike regular garden peas, these varieties are bred specifically for their tender, edible pods. Don’t toss that extra flavor and fiber in the trash!
7. Boiling When You Should Be Steaming

Boiling peas? How barbaric! This harsh cooking method causes nutrients to leach into the water, which most folks pour right down the drain.
Steaming preserves up to 15% more nutrients while maintaining that perfect texture. Simply place peas in a steamer basket over simmering water for 2-3 minutes. Your body will thank you for those extra vitamins and minerals!
8. Overlooking Pea Shoots And Tendrils

Holy flavor bombs! Pea shoots are the culinary world’s best-kept secret! These tender, curly greens taste exactly like sweet peas but in leafy form.
Available at farmers’ markets in spring, these delicate tendrils add incredible pea flavor to salads and stir-fries. They cook in seconds and wilt like spinach. Grab these seasonal treasures when you spot them – chefs pay premium prices for these delicacies!
9. Thawing Frozen Peas Before Cooking
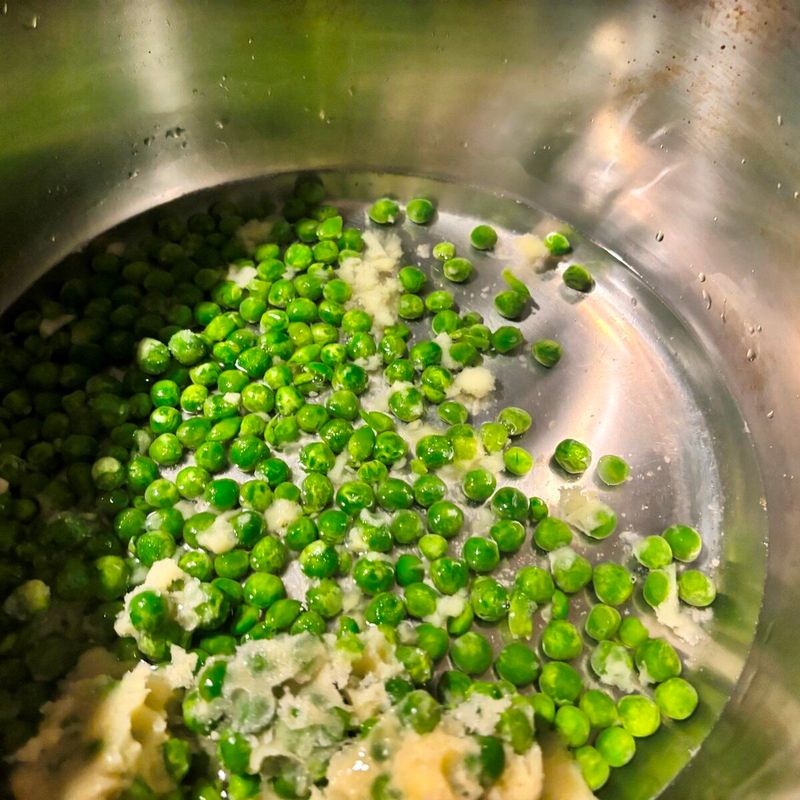
Contrary to popular belief, frozen peas should NEVER be thawed first! This counterintuitive cooking rule exists because frozen peas are blanched before freezing.
Thawing causes them to lose their signature snap and become wrinkly. Toss those frosty little spheres directly into your hot dish – they’ll defrost in seconds while maintaining their shape and brightness. Science is cool, isn’t it?
10. Neglecting To Pair With Mint
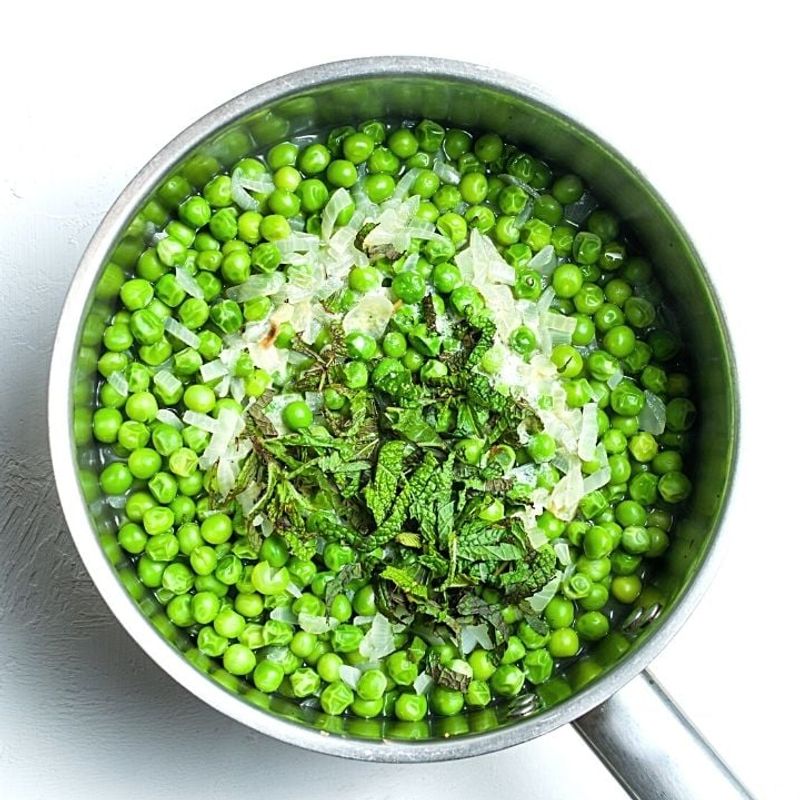
Peas and mint – name a more iconic duo! These two were practically made for each other, yet many home cooks never experience this flavor marriage made in heaven.
The bright, cooling quality of mint perfectly complements peas’ natural sweetness. Try adding torn mint leaves to your next pea dish, or blend them together in a spring soup. Your taste buds will do a happy dance!
11. Letting Split Peas Get Mushy
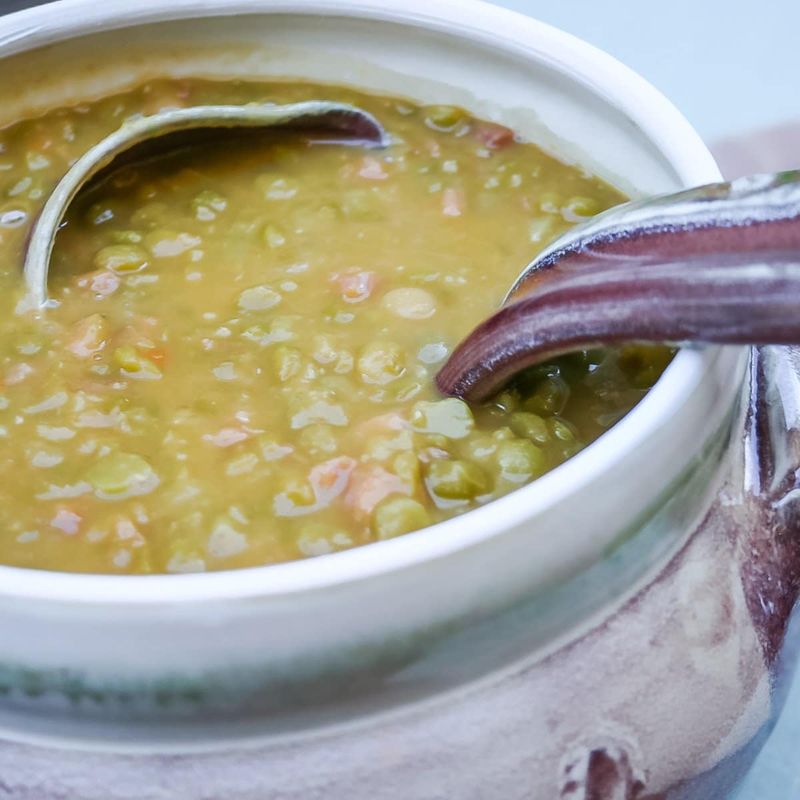
Split pea soup shouldn’t resemble baby food! Though creamy is good, many cooks obliterate these legumes beyond recognition.
For perfect texture, cook split peas just until tender but still with slight integrity – about 30 minutes less than most recipes suggest. Leave some peas less cooked than others for delightful texture variation. Your split pea soup deserves this upgrade!
12. Assuming All Peas Are Created Equal
Garden peas, snow peas, sugar snaps, and split peas – they’re as different as siblings in a family! Each variety has its own cooking requirements and flavor profile.
Sweet garden peas need quick cooking and shelling. Snow peas require string removal but cook pod and all. Sugar snaps need no preparation and are perfect raw. Know thy pea, and thy cooking shall prosper!
13. Discarding Those Flavorful Pea Pods
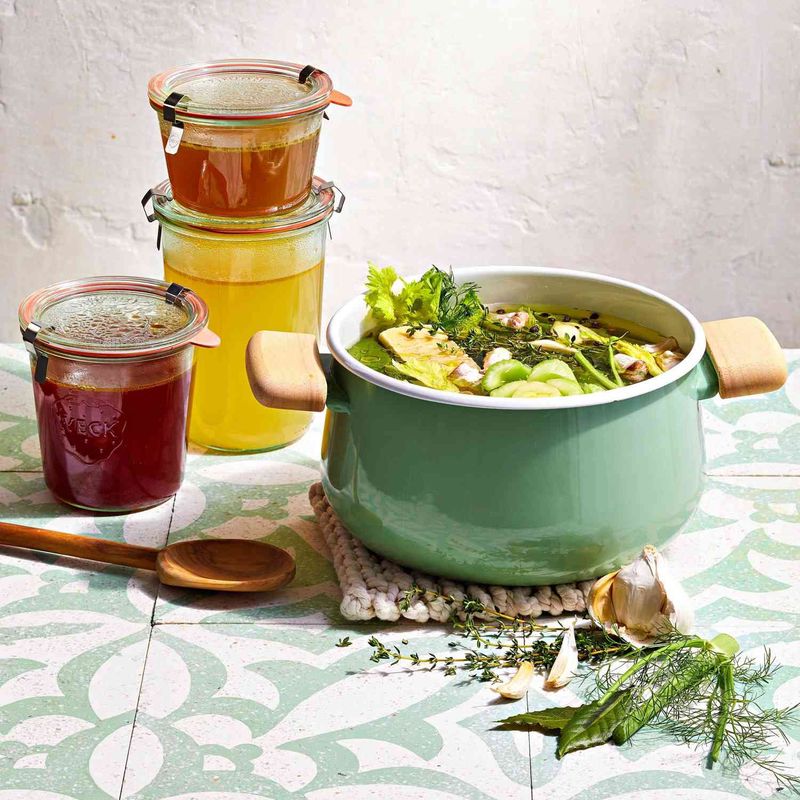
Tossing garden pea pods in the trash? You’re throwing away liquid gold! Those empty shells make an incredible vegetable stock base.
Simmer the pods with basic aromatics for 30 minutes, then strain for a sweet, green-tasting broth perfect for spring soups and risottos. Waste not, want not – your grandmother would be proud of this frugal flavor-boosting hack!
14. Forgetting To Double-Shell Fresh Peas
Fresh peas have a secret second skin that many cooks overlook! After shelling, these garden-fresh gems often retain a thin, transparent membrane that can be tough and bitter.
For ultimate tenderness, blanch shelled peas for 30 seconds, then gently squeeze each pea – the inner sweet pea will pop right out of its skin. Time-consuming? Yes.
Is it worth it for special dishes? Absolutely!
15. Pairing Peas With The Wrong Partners

Peas play favorites when it comes to flavor friends! These sweet green spheres clash horribly with acidic ingredients like tomatoes or vinegar, which overpower their delicate flavor.
Instead, pair peas with butter, cream, mild cheeses, bacon, ham, or fresh herbs. These complementary ingredients enhance rather than compete with peas’ natural sweetness. Proper pairings make these humble veggies truly shine!
16. Salting Peas After Cooking

Sprinkling salt on peas after they’re cooked? Amateur move! Surface-level seasoning can’t compare to salt that’s been absorbed during cooking.
Salt draws out moisture through osmosis, allowing flavor to penetrate the peas’ interior. For maximum flavor impact, always salt the cooking water, not the finished dish. This simple timing change will revolutionize your pea game forever!