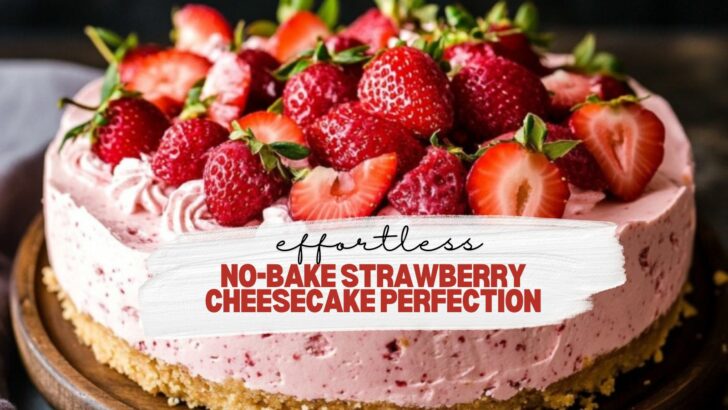
I love desserts that are easy to make but still wow everyone, and this No-Bake Strawberry Cheesecake is exactly that! It’s creamy, fruity, and totally effortless. Plus, you can get creative with the toppings to make it look extra fancy.
Let’s dive into some no-bake deliciousness!
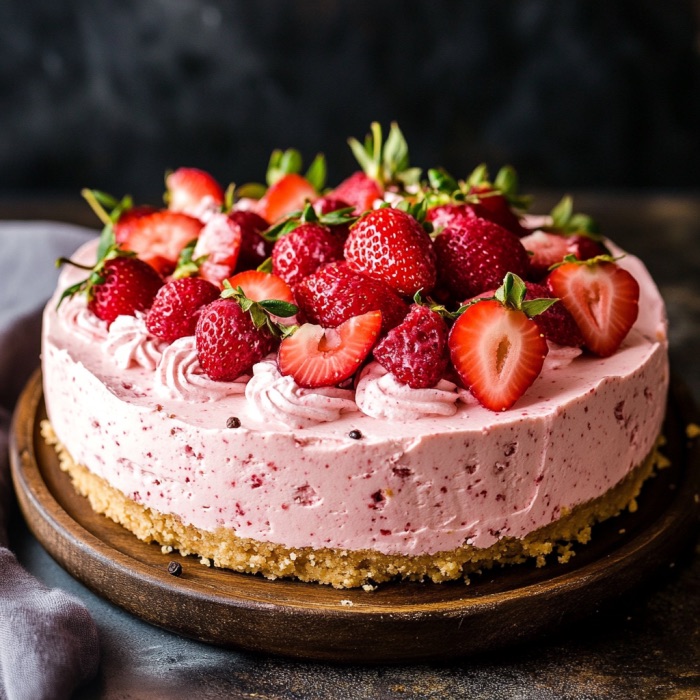
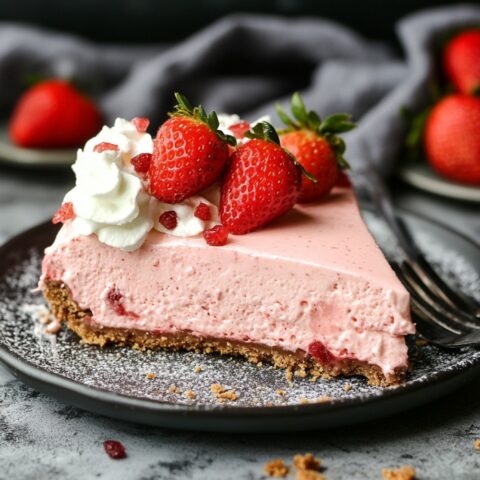
No-Bake Strawberry Cheesecake
Creamy, fruity, and no oven needed! Perfect for an effortless yet impressive dessert. 🍓
Ingredients
- 2 tablespoons water
- 3 cups plain biscuits (graham crackers or digestive biscuits)
- 2 ½ teaspoons) powdered gelatin, unflavored
- 3 cups fresh strawberries, hulled
- ¾ cup melted butter
- 1 ½ cups (12 fl oz) heavy whipping cream
- ⅓ cup granulated sugar
- 3 cups (24 oz) cream cheese
- Extra strawberries and whipped cream for decoration
Nutrition Information:
Yield: 12 Serving Size: 1Amount Per Serving: Calories: 387Total Fat: 25gSaturated Fat: 12gTrans Fat: 1gUnsaturated Fat: 11gCholesterol: 44mgSodium: 470mgCarbohydrates: 35gFiber: 2gSugar: 9gProtein: 7g
Instructions
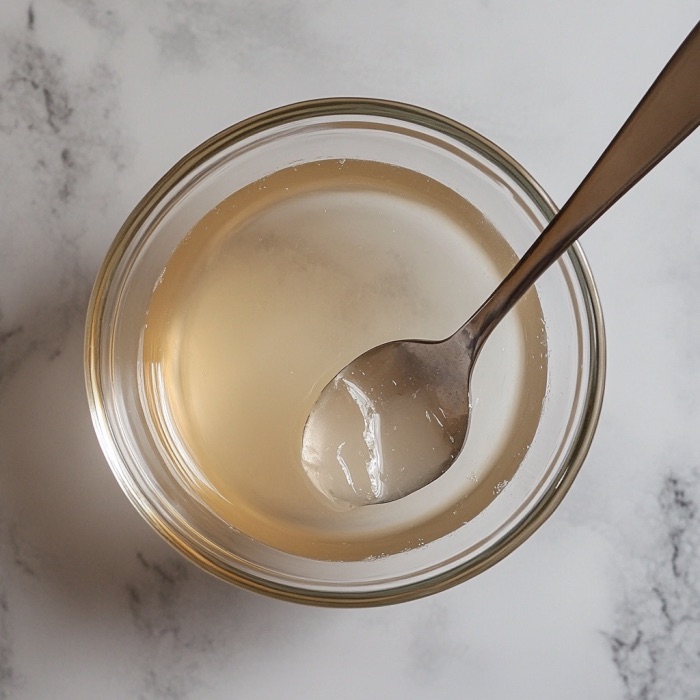
1. Prep the Gelatin: In a small bowl, mix the water and sprinkle the gelatin over the top. Let it sit for about 10 minutes to set while you get everything else ready.
2. Make the Cookie Crust: In a food processor, blend the biscuits until you have fine crumbs. Add the melted butter and blend until the mixture comes together like a cookie dough.
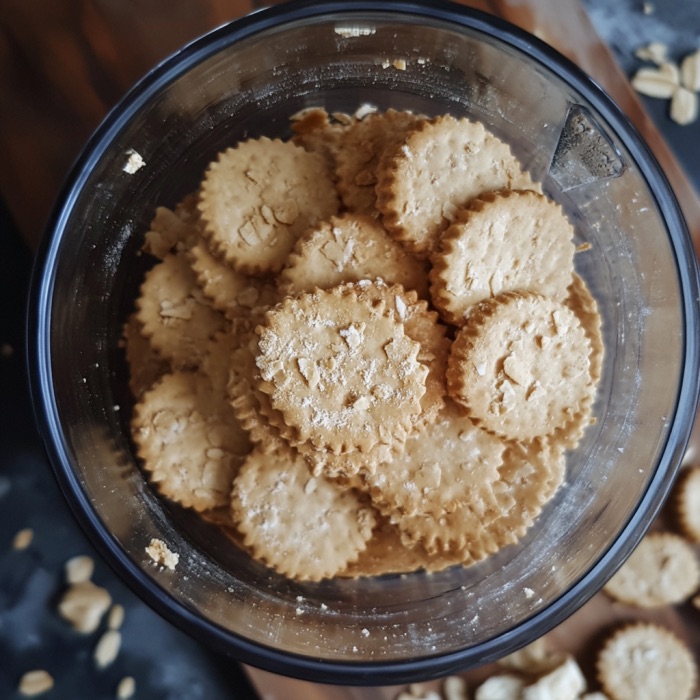
Press the cookie mixture evenly into the bottom of a 9-inch springform pan to create the crust. Cover and place it in the fridge to chill until you’re ready for it.
3. Melt the Gelatin: Microwave the set gelatin for about 20-30 seconds until it turns into a liquid. Let it cool for 5 minutes while you work on the filling.
4. Blend the Strawberries: In the food processor, puree the fresh strawberries and sugar together until smooth and lump-free. Add in the cream cheese and blend until the mixture is creamy and well combined.
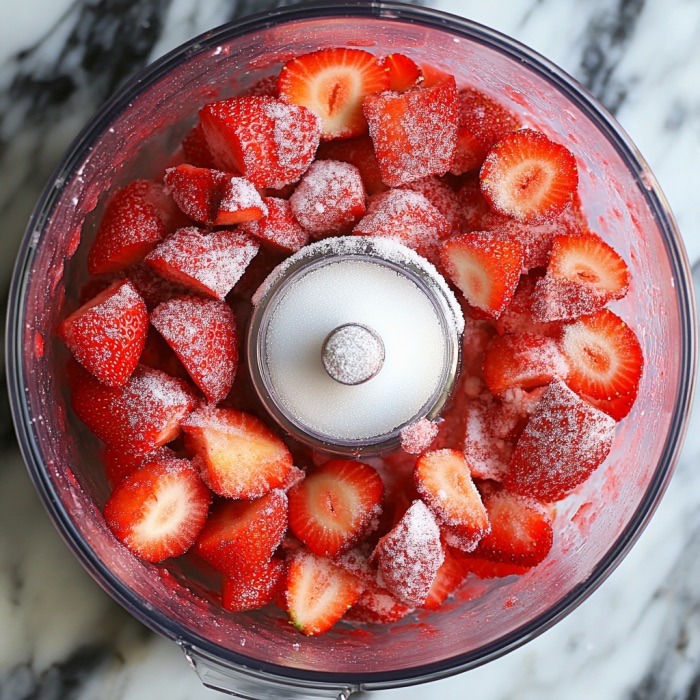
5. Add the Cream and Gelatin: With the food processor running, slowly pour in the heavy cream and the cooled liquid gelatin. Continue blending until the mixture thickens to a nice, creamy consistency.
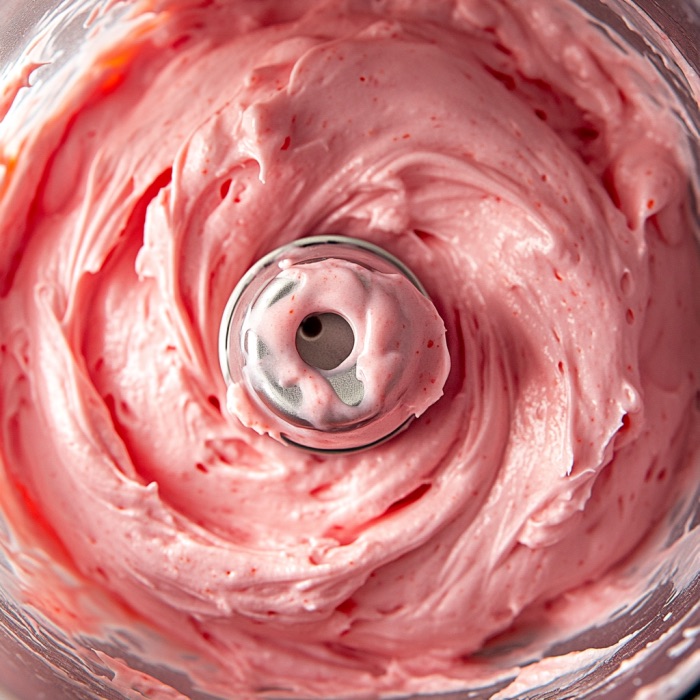
6. Assemble the Cheesecake: Pour the strawberry cheesecake filling over the chilled cookie crust, spreading it out evenly.
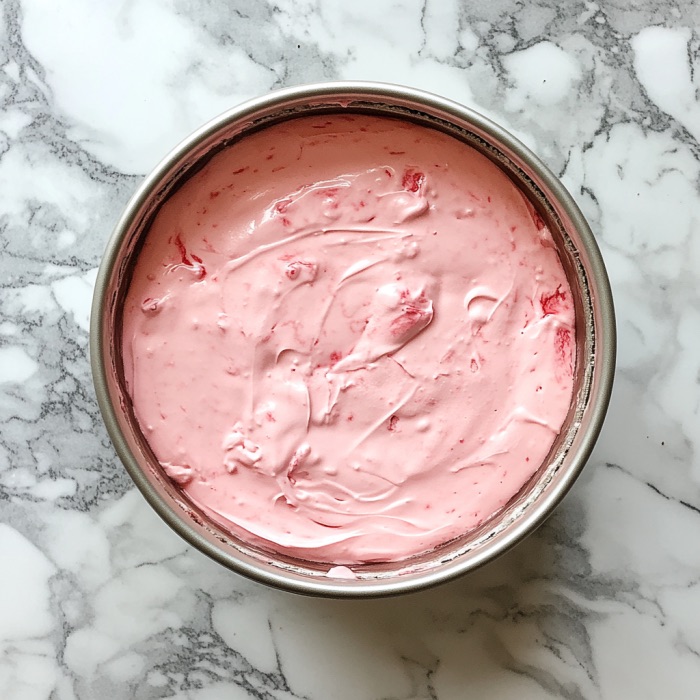
Cover the pan with plastic wrap and refrigerate for at least 6 hours, but overnight is even better to let those flavors really develop.
7. Decorate and Serve: When you’re ready to serve, pipe on some whipped cream rosettes and top with fresh strawberries. For an extra special touch, decorate with other goodies such as fruit, lemon slices or lavender.
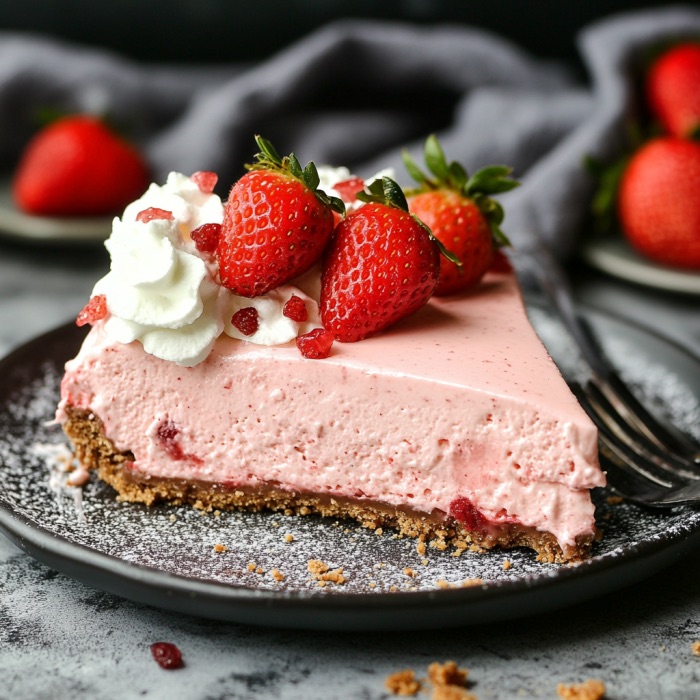
This stunning cheesecake can be stored in the fridge for up to 3 days, and it also freezes beautifully – perfect for making ahead! Get creative with your decorations and wow your guests with this impressive and delicious dessert.

