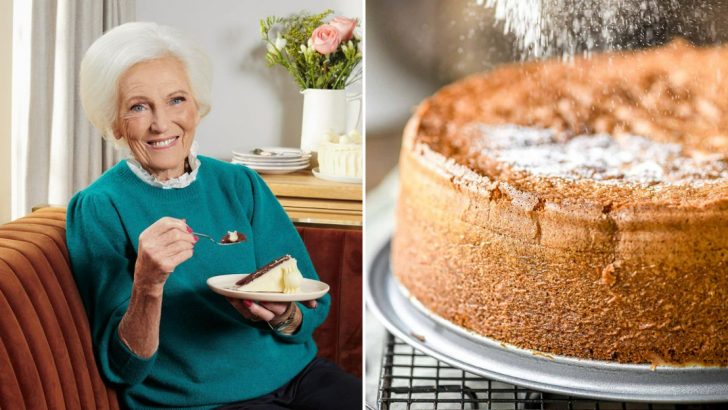
I’ve spent years in my kitchen, experimenting with recipes and devouring cookbooks, and one name that has truly inspired my culinary journey is Mary Berry. Her timeless advice has transformed my cooking, turning everyday meals into something extraordinary.
Today, I’m excited to share 25 of her genius tips that have not only improved my baking and cooking but also made the entire process more fun and fulfilling. These tips are simple, practical, and will elevate your kitchen game to a whole new level.
1. Room Temperature Ingredients Are Key
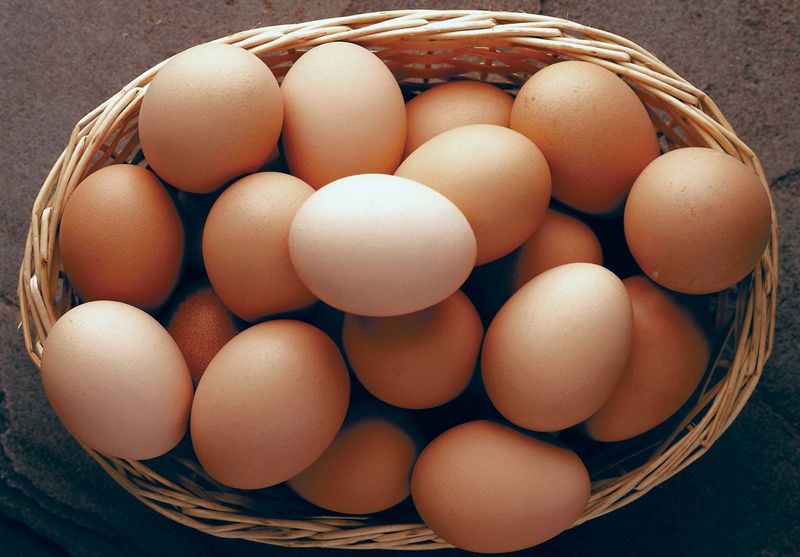
I learned early on that using room-temperature butter, eggs, and milk is a game changer in baking. When these ingredients are at the perfect temperature, they blend seamlessly, resulting in a smoother, more uniform cake. Mary Berry always emphasizes this step as foundational, and trust me, your cakes will thank you.
Not only does this technique improve texture, but it also helps the ingredients emulsify better, ensuring that every bite is light and tender. So next time you plan to bake, take a few extra minutes to let your dairy items sit out—your taste buds will notice the difference.
2. Use A Light Touch When Mixing Batter

One of the biggest mistakes I made in my early baking days was overmixing the batter. Mary Berry’s advice is clear: mix just until the ingredients are combined. Overmixing can lead to a dense, tough cake, stripping away that delicate, airy quality we all love.
I now treat my batter like a fragile masterpiece. A gentle fold here and there keeps the gluten in check and allows the cake to rise beautifully. Trust the process—less is truly more when it comes to mixing.
3. Always Preheat Your Oven
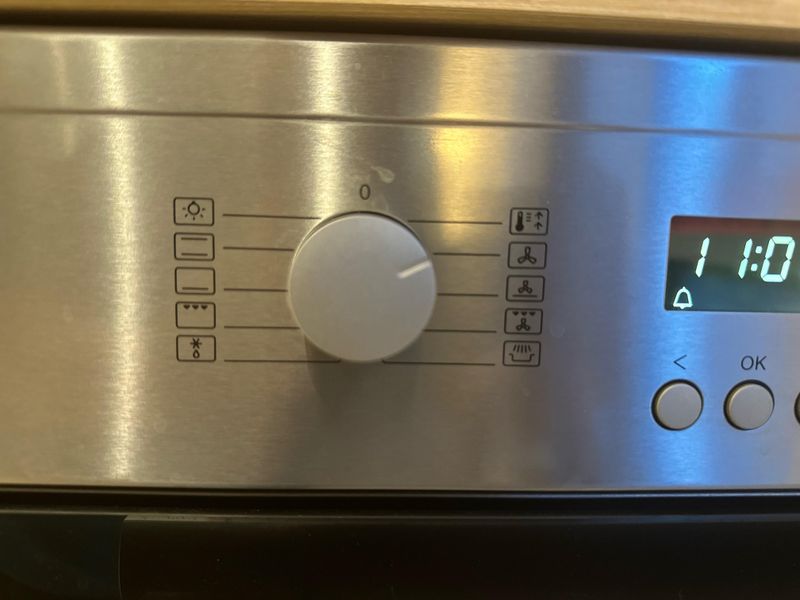
Preheating your oven might seem like common sense, but you’d be surprised how many people skip this crucial step. Mary Berry insists that a properly preheated oven is essential for baking success because it ensures that your cake or bread gets the right rise and texture from the very start.
I always set my timer and wait until the oven reaches the correct temperature before putting anything in. It’s like giving your food a head start; the perfect temperature jumpstarts the chemical reactions that create that wonderful golden crust.
4. Weigh Ingredients For Accuracy

Gone are the days of guessing flour measurements with cups. Mary Berry swears by weighing ingredients for precision, and I couldn’t agree more. A digital scale ensures that your recipes turn out exactly as intended, each time.
I found that even a slight difference in flour weight can alter the texture of your baked goods. So invest in a good scale and measure meticulously—it’s a small step that makes a huge difference in your final product.
5. Line Cake Tins Properly
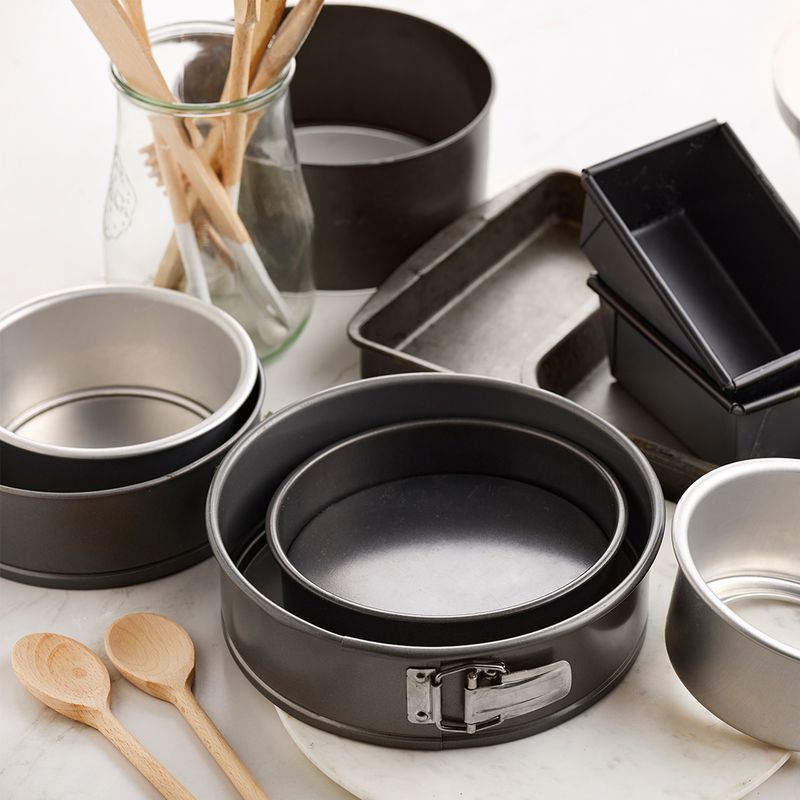
One of my early baking mishaps was dealing with cakes that stuck to the pan. Mary Berry’s tip is to line your cake tins with parchment paper or lightly grease them to ensure a smooth release every time. This little trick helps you achieve those picture-perfect cake edges that look straight out of a bakery.
I now take a few extra seconds to prepare my pans, and it has saved me from many frustrated attempts at de-panning a beautifully risen cake. It’s a simple step that guarantees your hard work isn’t ruined by a stuck-on mess.
6. Test Cakes With A Skewer

Ever baked a cake that looked perfect on the outside but turned out undercooked inside? Mary Berry advises using a skewer to test for doneness. Insert it into the center of the cake—if it comes out clean or with a few moist crumbs, your cake is done.
I always keep a skewer handy and take that little extra step before removing the cake from the oven. It not only saves you from a disappointing dessert but also gives you a sense of confidence that you’ve nailed it.
7. Cool Cakes In The Tin Before Removing
Patience is a virtue, especially when it comes to cooling your baked goods. Mary Berry recommends letting cakes rest in the tin for 5-10 minutes after baking. This short cooling period helps the structure set, making it easier to transfer to a wire rack without breaking.
I’ve learned the hard way that slicing too soon results in a soggy, crumbly mess. A few extra minutes can make all the difference, allowing the cake to finish its journey from oven to plate gracefully.
8. Sift Flour For Lighter Bakes
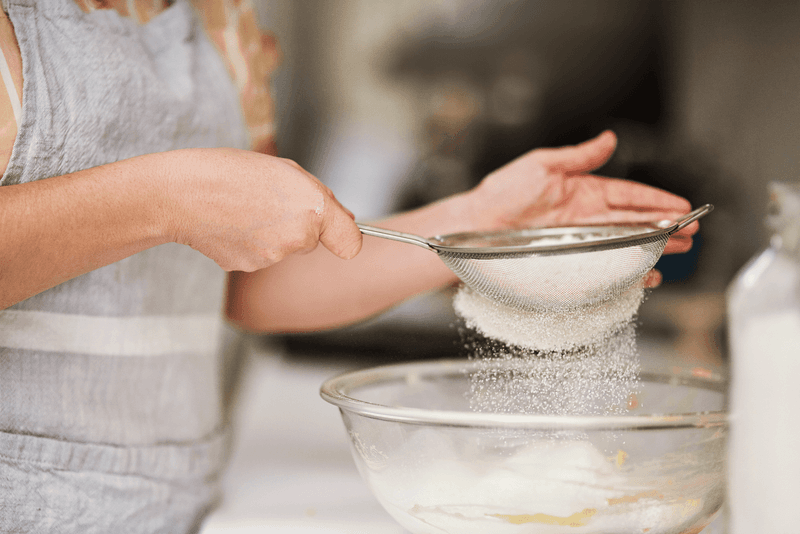
Sifting isn’t just an old-fashioned step—it’s essential for achieving a light, airy texture in cakes and pastries. By sifting, you incorporate air into the flour and break up any clumps that might otherwise ruin the consistency of your batter.
I always take a moment to sift my flour, and the resulting cake is noticeably softer and fluffier. It’s a tiny extra effort that elevates your baking from “okay” to “outstanding.”
9. Use An Egg Wash For A Beautiful Pastry Glaze
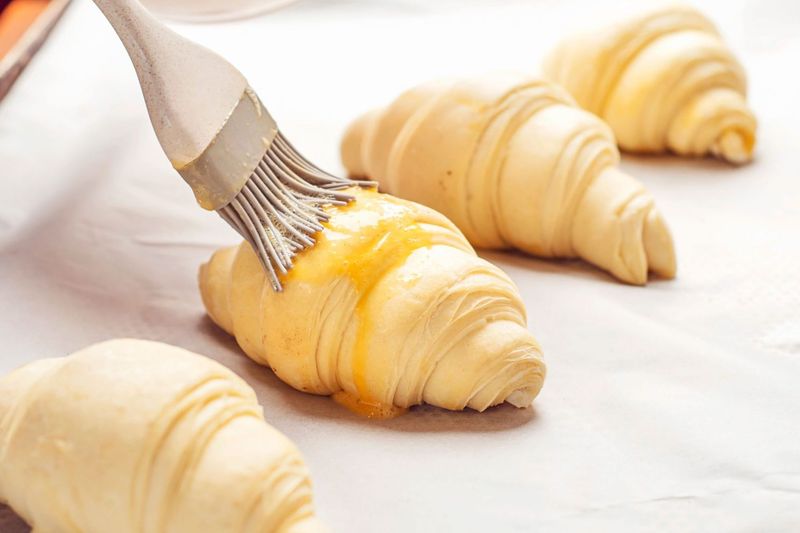
For a gorgeous, glossy finish on your pastries, Mary Berry suggests brushing them with an egg wash before baking. This simple step gives your croissants, pies, or pastries that coveted, professional sheen that makes them look irresistible.
I’ve experimented with different washes—some prefer milk, others stick with beaten eggs—and found that a well-done egg wash makes a huge difference in presentation. It’s all about that first impression!
10. Chill Pastry Dough Before Rolling
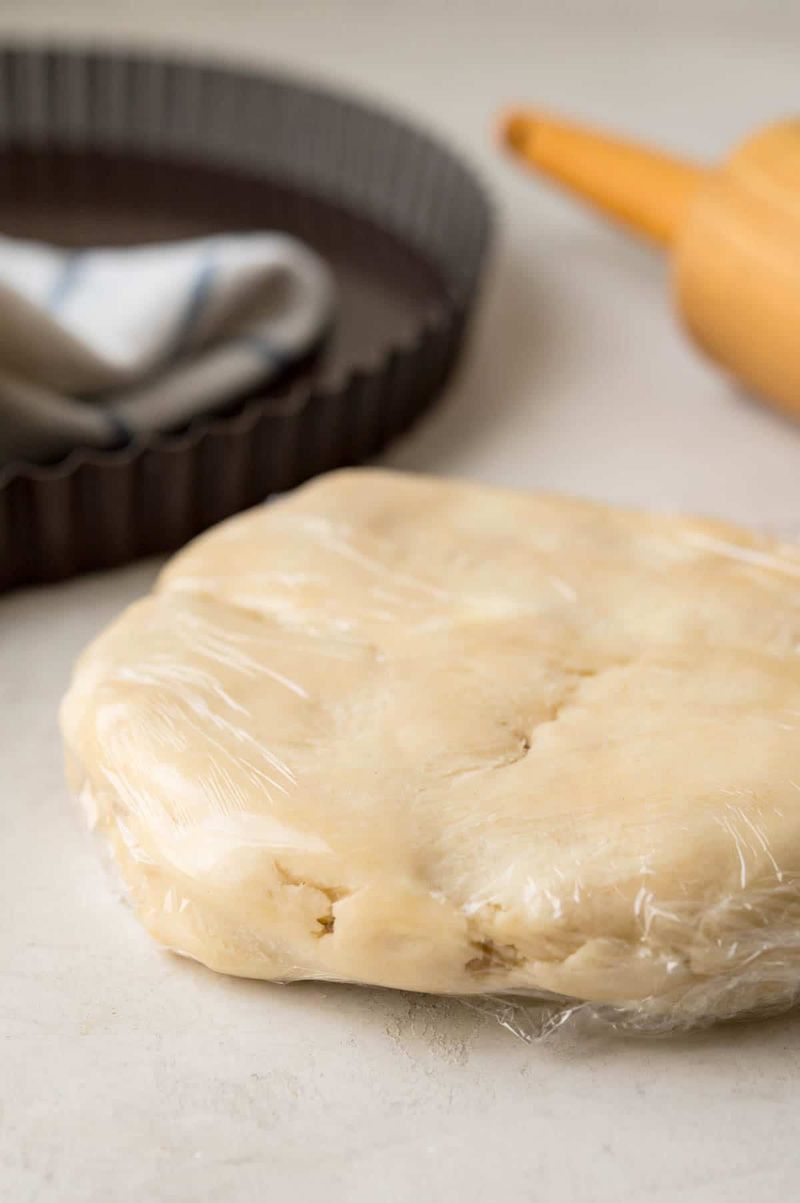
Cold dough is your best friend when it comes to pastry. Chilling allows the butter to firm up, which prevents shrinkage and results in a crispier, flakier crust. Mary Berry always recommends a good chill time to let your dough relax before you roll it out.
I’ve learned that patience in the fridge translates into pastry perfection. A well-rested dough handles better and bakes up beautifully, proving that sometimes waiting a little longer is worth the extra effort.
11. Season As You Go
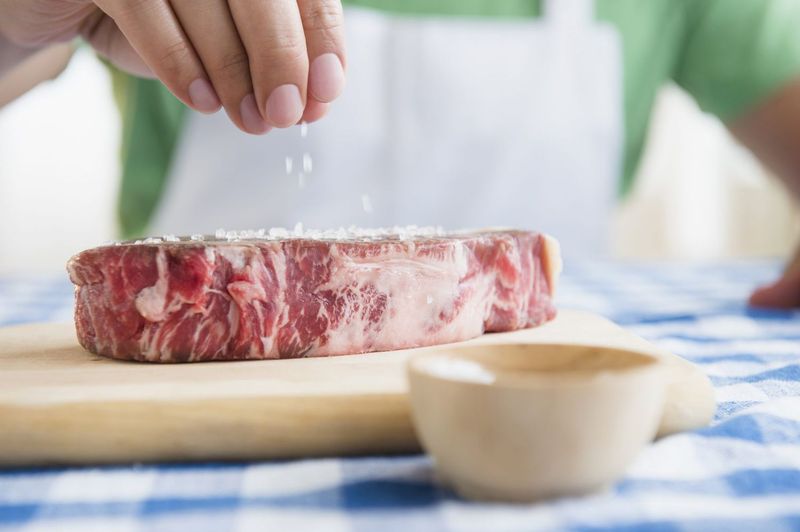
Salt isn’t just a finishing touch; it’s a flavor builder. Mary Berry advises seasoning your dish at multiple stages, not just at the end. This layered approach deepens flavors and prevents bland spots in your food.
I’ve started adding a pinch of salt during initial cooking and another at the final stage, and it’s a game changer. It’s like giving your dish a secret seasoning boost that transforms every bite into a burst of balanced flavor.
12. Roast Vegetables In A Hot Oven
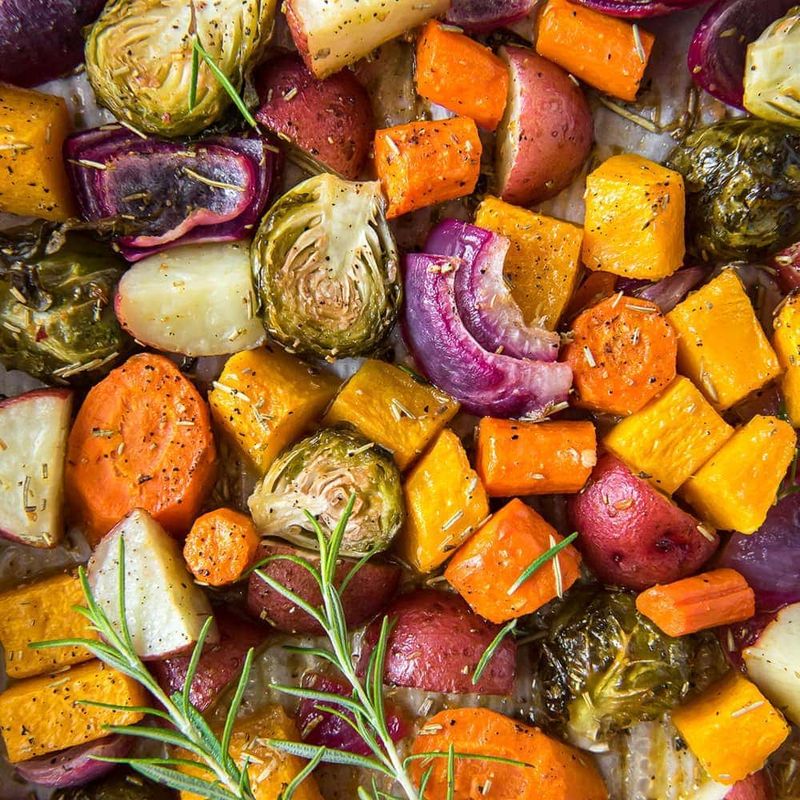
For those perfectly caramelized veggies, Mary Berry’s tip is to roast them in an oven preheated to at least 400°F. This high heat creates those delightful, crispy edges and enhances the natural sweetness of the vegetables.
I’ve tried lower temperatures before, only to end up with soggy, dull veggies. A hot oven ensures you get that satisfying crunch and rich flavor that elevate even the simplest side dish.
13. Don’t Overcrowd The Pan
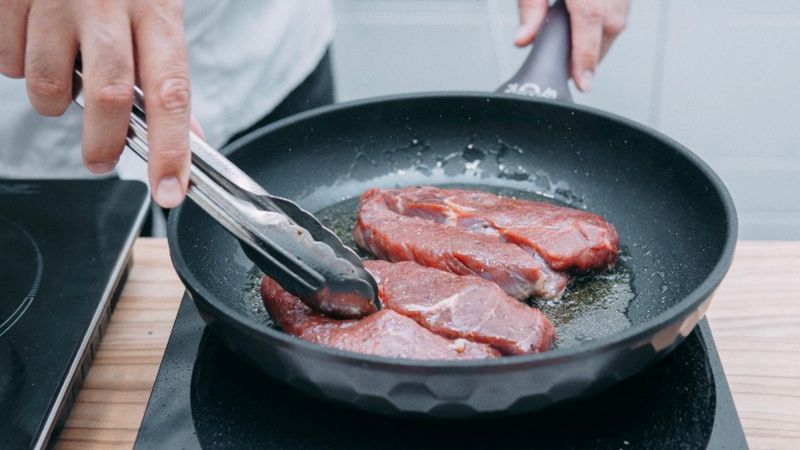
Whether you’re frying, roasting, or sautéing, overcrowding is a surefire way to steam your food instead of crisping it up. Mary Berry’s advice is to give your ingredients enough space to breathe.
I’ve learned this lesson the hard way when a crowded pan led to a soggy mess instead of that coveted crisp texture. A little extra space means better caramelization and a more satisfying bite every time.
14. Let Meat Rest After Cooking
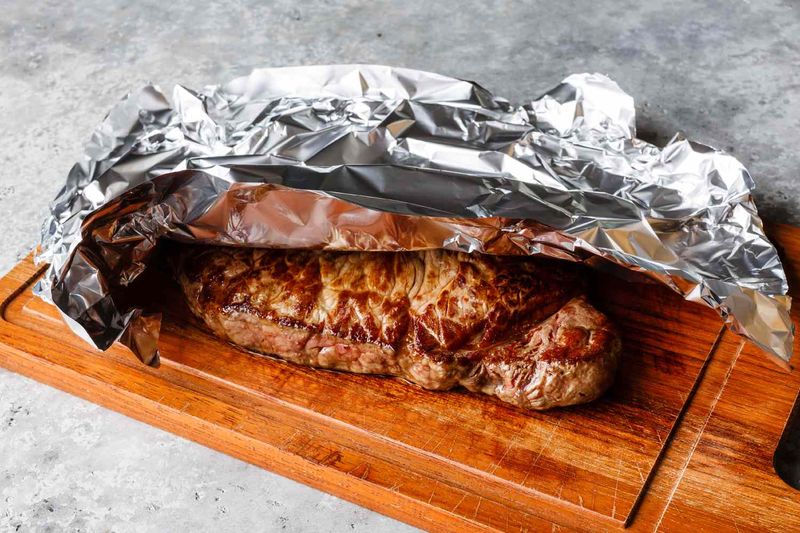
One of my favorite tips from Mary Berry is to let your meat rest after cooking. This simple step allows the juices to redistribute throughout the meat, ensuring every slice is tender and juicy.
I once sliced into a steak too quickly and ended up with a dry, flavorless bite. Now, I make it a point to let the meat sit for at least 5-10 minutes, and the difference is absolutely mouthwatering.
15. Enhance Soups With A Dash Of Lemon
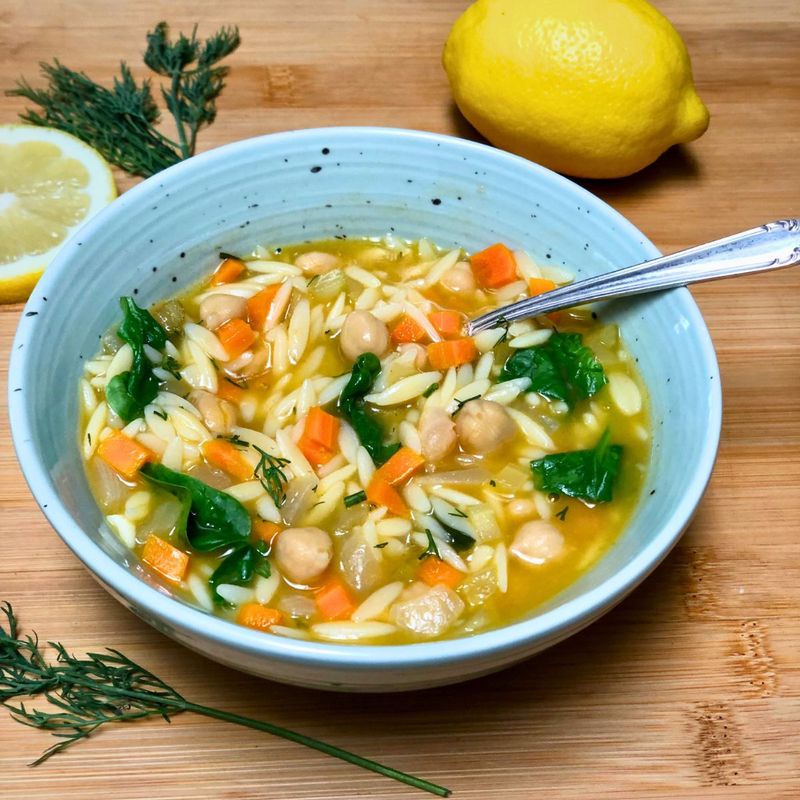
A squeeze of lemon can brighten even the dullest soup, cutting through rich flavors and adding a refreshing tang. Mary Berry often recommends a little citrus at the end of cooking to lift the dish.
I find that lemon juice turns a heavy stew into something vibrant and balanced. It’s an easy trick that makes every spoonful a bit more zesty and fun.
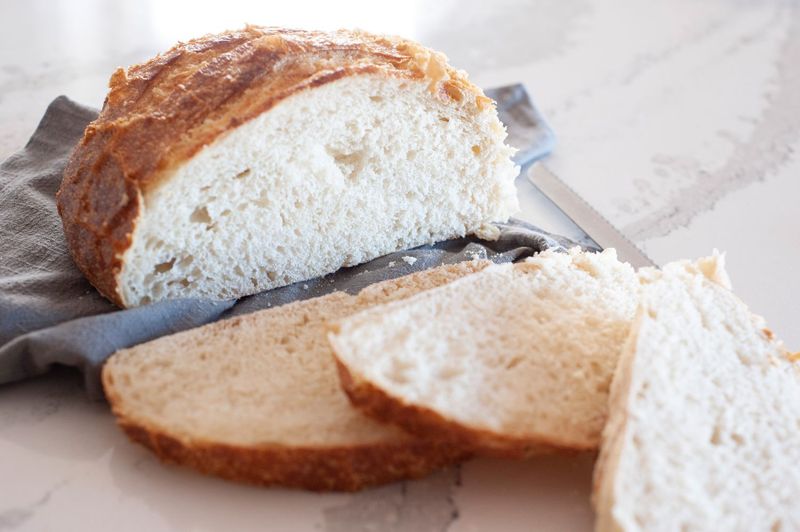
16. Use A Serrated Knife For Cutting Soft Breads & Cakes
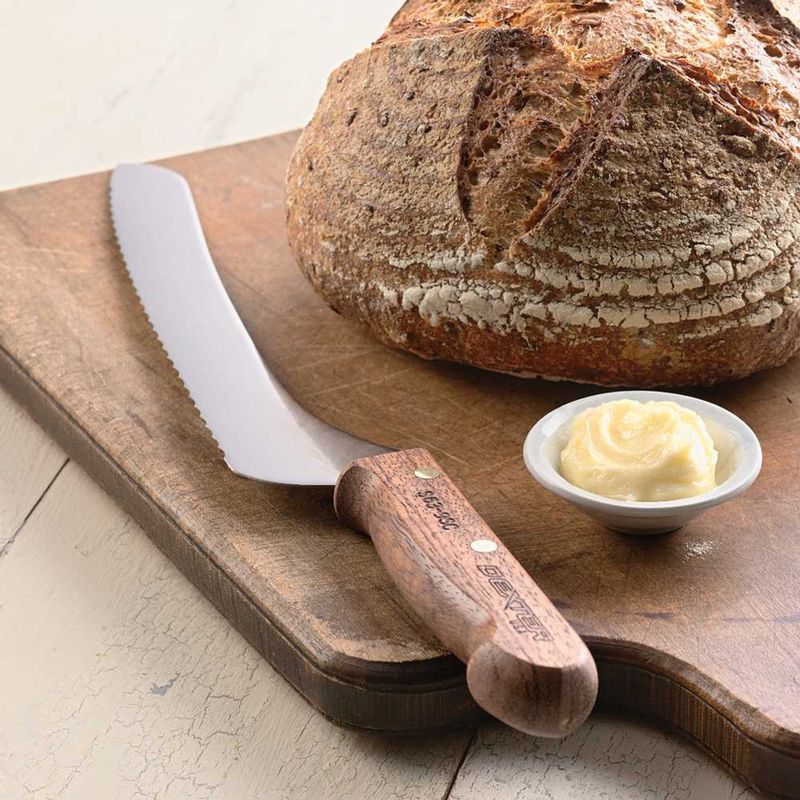
A serrated knife is a must for slicing delicate breads and cakes without squashing them. Mary Berry’s technique here preserves the structure and ensures each slice stays perfectly intact.
I was amazed at how much better my freshly baked loaf looked once I switched to a serrated knife. It’s like upgrading from scissors to a fine culinary instrument—precise and effortless.
17. Make Dough Ahead Of Time

If you’re planning a busy week, consider making your dough in advance. Mary Berry suggests that many pastry and bread doughs can be prepped and stored in the fridge or freezer, saving you time on hectic mornings.
I often prepare dough on Sunday, then bake it throughout the week. This not only eases my daily routine but also allows the flavors to develop further, resulting in a more robust taste.
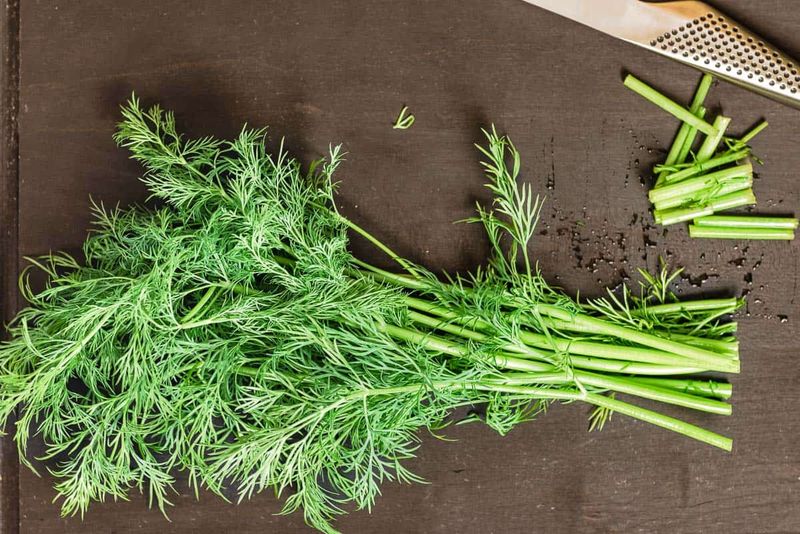
18. Freeze Leftover Herbs In Olive Oil
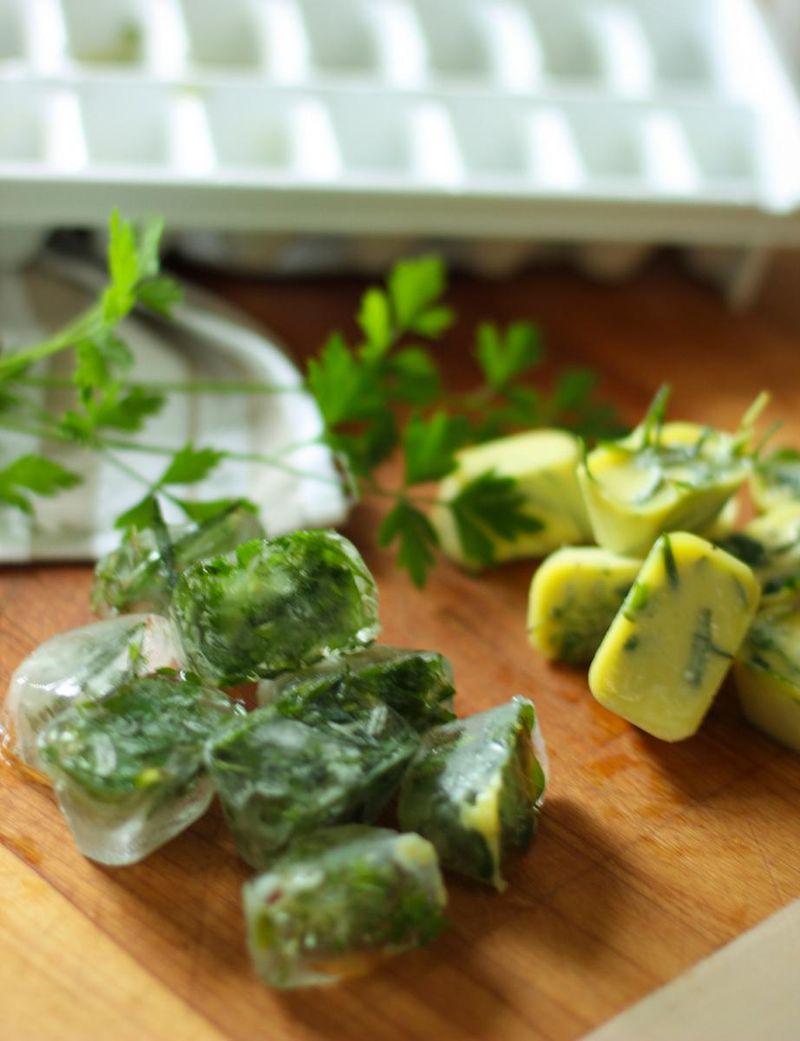
Fresh herbs are flavor bombs, but they can wilt quickly. A tip from Mary Berry that I swear by is to chop your herbs, mix them with olive oil, and freeze them in an ice cube tray.
This method locks in freshness and provides a ready-to-use flavor booster for sauces, soups, and even drizzles on roasted vegetables. It’s an incredibly simple hack that saves time and enhances every dish.
19. Store Butter Upside Down In The Fridge
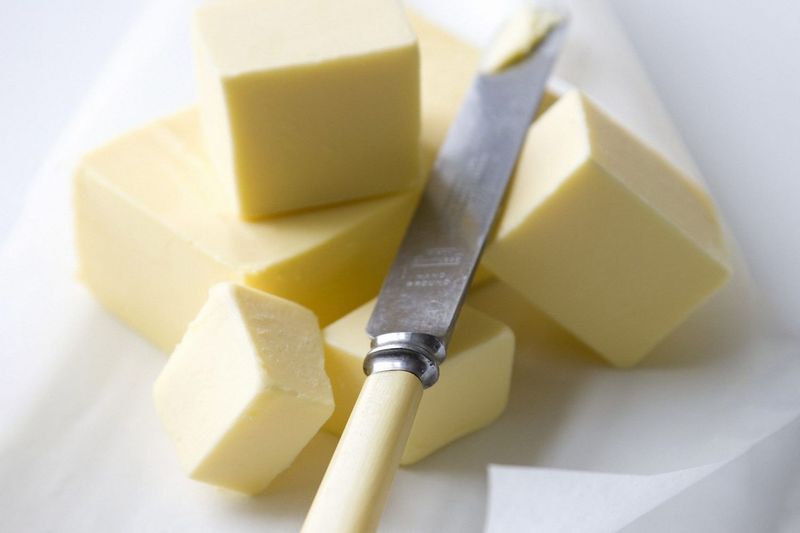
Ever noticed how your butter sometimes picks up odd flavors from the fridge? Mary Berry’s trick is to store it upside down, so the exposed part is always fresh and free of odors.
I started doing this a few years back, and now my baked goods always have that pure, clean buttery taste. It’s a small change, but the impact on flavor is surprisingly significant.
20. Use A Spoon To Peel Ginger
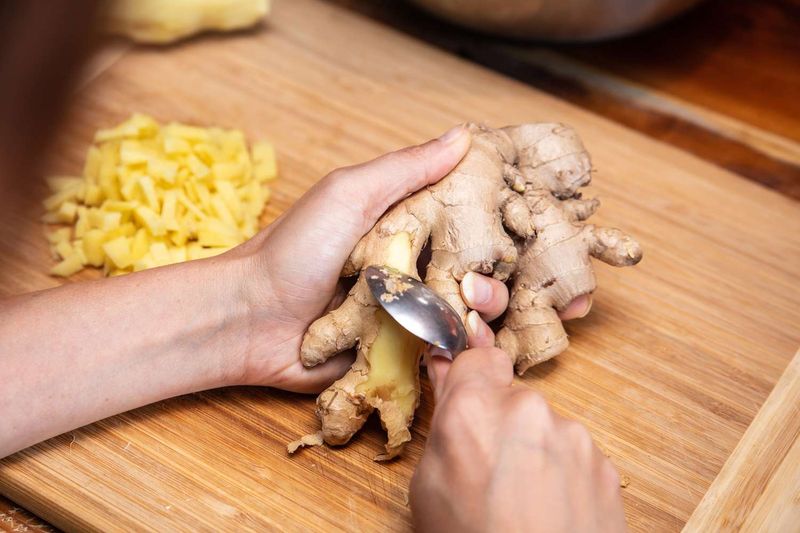
Peeling ginger with a knife can be a frustrating exercise that leaves you with wasted, jagged pieces. A spoon is the secret weapon here—just scrape the skin off gently and preserve every bit of that aromatic flesh.
This tip transformed my ginger game, allowing me to use every bit of that zesty root without the usual mess. It’s a little hack that’s made me a far more efficient cook.
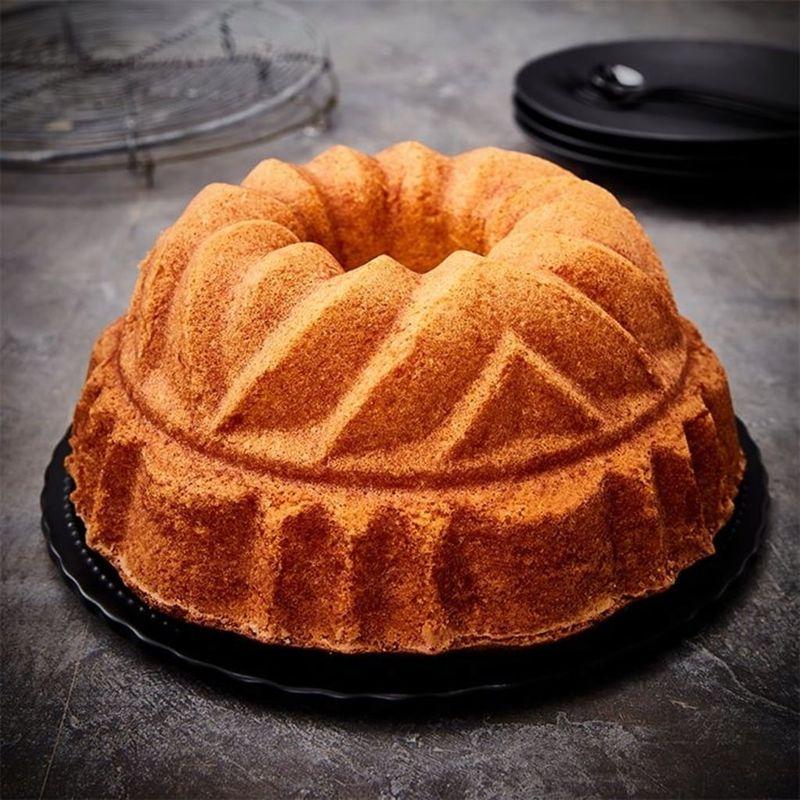
21. Dust Cakes With Powdered Sugar For An Elegant Look
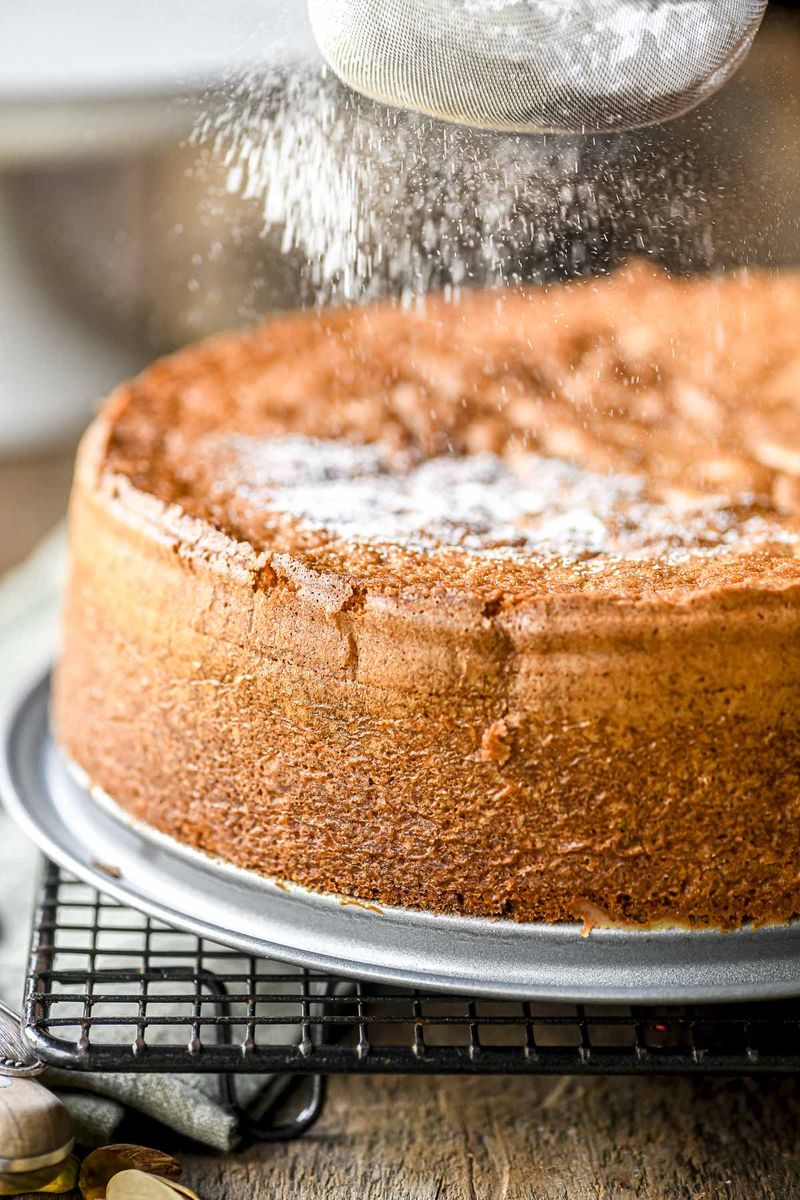
For a professional finish on your cakes without the fuss of frosting, a light dusting of powdered sugar is all it takes. Mary Berry always highlights this simple technique to add a touch of elegance.
I love how it transforms a humble cake into something that looks straight out of a patisserie window. It’s minimal, yet so effective at elevating presentation—and, honestly, it smells divine.
22. Warm Plates Before Serving Hot Meals
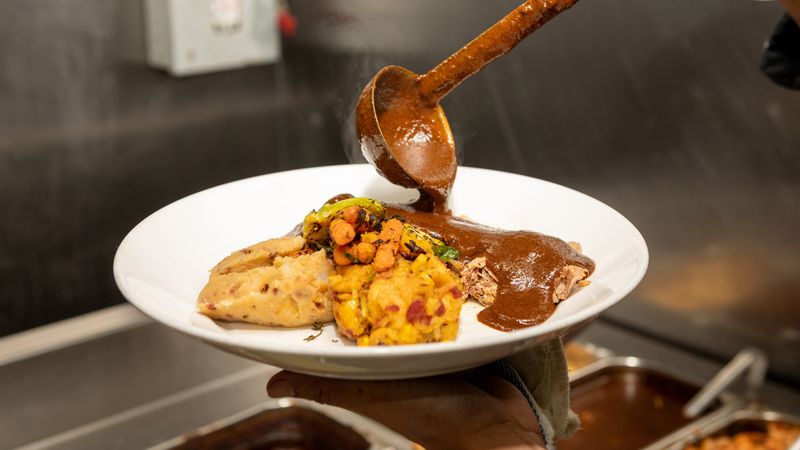
Nothing ruins a perfectly cooked dish like a cold plate. Pre-warming your plates helps maintain the temperature of your hot meals, keeping them delightfully warm longer.
I remember serving a roast on a cold dish and watching the excitement fade as the food cooled too quickly. Now, I always warm my plates in the oven for a few minutes—it makes a world of difference.
23. Add Fresh Herbs At The Last Minute
Fresh herbs lose their vibrant flavor when overcooked, so Mary Berry advises adding them right before serving. A sprinkle of basil, parsley, or chives can brighten a dish and add that burst of aroma you crave.
I’ve started garnishing almost every dish with a handful of freshly chopped herbs at the end, and it’s like giving your food a final, luxurious flourish. It’s simple, yet the impact is profound.
24. A Small Splash Of Water Revives Stale Bread
Stale bread doesn’t have to go to waste. A light spritz of water on the surface and a few minutes in the oven can restore that delightful crunch. Mary Berry’s technique saves you money and elevates leftovers.
I’ve revived more than a few loaves this way, turning them back into crispy, warm delights that are perfect for sandwiches or as a side. It’s practically magic—and it’s incredibly satisfying.
25. The Best Ingredient? Confidence!

Above all, Mary Berry’s timeless advice is to trust yourself and enjoy the process of cooking. Confidence in the kitchen turns even the simplest recipe into a masterpiece.
I’ve learned that mistakes are just stepping stones to better food and greater culinary adventures. So, don’t be afraid to experiment, laugh at your mishaps, and celebrate every small victory in the kitchen. Because when you cook with confidence, every dish tells a story of passion, creativity, and joy.