Making sourdough bread is a magical dance between science and art.
The process transforms simple ingredients into a crusty, tangy loaf with just flour, water, salt, and time. While it takes patience, the reward is a bread with complex flavors and textures that store-bought versions can’t match.
Ready to embark on your sourdough journey?
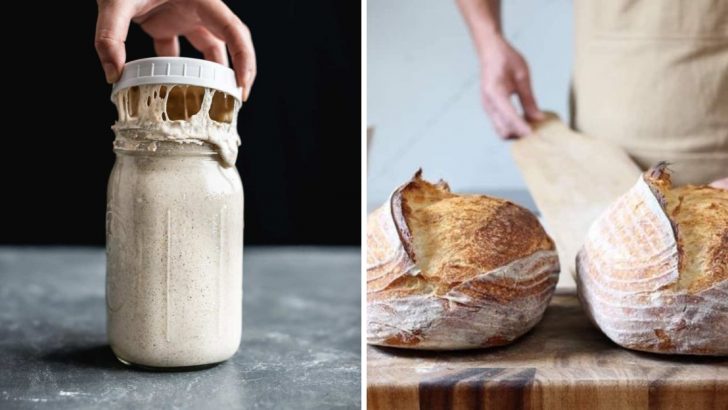
1. Create Your Starter From Scratch
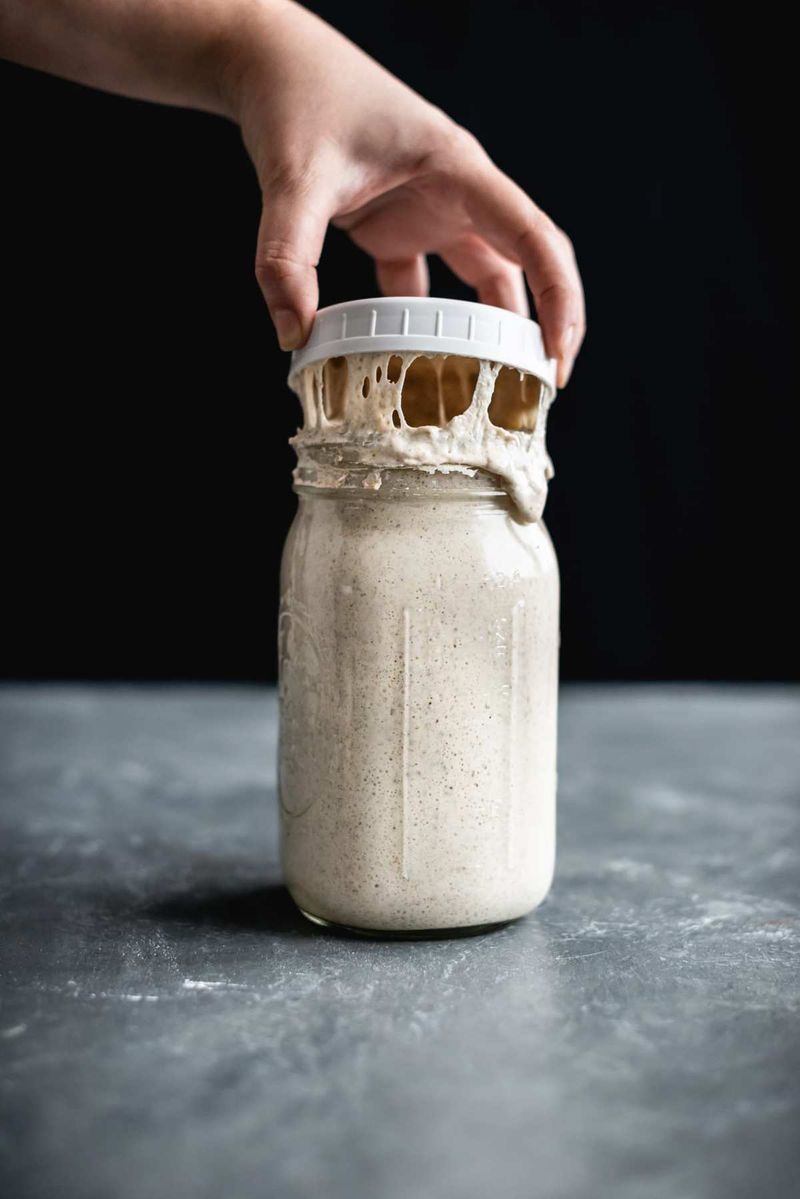
Forget store-bought yeast packets! Mix equal parts flour and water in a jar. Leave it uncovered for 24 hours, then feed it daily with fresh flour and water.
After about 7 days of consistent feeding, your bubbly, slightly sour-smelling starter is ready for action!
2. Feed Your Starter Until It’s Lively
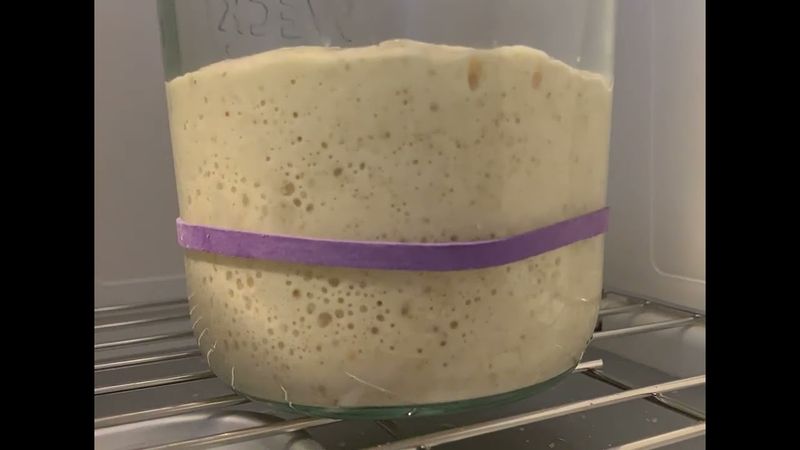
Your starter needs regular meals like a hangry teenager. Discard half, then add equal weights of flour and water every 12 hours.
A healthy starter doubles in size within 4-8 hours after feeding. The sweet spot for baking? When it’s at peak rise—full of bubbles and smelling pleasantly sour.
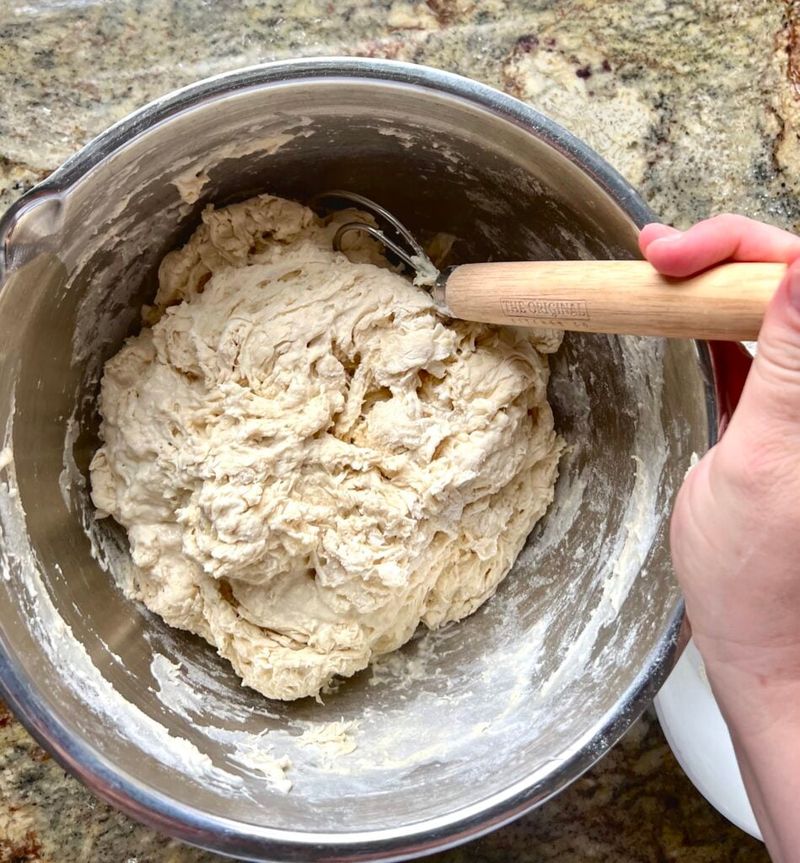
3. Mix Your Dough With Loving Care
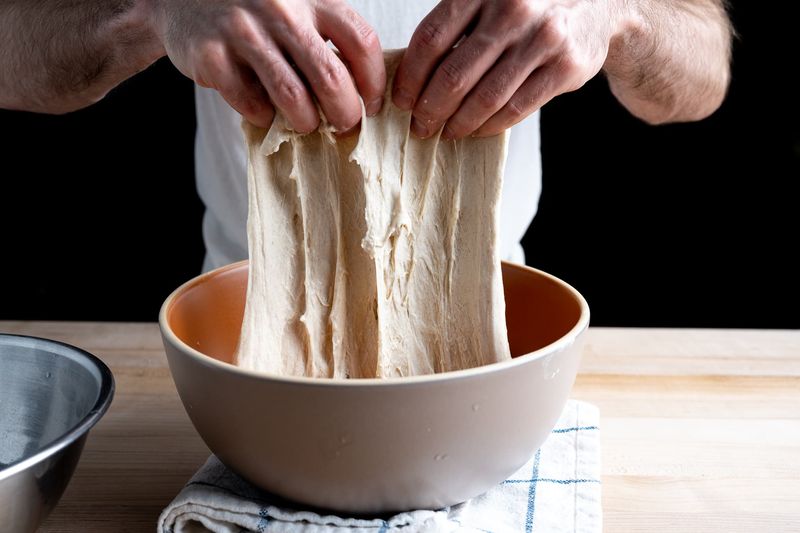
Grab your bubbly starter and combine it with flour, water, and salt. No aggressive kneading here—just gentle folding to incorporate everything. The texture should feel shaggy yet cohesive.
Cover your sticky creation with a damp cloth and let it rest. Patience pays off!
4. Perform The Stretch And Fold Ballet
Time for some dough acrobatics! Grab a corner, stretch it up and fold it over—repeat on all four sides. This builds strength without degassing your precious air bubbles.
Repeat this elegant dance every 30 minutes for 2-3 hours. Between sessions, let your dough rest under a cozy cover.
5. Let The Bulk Fermentation Magic Happen
Now comes the waiting game! Leave your dough alone for 4-6 hours at room temperature. Those wild yeasts are working overtime, creating bubbles and developing tangy flavors.
Look for a 30-50% increase in volume and a dough dotted with bubbles. Too impatient? The poke test never lies.
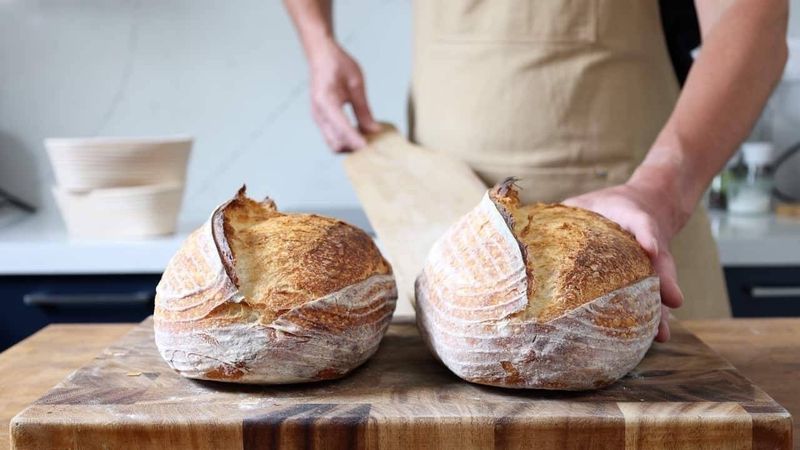
6. Shape Your Loaf Like A Pro
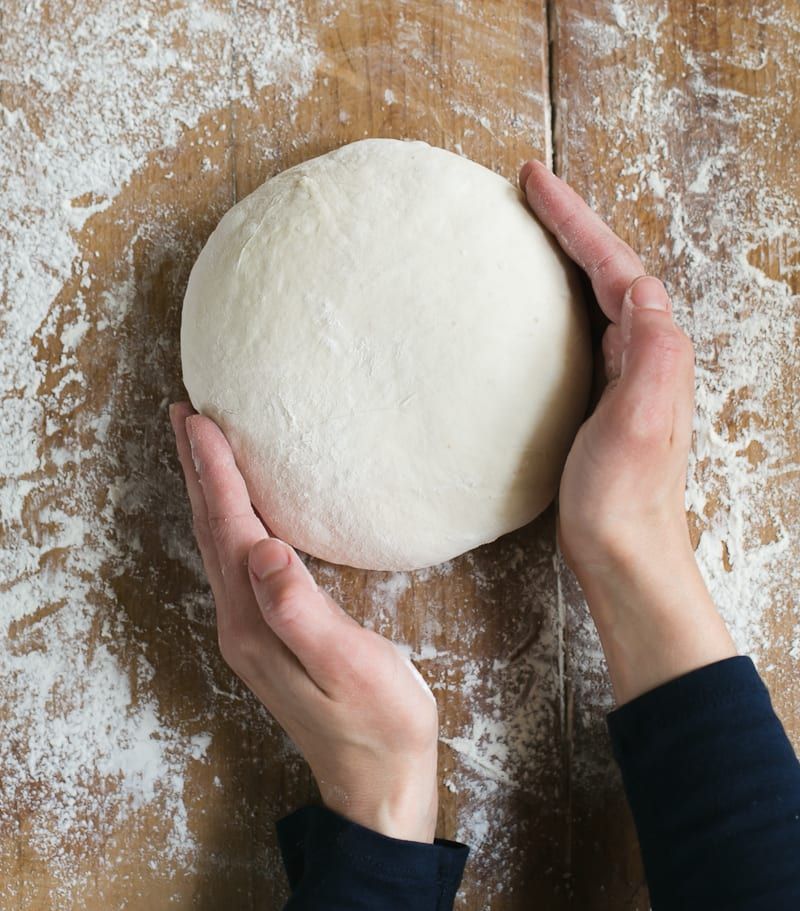
Dump your puffy dough onto a floured surface—no brutal punching down! Gently fold the edges toward the center, creating surface tension that’ll give your loaf its signature rise.
Flip it over and use your hands to rotate the dough, pulling it toward you to create a tight ball. The bottom should look smooth and sealed.
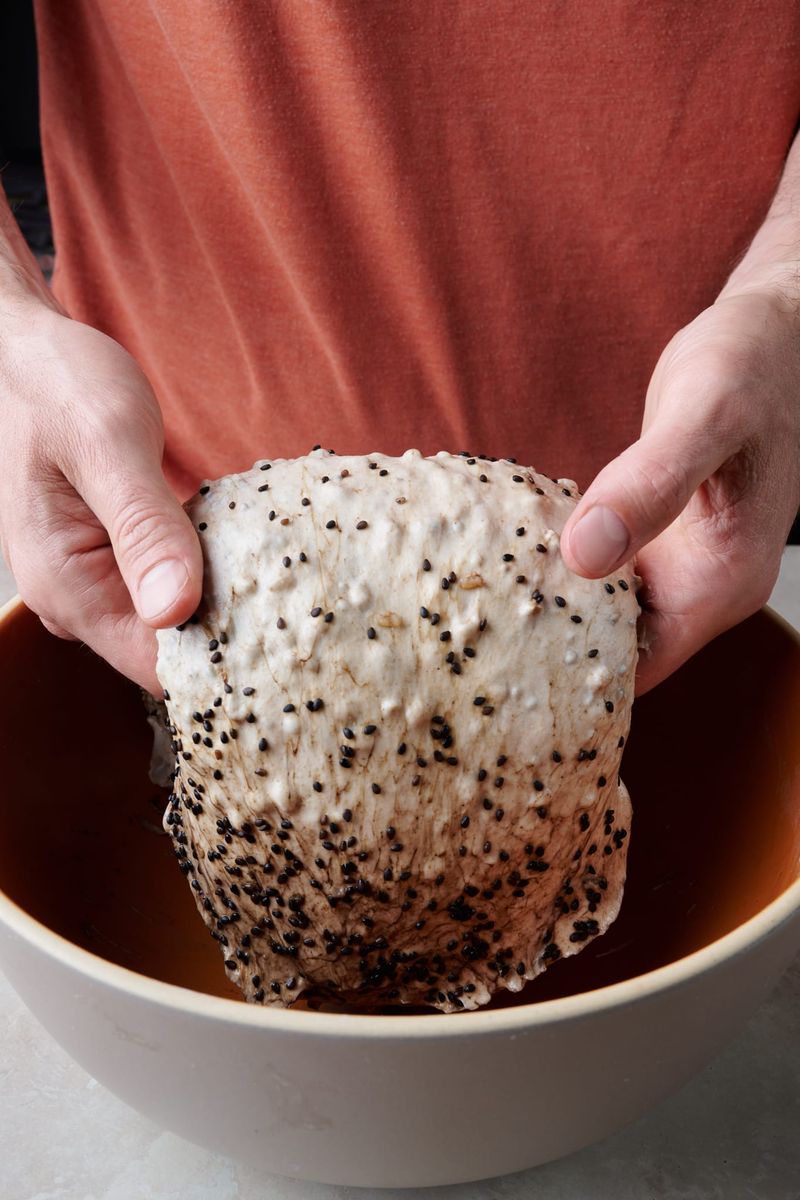
7. Cold-Proof For Flavor Explosion
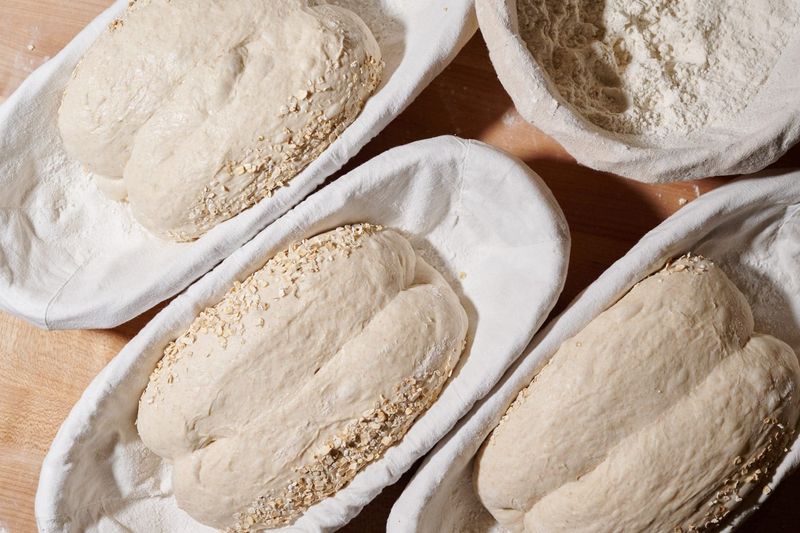
Tuck your shaped dough baby into a floured banneton basket or bowl. Pop it into the refrigerator overnight—or up to 72 hours if you’re patient enough!
This cold fermentation is the flavor factory. The slow yeast activity develops complex sour notes while the gluten structure strengthens.
8. Prep Your Oven For Optimal Crust

Crank that oven to 500°F with a Dutch oven inside. You’re creating a mini steam bakery! The blazing hot pot traps moisture from the dough, mimicking professional steam ovens.
Let everything preheat for 45-60 minutes. Seriously—don’t rush this step!
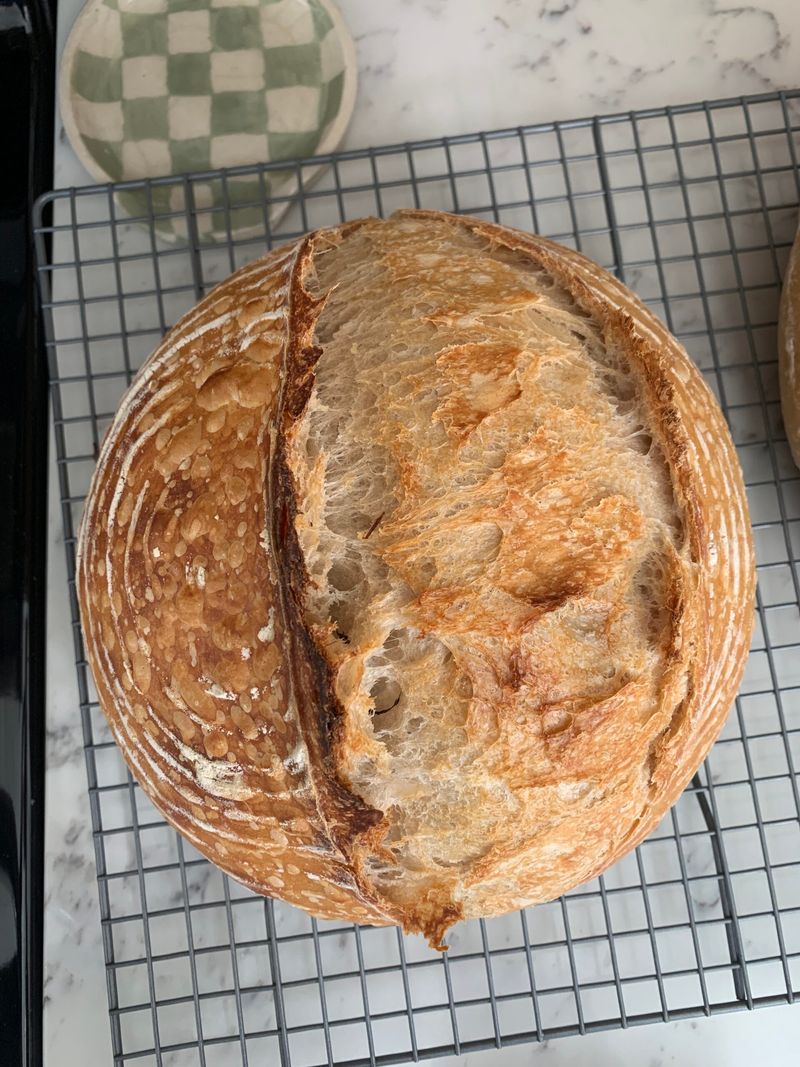
9. Score And Bake With Dramatic Flair
Take your cold dough and flip it onto parchment paper. Grab a razor blade or sharp knife and slash the top with confidence!
Lower your dough into the scorching Dutch oven, cover, and reduce heat to 450°F. Bake covered for 20 minutes to trap steam, then uncovered for 20-25 more for that crackling crust!
10. Cool Completely (The Hardest Part!)
Your kitchen now smells heavenly, and that gorgeous crackling loaf is calling your name. But WAIT! Place it on a wire rack and walk away for at least an hour.
Cutting too soon unleashes steam that makes your bread gummy. The cooling period completes the baking process inside. Trust me—that first perfect slice of completely cooled sourdough will be worth every minute of torture!