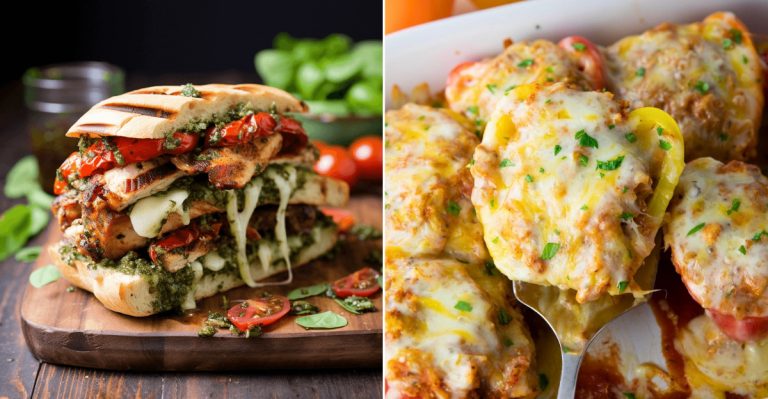
Master Grilled Chicken With These 17 Chef Tricks
Grilling chicken might seem easy, but achieving that perfect juicy-on-the-inside, crispy-on-the-outside result takes skill. Many home cooks struggle with dry, bland, or undercooked chicken that ruins backyard gatherings.
These 17 grilling tips will transform you from amateur to backyard BBQ legend, impressing friends and family with mouthwatering chicken every time you fire up the grill.
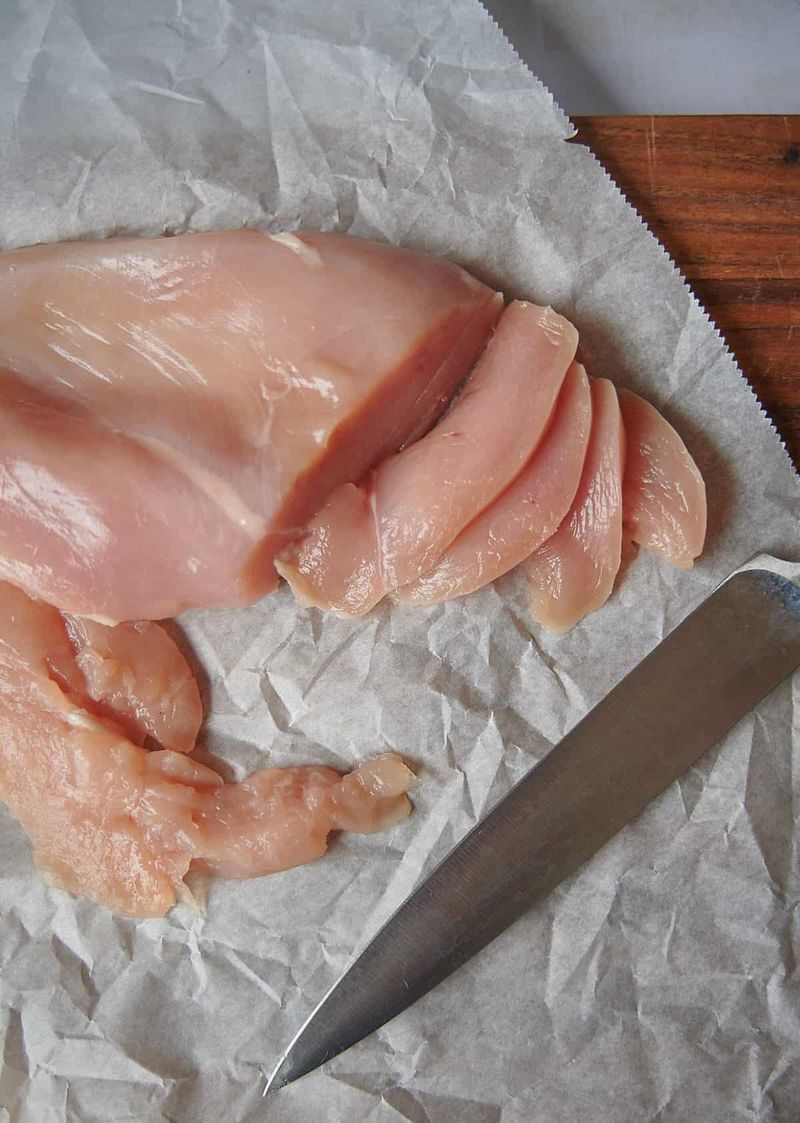
1. Pound It Evenly
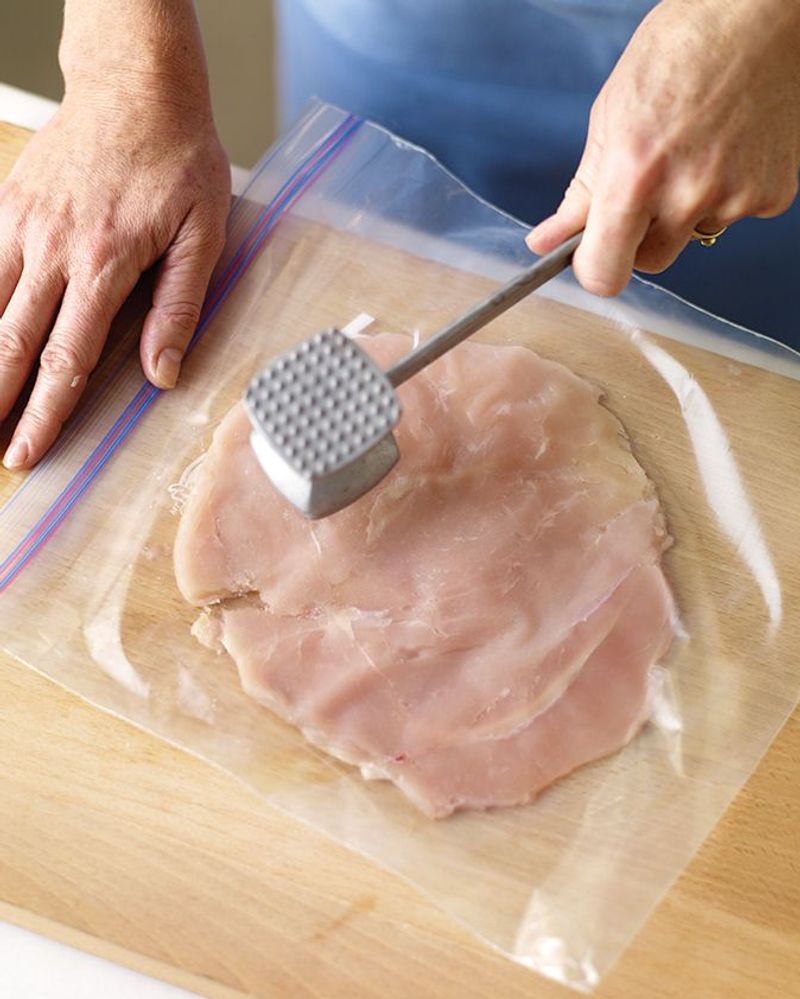
Grab that meat mallet and show your chicken who’s boss! Uneven chicken breasts cook inconsistently, leaving you with parts that are dry while others remain dangerously raw.
The solution? A good pounding session. Place chicken between plastic wrap or parchment paper to avoid a splatter disaster, then whack away until you’ve got an even thickness throughout. Aim for about ¾-inch thickness for boneless breasts.
2. Use A Marinade
Forget bland chicken! Marinades are flavor magic in liquid form. The acidic components (like lemon juice or vinegar) break down tough muscle fibers while oil carries fat-soluble flavors deep into the meat.
Marinate boneless pieces for 2-4 hours and bone-in cuts for up to 12 hours. Avoid marinating longer as acids can actually make chicken mushy. For a quick flavor boost, try yogurt-based marinades which tenderize rapidly.
3. Don’t Skip The Brine
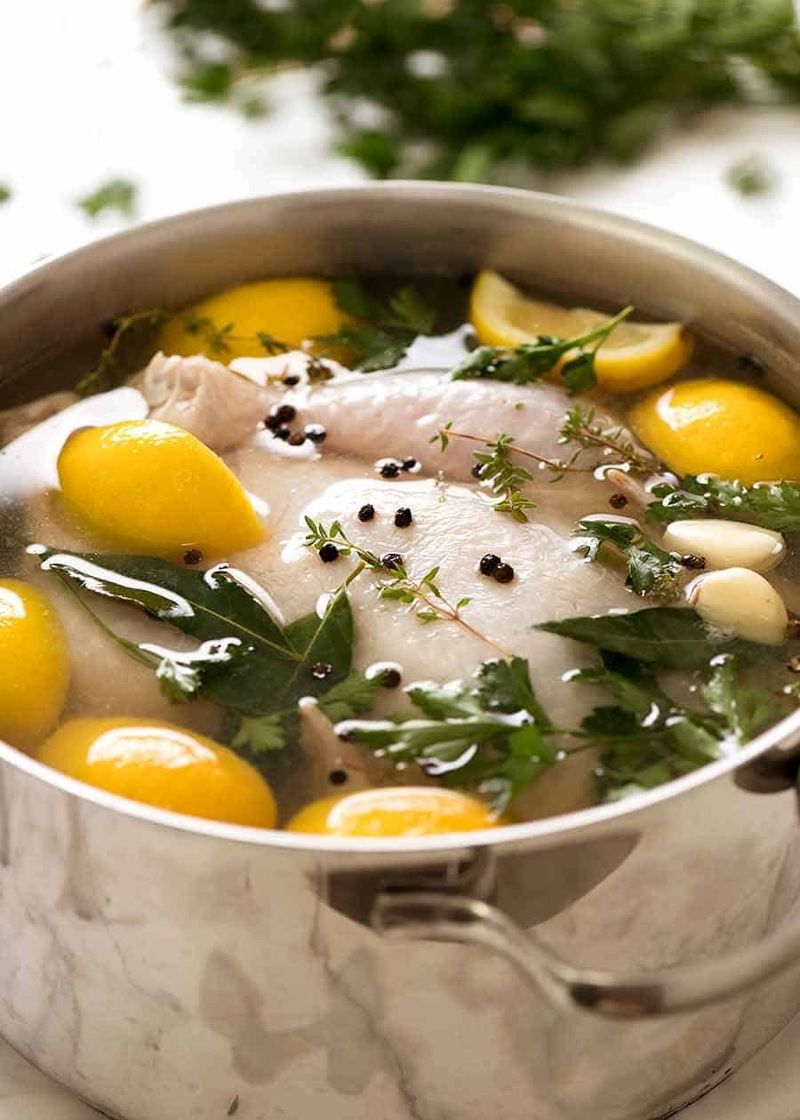
Holy moisture miracle! Brining might seem like an extra step, but it’s your secret weapon against the dreaded dry chicken syndrome. A simple saltwater solution works magic by helping muscle fibers retain water during cooking.
Mix 1/4 cup salt with 4 cups water, add optional aromatics like garlic or bay leaves, then submerge your chicken for 30 minutes to 2 hours. The science is fascinating—salt restructures proteins to trap more moisture inside the meat.
4. Pat It Dry Before Grilling
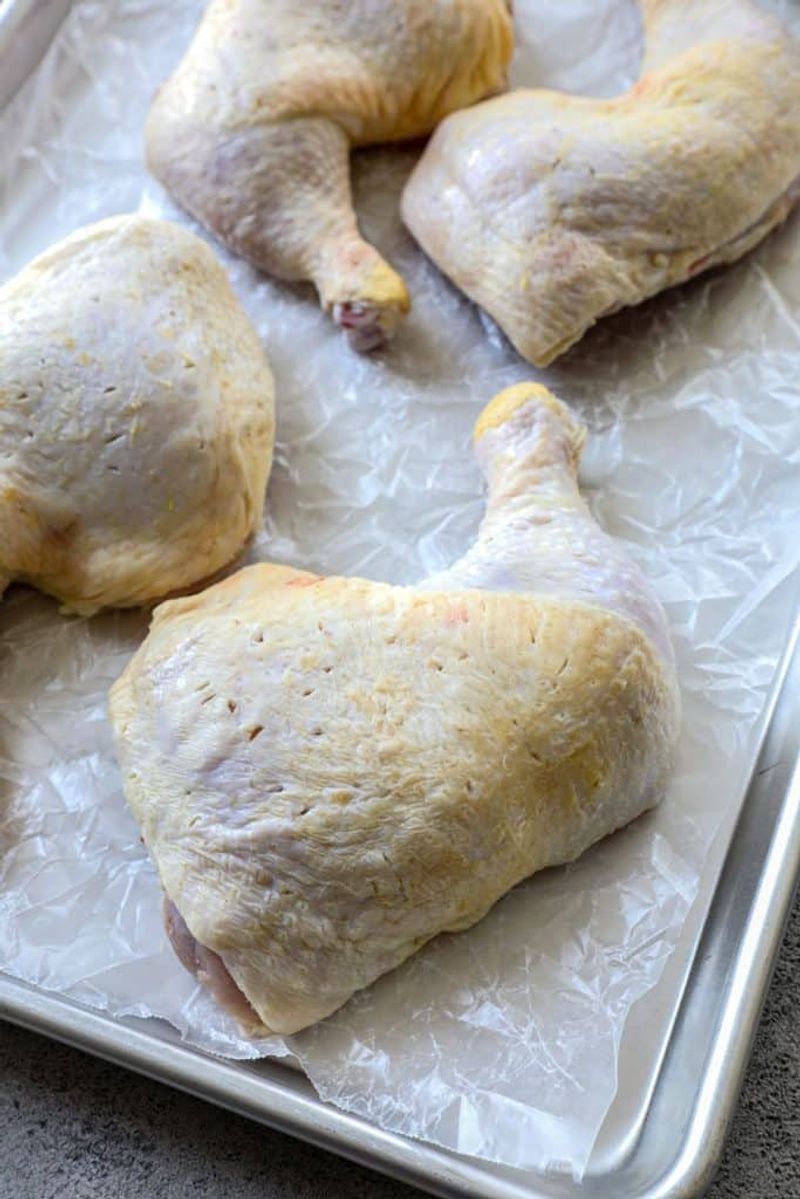
Moisture is the enemy of crispy skin! After marinating or brining, grab paper towels and blot that chicken like you’re dabbing a spill on your favorite shirt. Excess surface moisture creates steam instead of sear, robbing you of that gorgeous golden crust.
Take an extra 30 seconds for thorough drying. Your patience will be rewarded with chicken that sizzles dramatically when it hits the grill instead of sadly steaming away.
5. Preheat The Grill
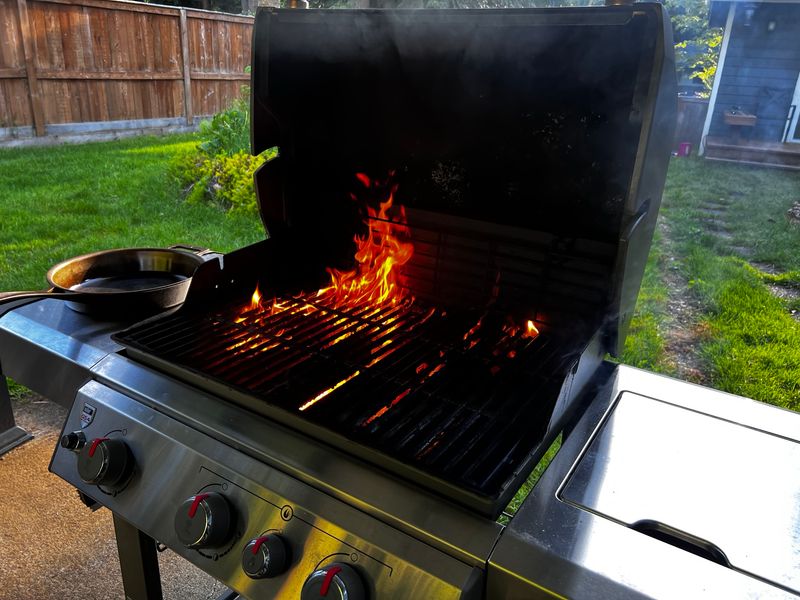
Patience, young grillmaster! A properly preheated grill is non-negotiable for chicken success. Cold grates mean sticking meat and sad, torn chicken pieces that leave their best parts behind.
Fire up that grill 15-20 minutes before cooking. Gas grills should reach 375-450°F for medium-high heat. For charcoal, wait until coals are covered with white-gray ash. Test by holding your hand 5 inches above the grate—if you can keep it there for 3-4 seconds, you’re good to go.
6. Oil The Grates
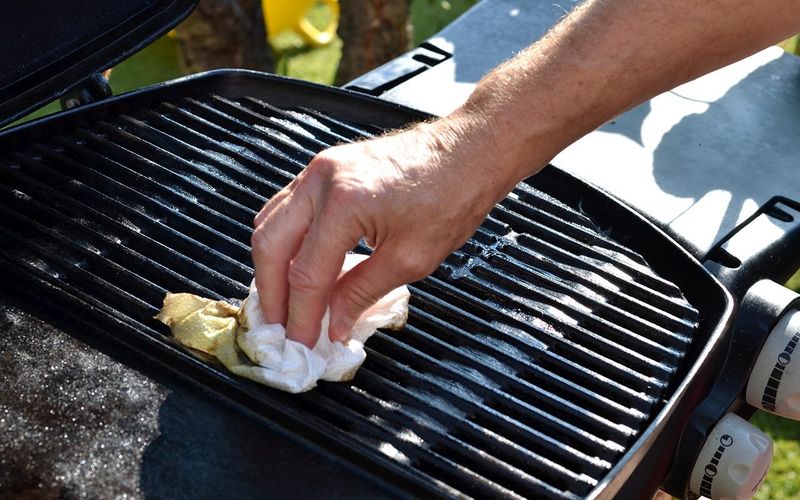
Sticky situation? Not on your watch! Even with a perfectly preheated grill, chicken’s natural proteins love to form permanent bonds with metal grates. The solution is embarrassingly simple: oil those bars!
Fold a paper towel into a tight square, dip in high-heat oil (like canola or grapeseed), then grab with tongs to safely wipe down hot grates. Never spray cooking oil directly onto a lit grill unless you fancy losing your eyebrows!
7. Use Indirect Heat For Thicker Cuts
Charred outside, raw inside? That’s amateur hour! Bone-in chicken pieces and thick cuts demand a more sophisticated approach: the two-zone fire. Create a hot zone (direct heat) and a cooler zone (indirect heat) on your grill.
Start chicken over direct heat for 2-3 minutes per side to get those gorgeous grill marks and caramelization. Then relocate to the indirect zone to finish cooking through without burning. Think of it as searing then baking—all on your grill!
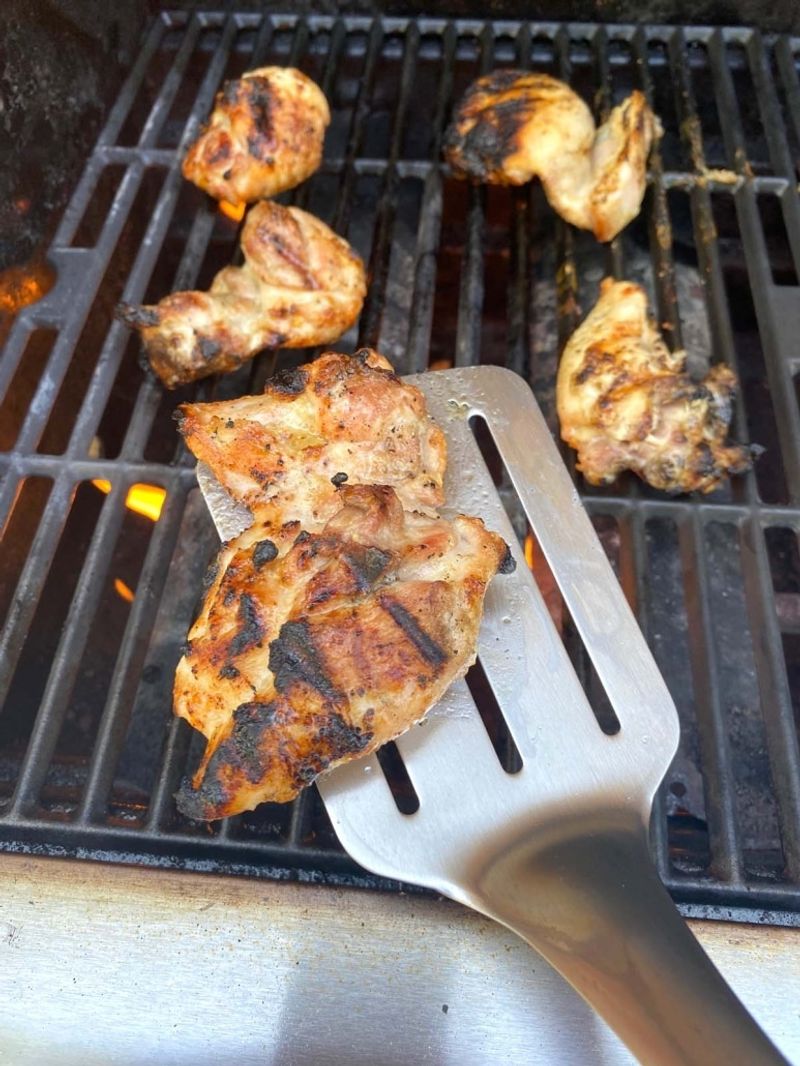
8. Don’t Flip Too Soon
Patience rewards the griller! Premature flipping is the cardinal sin of chicken grilling. When you place that beautiful marinated piece on hot grates, it immediately tries to stick. Give it time!
The magic moment comes when proteins set and release naturally from the grill. Rush this process and you’ll tear the meat, losing flavor and juices. Wait until you see opaque white cooking marks climbing up the sides—usually 4-6 minutes depending on heat and thickness.
9. Keep The Lid Closed
Stop peeking! Every time you lift that grill lid, you’re letting precious heat escape and adding minutes to your cooking time. It’s like opening the oven door every two minutes—temperature plummets instantly.
A closed lid creates convection heat that cooks chicken evenly from all sides. This consistent environment is especially crucial for bone-in pieces that need thorough cooking. Think of your grill as an outdoor oven that happens to add smoky flavor.
10. Don’t Press The Chicken
Step away from the spatula! That satisfying sizzle when you press down on grilling chicken might sound impressive, but you’re actually committing flavor suicide. Each press squeezes out precious juices that should stay inside your meat.
Those juices contain fat, water, and dissolved proteins—basically, everything that makes chicken taste amazing. Once they drip into the flames, they’re gone forever, leaving you with dry, disappointing results.
11. Use A Meat Thermometer
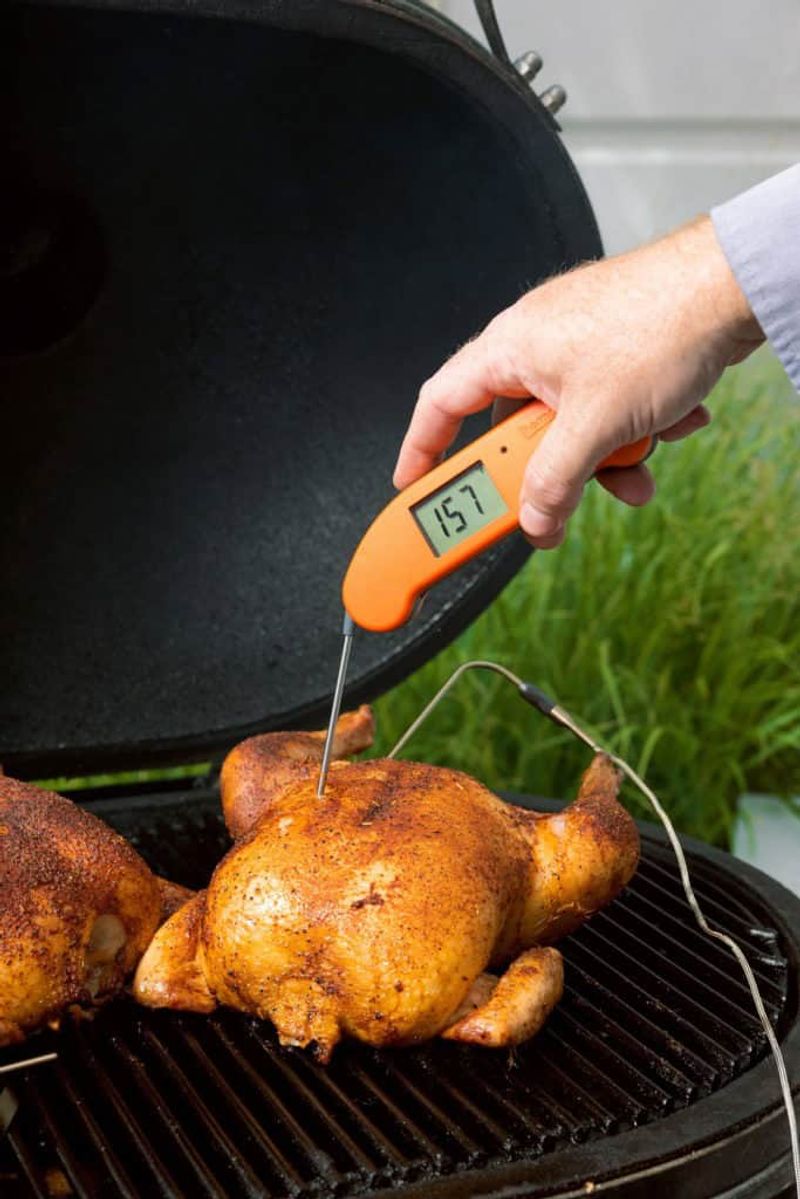
Guesswork is for amateurs! The difference between foodborne illness and shoe-leather chicken is just a few degrees. Smart grillers know the secret weapon: an instant-read thermometer.
Boneless chicken breasts need 165°F, while thighs are better at 170-175°F for that perfect texture. Insert the probe into the thickest part without touching bone for an accurate reading. Digital versions give results in seconds, eliminating the dreaded cut-and-peek method that releases precious juices.
12. Let It Rest Before Slicing
Hold those knives! The final critical step happens after grilling: the rest period. When chicken cooks, muscle fibers contract and push juices toward the center. Without resting, those flavorful liquids gush out when cut, leaving dry meat on your plate.
Give boneless cuts 5 minutes and bone-in pieces 10 minutes under loose foil. During this time, magic happens! Juices redistribute throughout the meat while carryover cooking gently finishes the process.
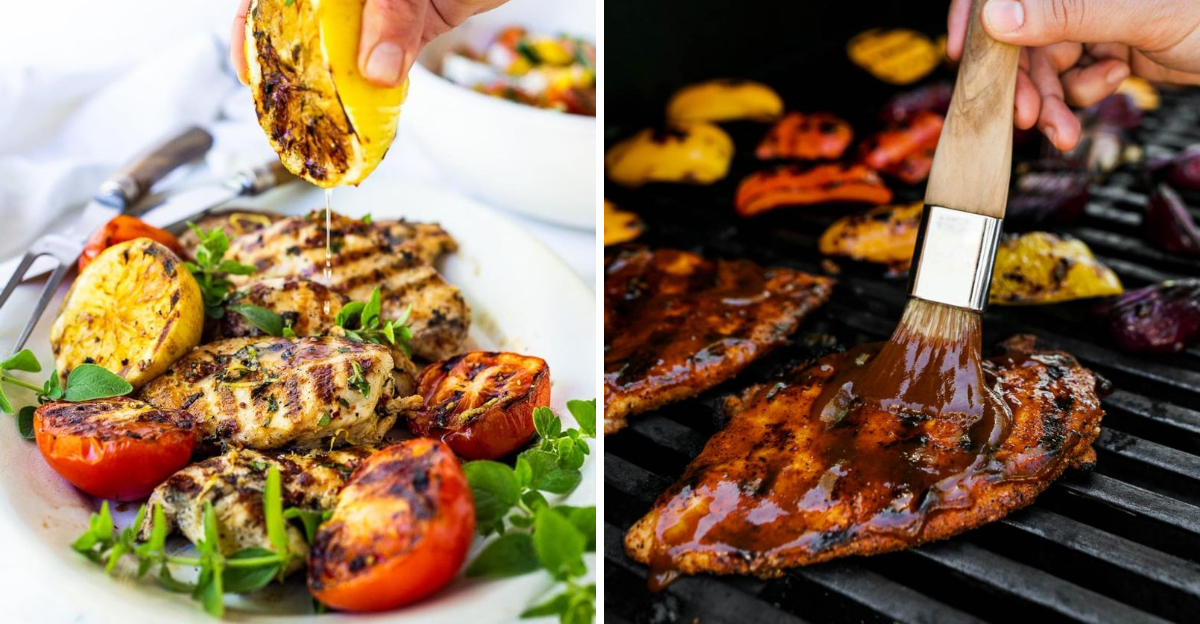
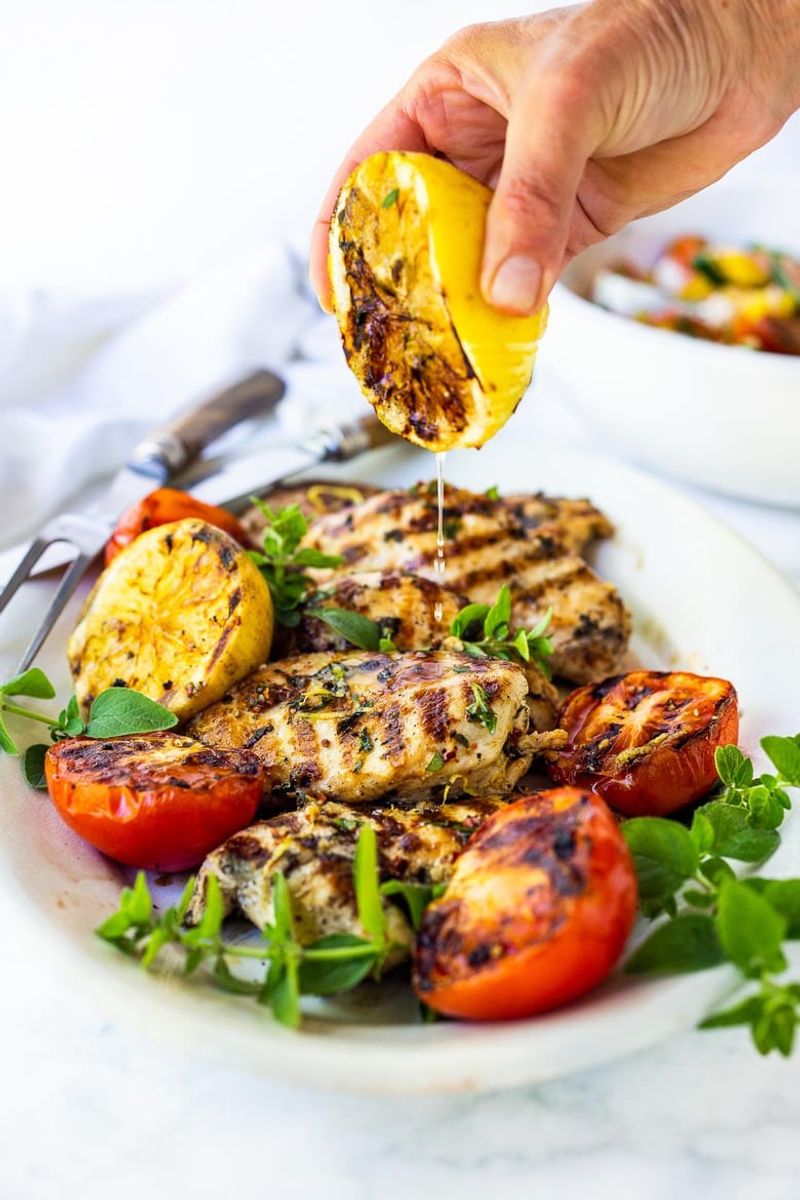
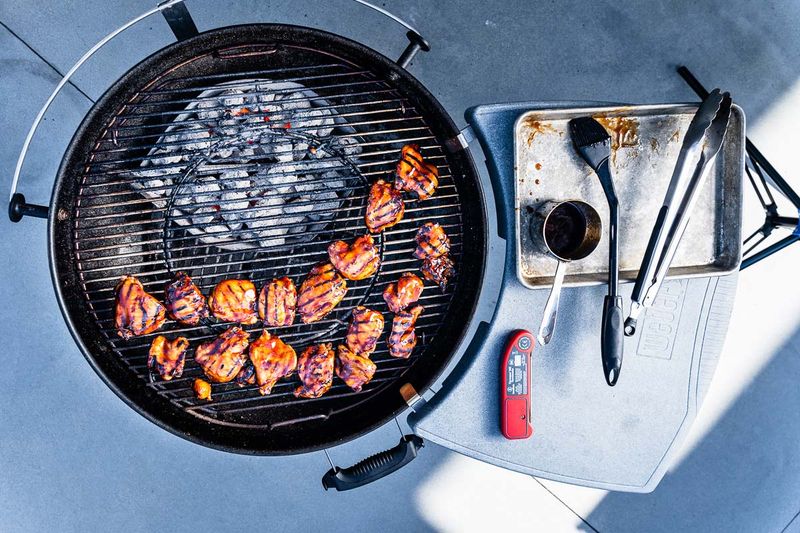
13. Add Sauce Late
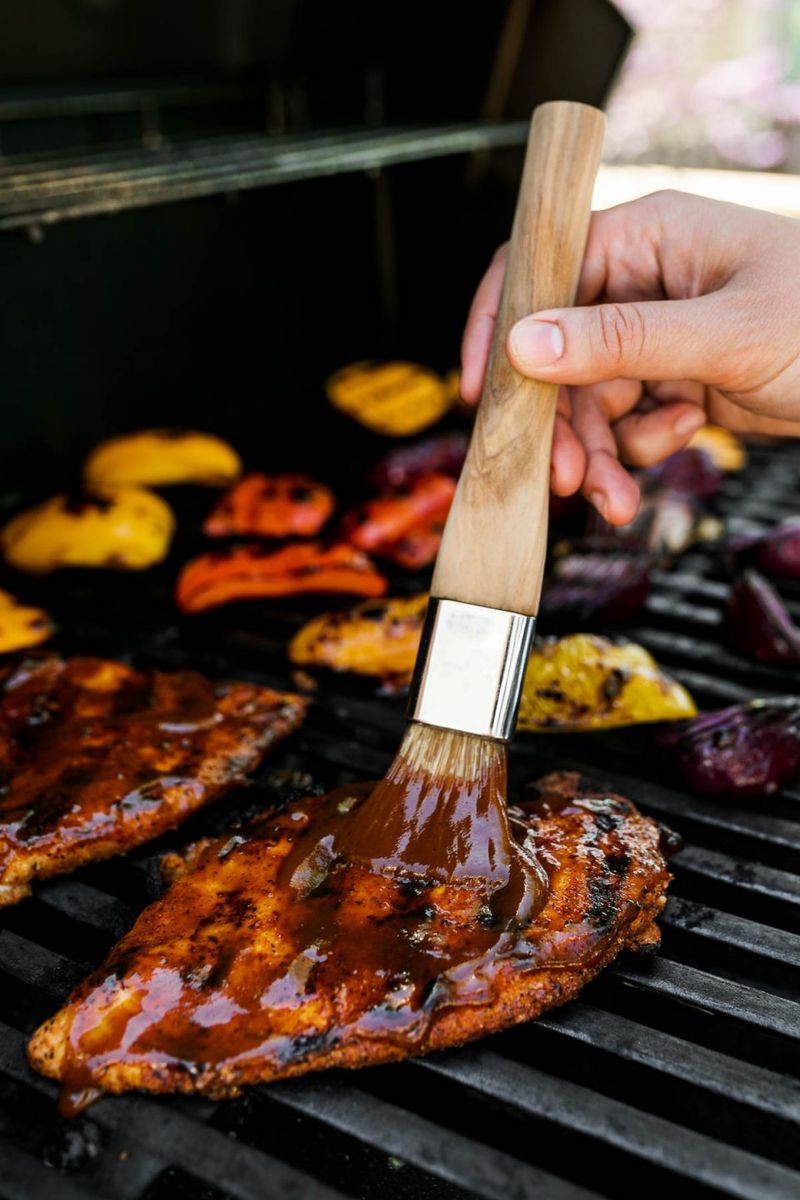
Timing is everything with BBQ sauce! Slathering your chicken with sugary sauce too early is a rookie mistake that ends in burnt, bitter disappointment. Sugar burns at just 350°F—exactly the temperature of your perfect grilling zone.
The pro move? Grill chicken until it’s nearly done (about 155°F internal temperature), then brush on sauce during the final few minutes. This gives enough time for the sauce to caramelize into sticky, glossy perfection without burning.
14. Try Dry Rubs
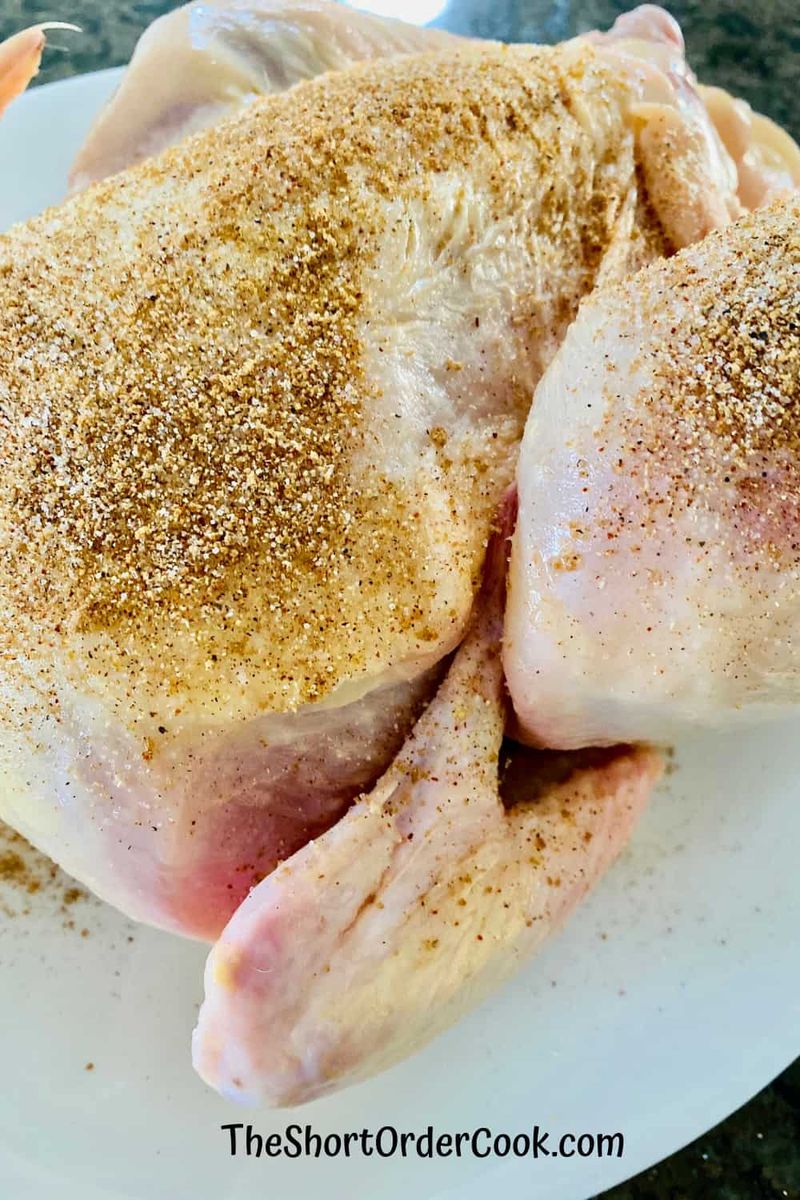
Sauces get all the glory, but dry rubs are the secret weapon of serious grillers! These magical spice blends create flavor depth that wet marinades can’t touch. The key? They form a savory crust that seals in moisture while adding concentrated taste.
Create signature blends with a simple ratio: 4 parts salt and brown sugar, 3 parts paprika, and 1 part each of your favorite spices (garlic powder, onion powder, black pepper, cumin, etc.). Apply generously 15-30 minutes before grilling to allow the rub to penetrate slightly.
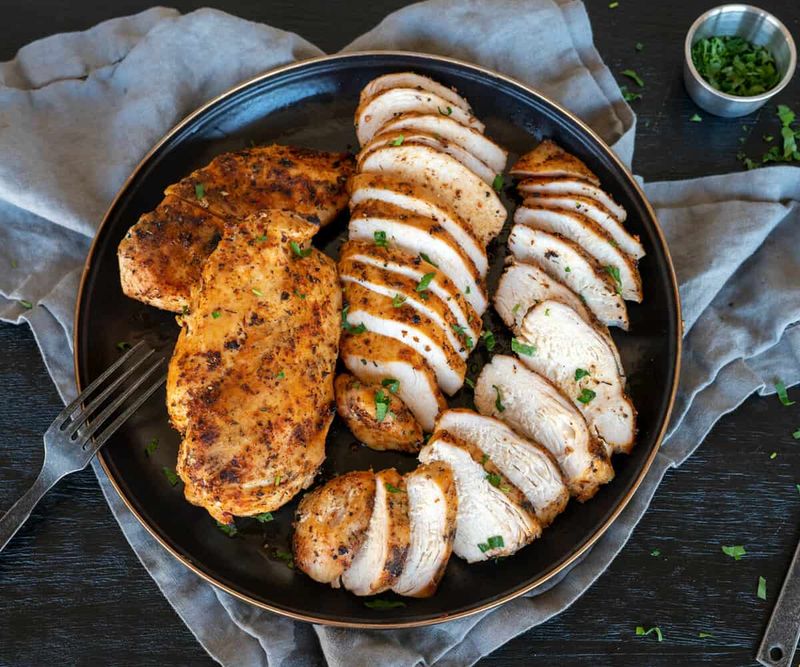
15. Slice Against The Grain
Knife skills matter! Ever notice how some grilled chicken feels tender while other pieces seem stringy and tough? The secret isn’t in the cooking—it’s in the cutting.
Muscle fibers run in parallel lines (the “grain”) through chicken breasts. Cutting parallel to these lines leaves long fibers intact, requiring more chewing. Slicing perpendicular to the grain creates short fiber segments that feel tender instantly.
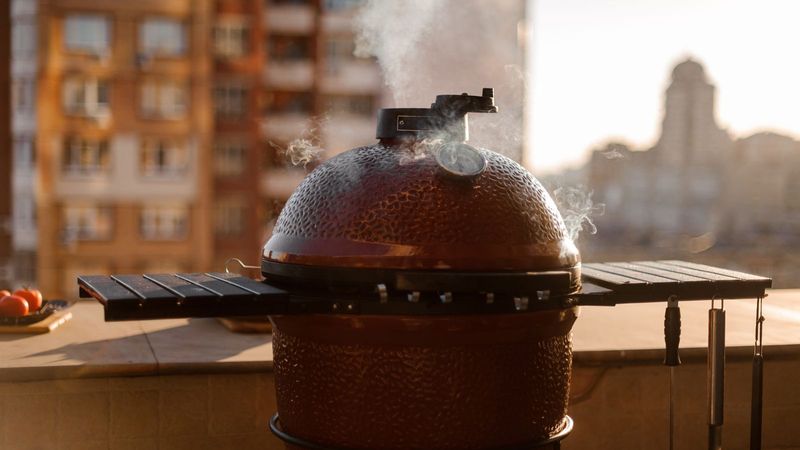
16. Experiment With Wood Chips
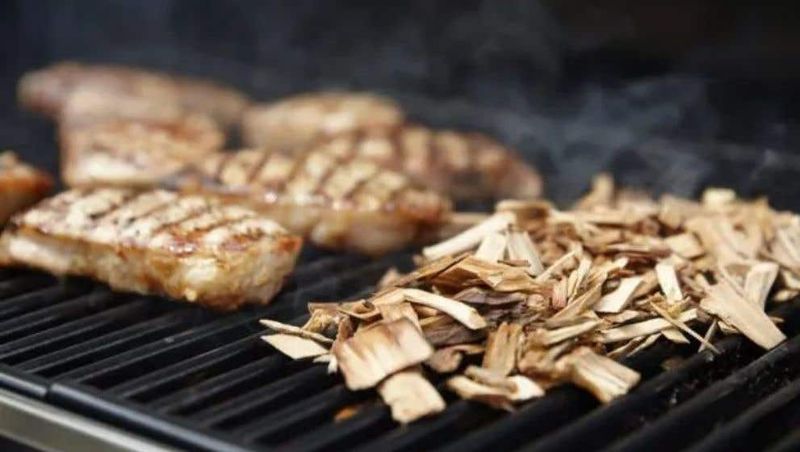
Gas grill owners, stop being jealous of smoky charcoal flavor! Wood chips are your secret weapon for adding incredible depth to grilled chicken. Different woods create distinctly different profiles—hickory adds bacon-like richness, apple brings sweet subtlety, and mesquite delivers bold Southwestern character.
Soak chips for 30 minutes, then drain. For gas grills, wrap in foil, poke holes, and place directly on the burner. With charcoal, scatter damp chips directly on hot coals.
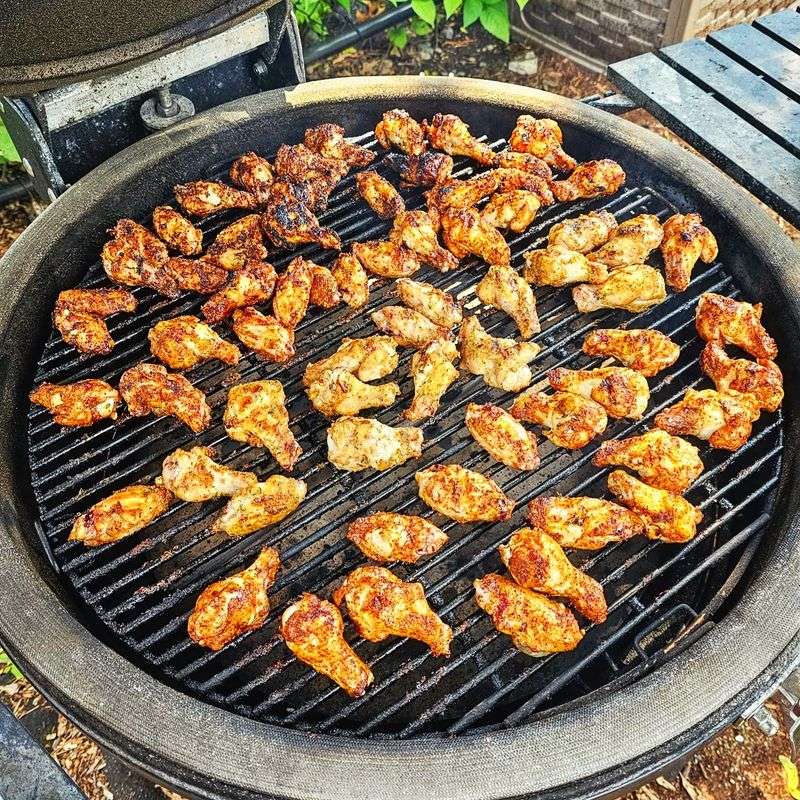
17. Don’t Overcrowd The Grill
Space: the final frontier of perfect grilling! Cramming too much chicken onto your grill creates a domino effect of cooking disasters. Without adequate space between pieces, you create a steamy environment instead of the direct heat needed for proper searing.
Follow the one-third rule: leave two-thirds of your grill space empty. This allows for proper air circulation, consistent temperature, and room to maneuver when flipping. It also gives you designated safe zones to move pieces that are cooking too quickly.