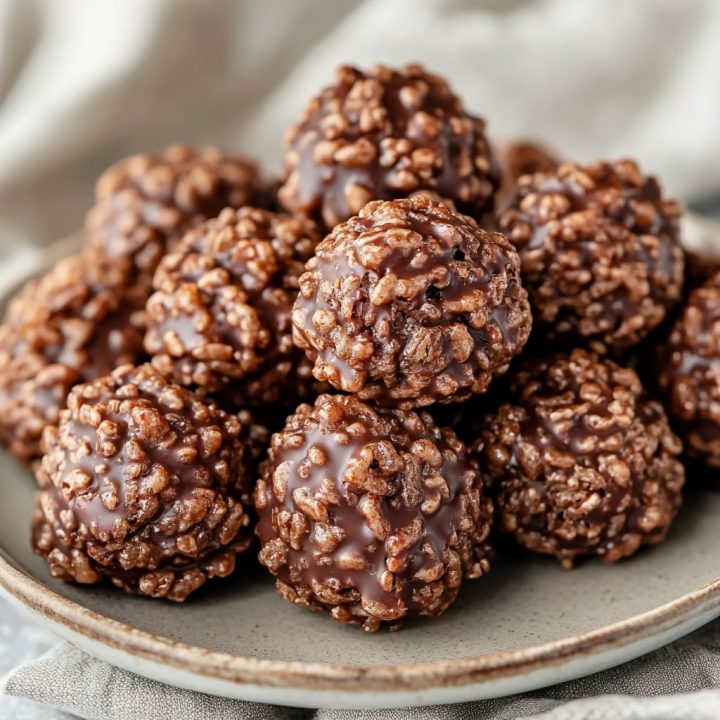
Effortless Chocolate Rice Krispie Balls With The Perfect Crunchy Texture
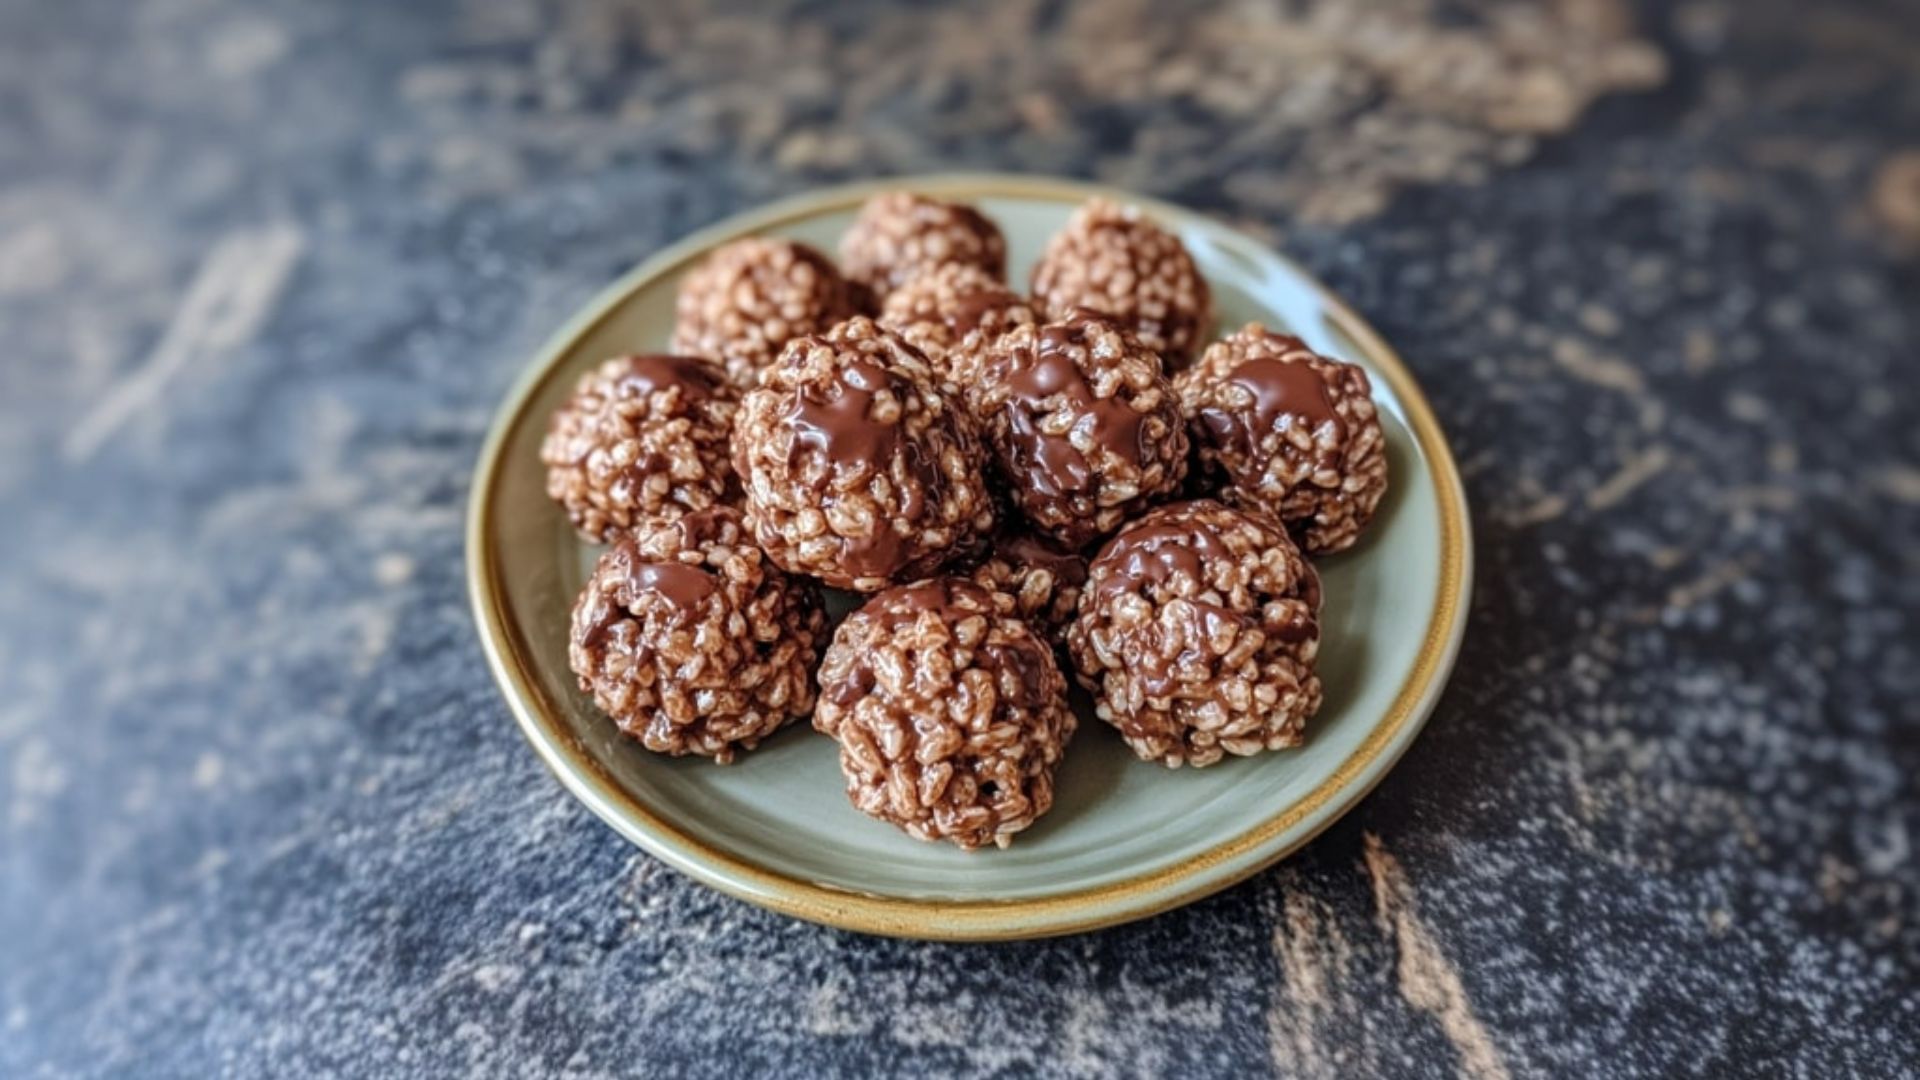
Looking to make a delicious dessert during the holiday season? Then, go no further than this rich and easy Chocolate Rice Krispie Balls.
They are absolutely bursting with flavors and it’s more than enough to satisfy anyone’s sweet cravings. So, let’s get right into it.
Chocolate Rice Krispie Balls
Want a dessert, but don’t have an oven? In that case, try these Chocolate Rice Kirspie Balls that are perfect for the holiday season.
Ingredients
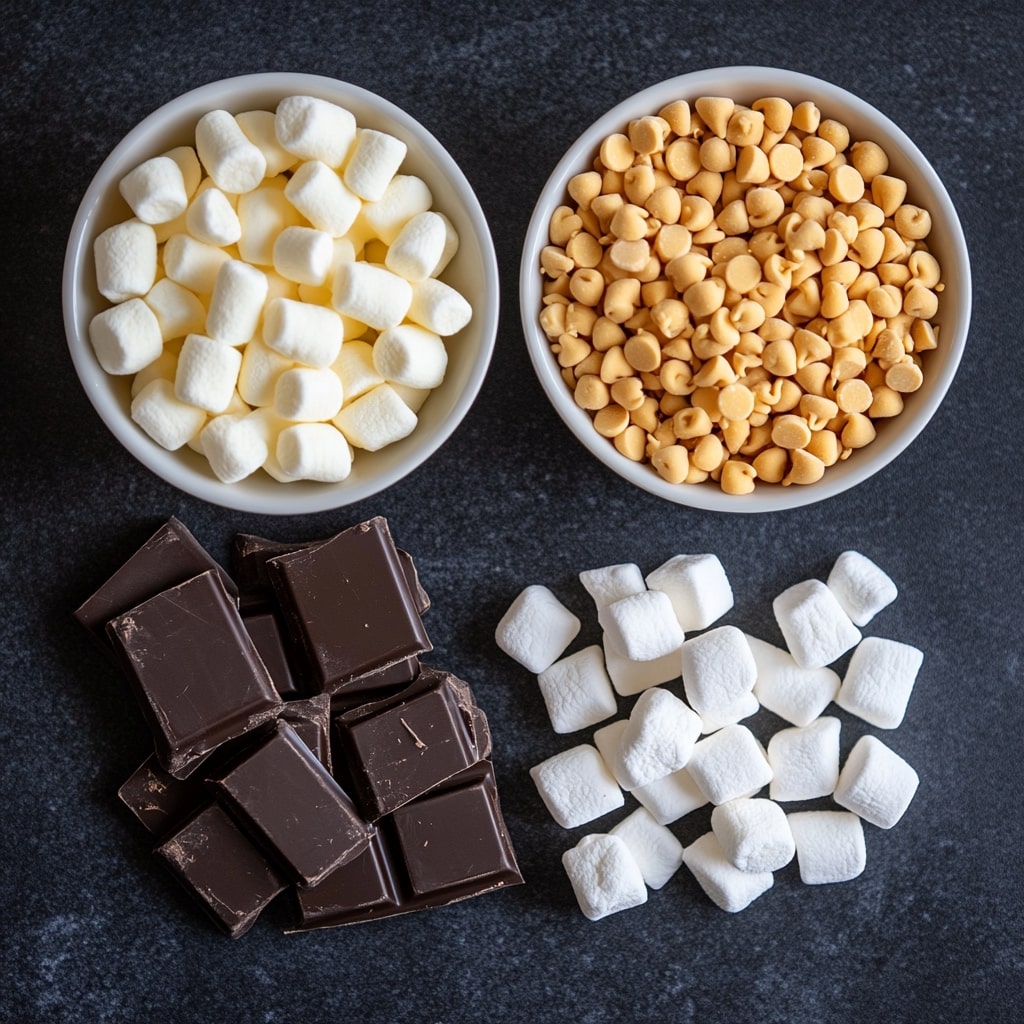
- 8 ounces semi sweet chocolate (225g)
- ½ teaspoon vanilla extract
- 2 cups mini marshmallows
- 2 cups Rice Krispie cereal
Substitute Ingredients
No chocolate? Swap it with white chocolate or butterscotch chips for a fun twist.
If you’re out of mini marshmallows, use regular marshmallows cut into smaller pieces or marshmallow fluff for a smoother texture.
Need a healthier option? Try dark chocolate for a richer flavor and less sugar. For a gluten-free version, ensure the Rice Krispies are certified gluten-free. Customize to your liking!
Instructions
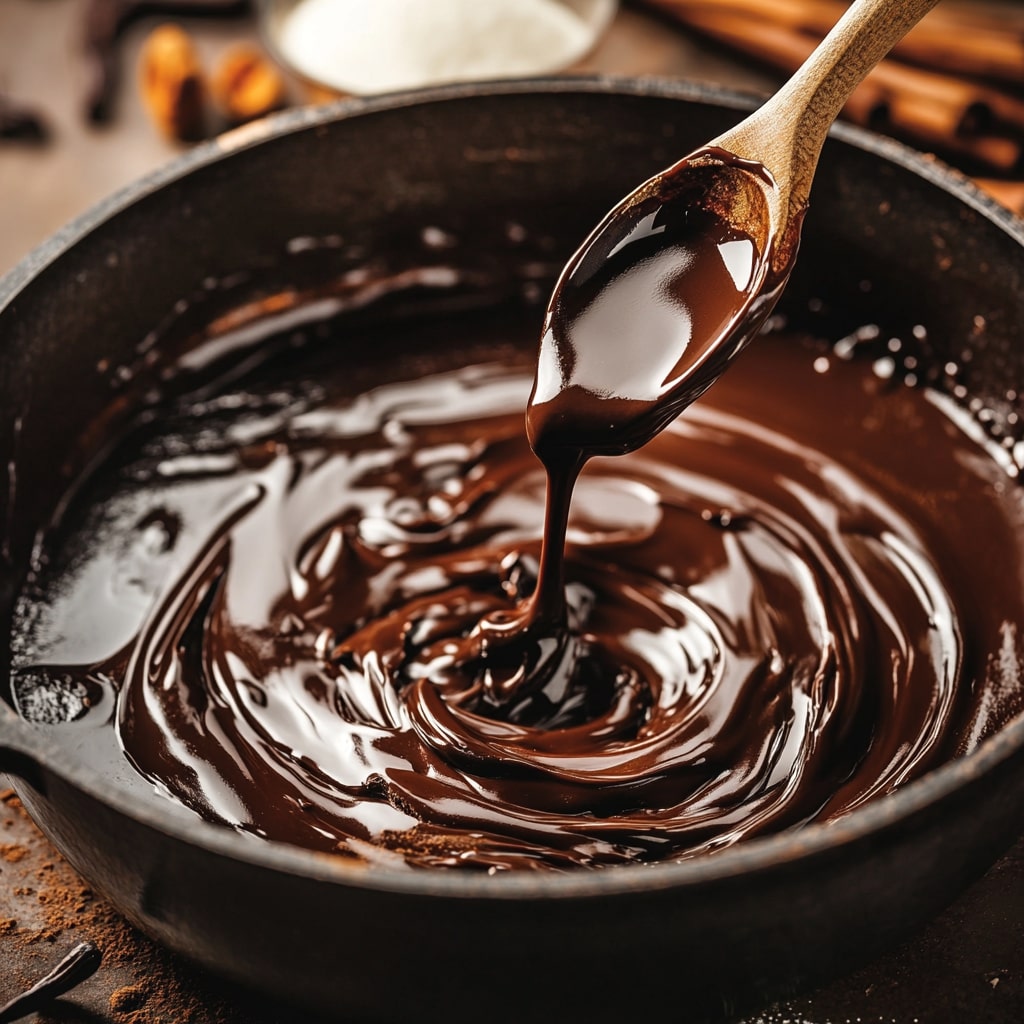
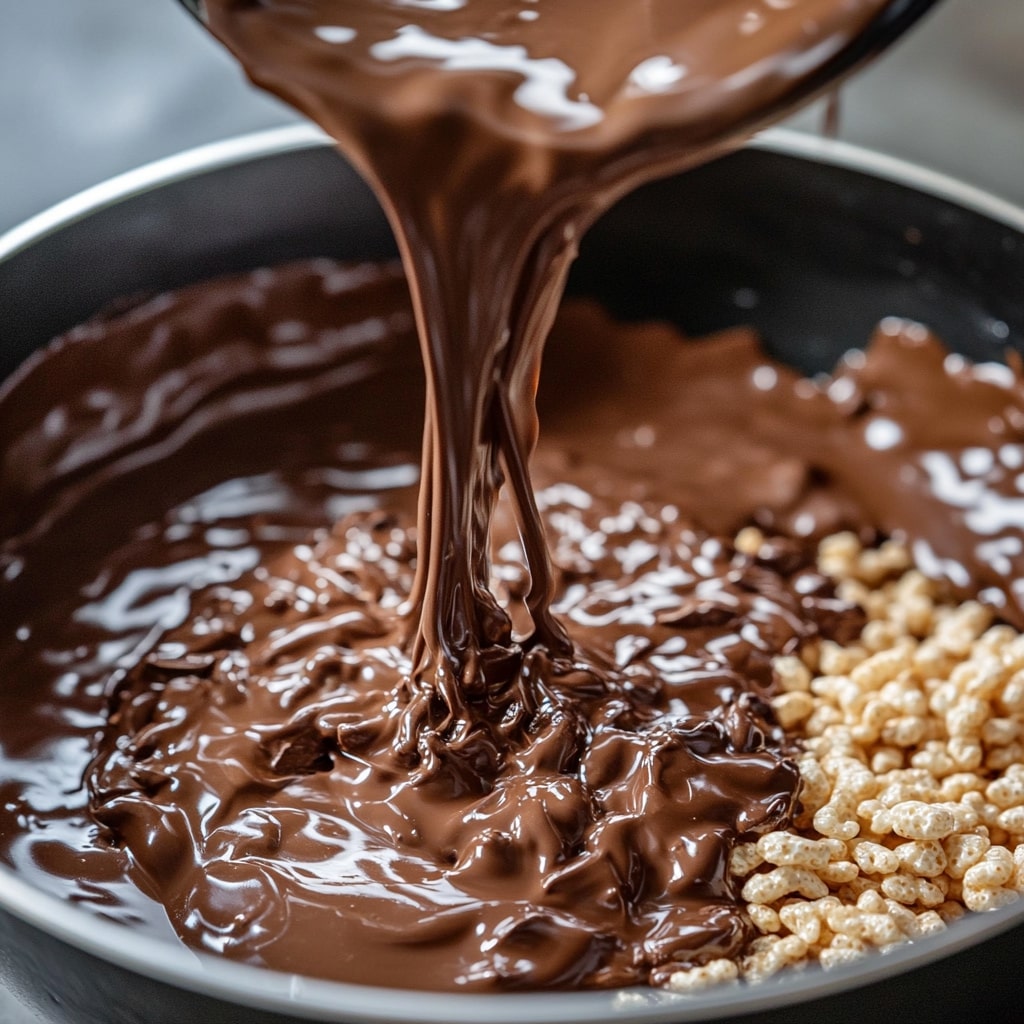
1. Gently Melt the Chocolate: Place your chocolate in a heavy-bottomed saucepan over low to medium heat, stirring regularly to ensure a smooth, lump-free melt.
Take your time because melting chocolate gradually is the secret to achieving a silky consistency without scorching.
For added control, use a double boiler to prevent overheating. Once the chocolate is shiny and fully melted, you’re ready to move on.

2. Add Vanilla for a Flavor Boost: With your chocolate perfectly melted, mix in a dash of vanilla extract.
Stir well to evenly distribute the flavor, adding a subtle sweetness and warmth that enhances the chocolate’s richness.
This simple addition elevates the taste and creates an enticing aroma that will fill your kitchen with cozy vibes.
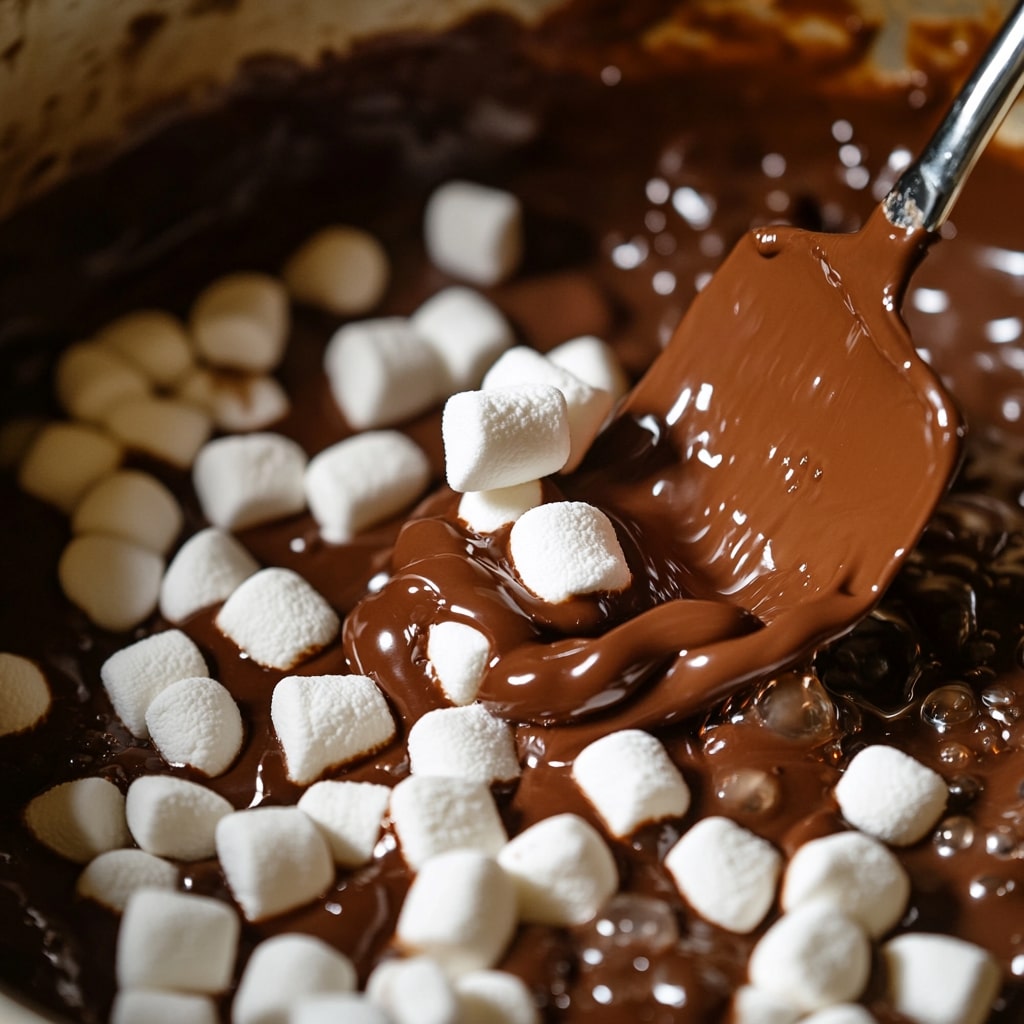
3. Incorporate the Marshmallows: Here’s where the magic begins—add the mini marshmallows into the melted chocolate.
Stir continuously to help them melt down and merge into the chocolate, forming a creamy, sticky base.
The marshmallows add a velvety texture that binds the ingredients together beautifully. Keep stirring until the mixture is smooth and luscious.
4. Fold in the Rice Krispies: Take the pot off the heat and immediately stir in the Rice Krispies while the mixture is still warm.
Fold gently but thoroughly to coat every piece of cereal with the glossy chocolate-marshmallow blend.
The crispy texture contrasts perfectly with the gooey base, creating a delectable crunch. Don’t forget to scrape down the sides to get every last bit!
5. Shape into Bite-Sized Balls: Once everything is evenly mixed, it’s time to get hands-on! Scoop out portions of the mixture and press them into six compact, round balls.
To make handling easier, grease your palms lightly with butter or cooking spray.
Don’t stress about making them perfectly round. Their homemade charm only adds to their appeal!
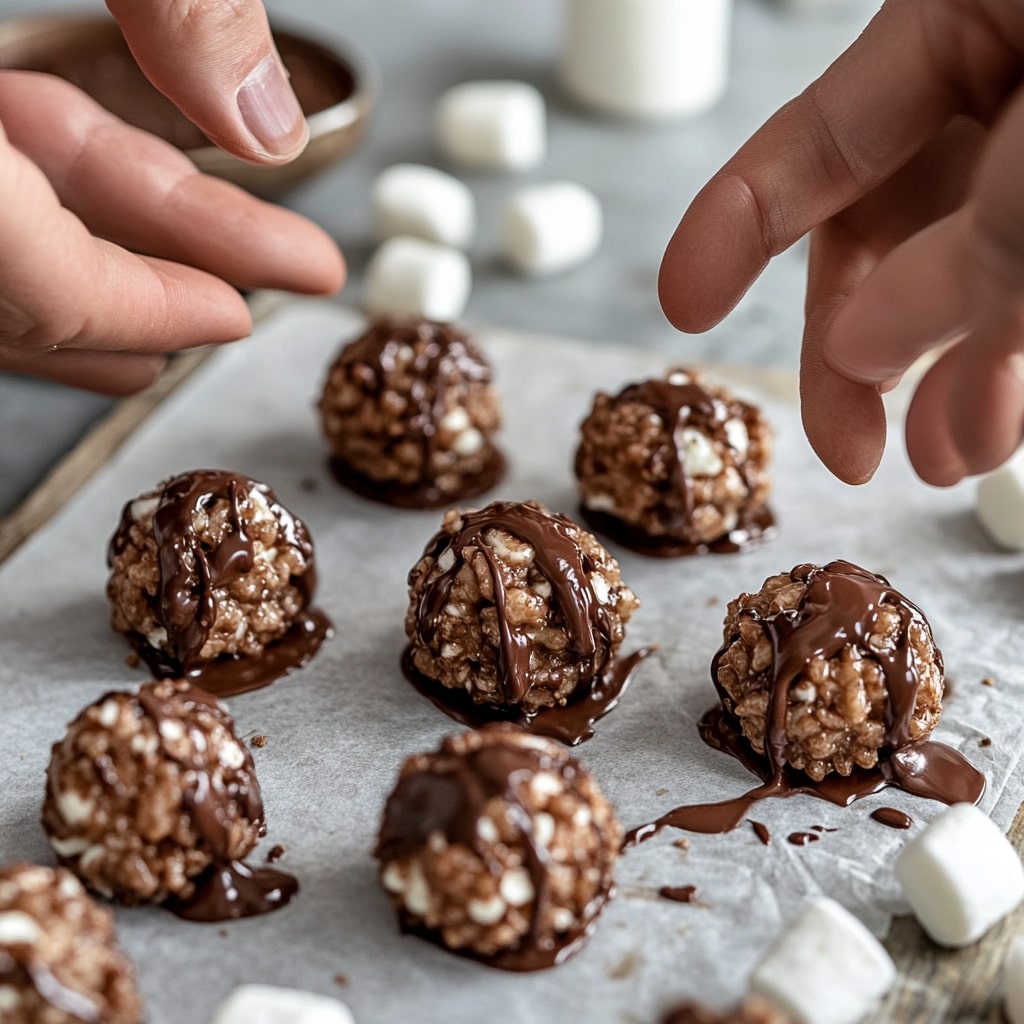
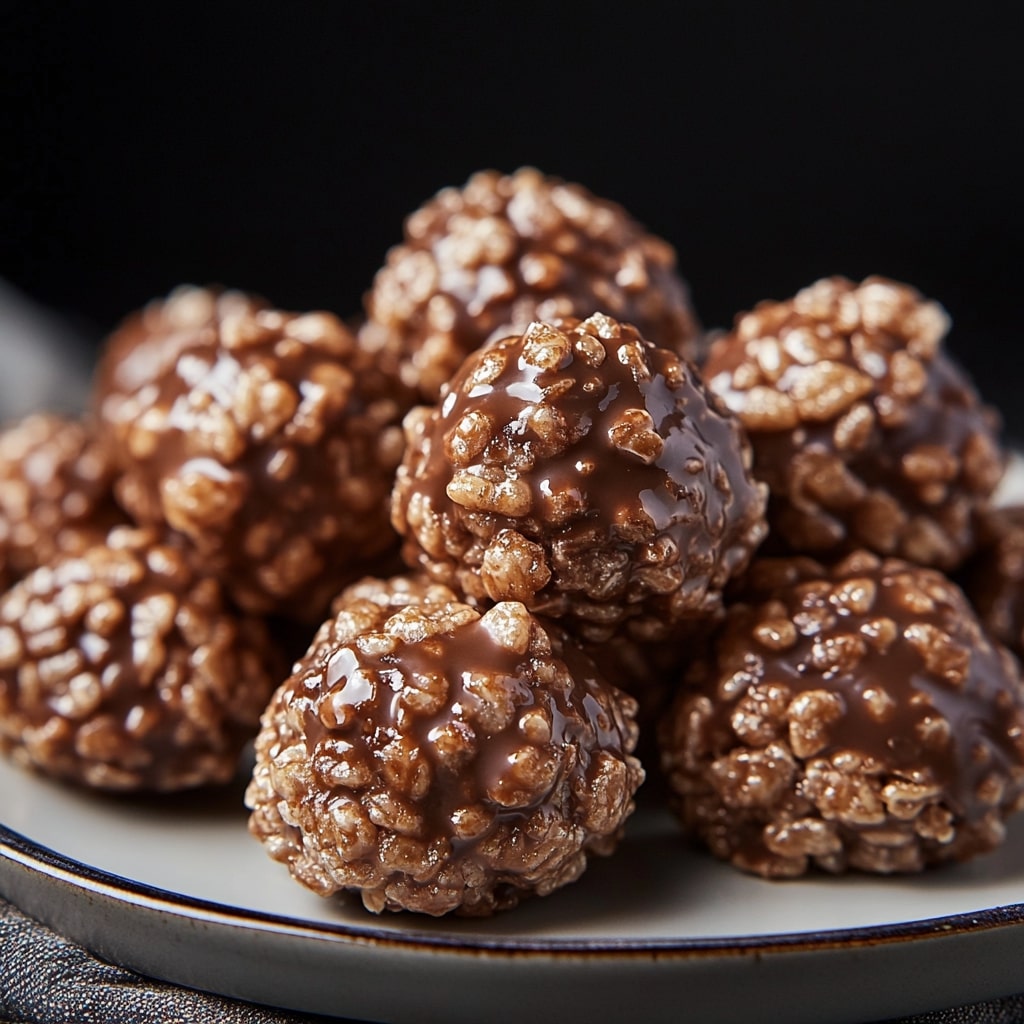
6. Chill to Perfection: Arrange the balls on a baking sheet lined with parchment paper, spacing them out to avoid sticking.
Place the tray in the refrigerator and chill for at least 30 minutes, or until the balls are firm. Once set, they’re ready to enjoy—crispy, chocolatey, and delightfully indulgent!
Serving Suggestions
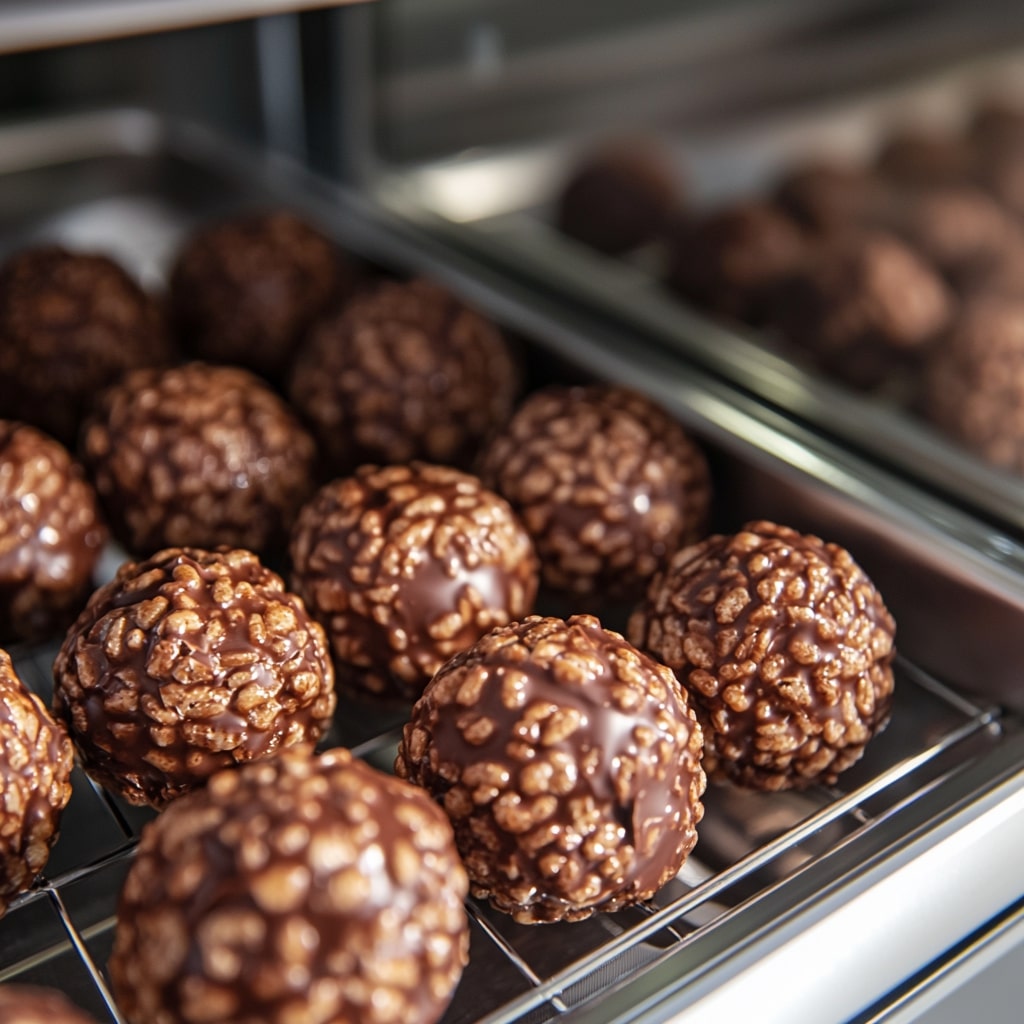
Serve Chocolate Rice Krispie Balls as a fun party treat or dessert centerpiece.
Pair them with fresh berries for a fruity contrast, or drizzle with caramel or white chocolate for extra flair. Add festive sprinkles to match holidays or celebrations.
Stack them on a platter for sharing, or wrap them individually for gift bags and party favors.

Storing Leftovers
To store leftover Chocolate Rice Krispie Balls, place them in an airtight container, layering parchment paper between stacks to prevent sticking.
Keep them at room temperature for up to 5 days, or refrigerate for a firmer texture, lasting about a week.
For longer storage, freeze them in a sealed container for up to 2 months. Thaw at room temperature before serving.
These treats are ideal for celebrations, holiday desserts, or satisfying those late-night sweet cravings. So, now that they are ready, serve them up on a plate and enjoy.