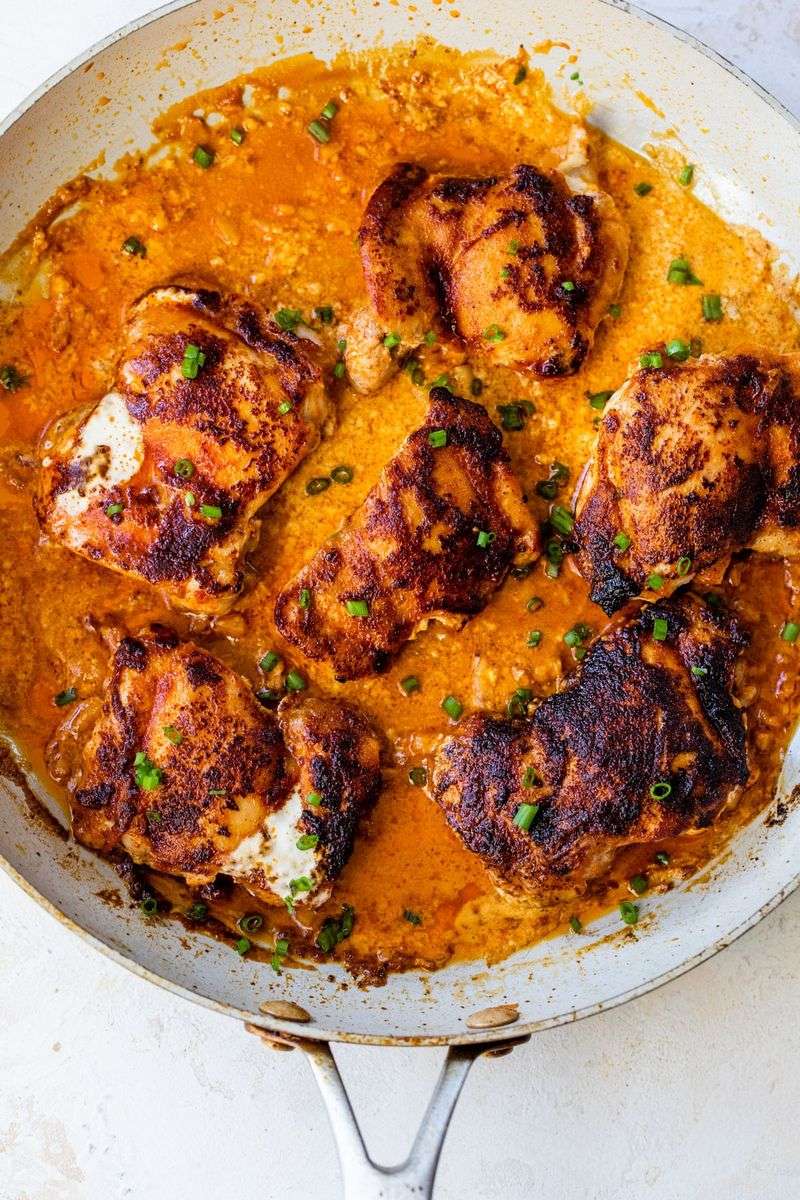
When chicken meets butter in a hot skillet, magic happens. It’s old-school, golden-brown glory at its finest—crispy skin, juicy meat, and a smell that makes neighbors lean out their windows.
But butter is a tricky beast. Treat it right, and you’ll unlock levels of chicken flavor that are downright decadent.
1. Use Clarified Butter To Avoid Burning
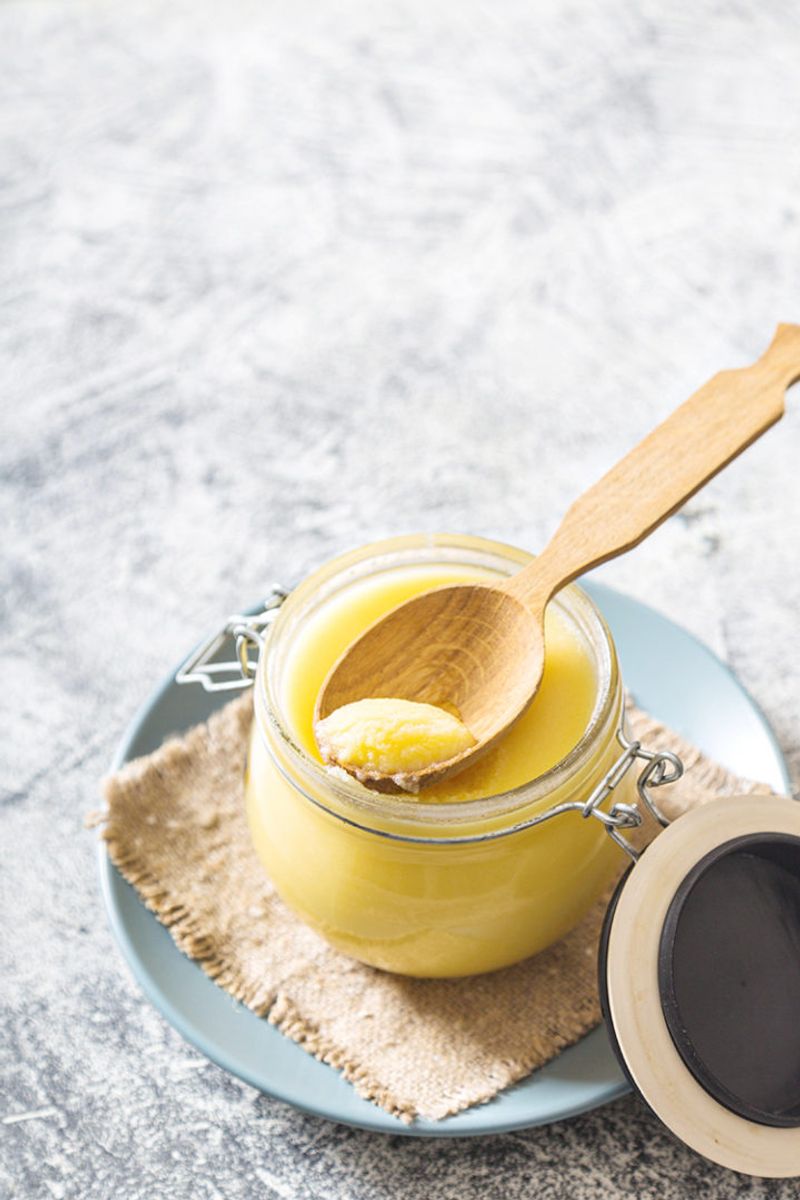
Regular butter has milk solids that scorch quickly, but clarified butter is smooth, golden fat that can take the heat. It’s like ghee’s less pretentious cousin, and it lets your chicken brown beautifully without going bitter.
I learned this the hard way, scraping burnt bits off my first batch. Make your own or buy it—either way, it’s a game changer.
2. Season The Butter With Garlic Or Herbs
Before the chicken hits the pan, melt butter with crushed garlic, rosemary, or thyme. You’ll smell the difference before you even take a bite. The butter becomes this aromatic potion that seeps into the meat as it cooks.
It’s subtle, savory, and makes people ask, “What’s your secret?”
3. Start With Room-Temperature Chicken
Cold chicken lowers the pan’s temp, which kills your crisp. Letting it sit for 20 minutes before frying helps the butter stay bubbly instead of instantly cooling off.
The sizzle stays strong, and the chicken cooks more evenly inside and out. I swear by this now for any butter-seared meat.
4. Pat The Chicken Dry Before Frying
Moisture and hot butter? Not friends. A quick paper towel press removes surface water and helps the butter cling instead of spit. You’ll get better color and way less pan chaos.
It’s a tiny step with a huge payoff—just like drying your lettuce before salad.
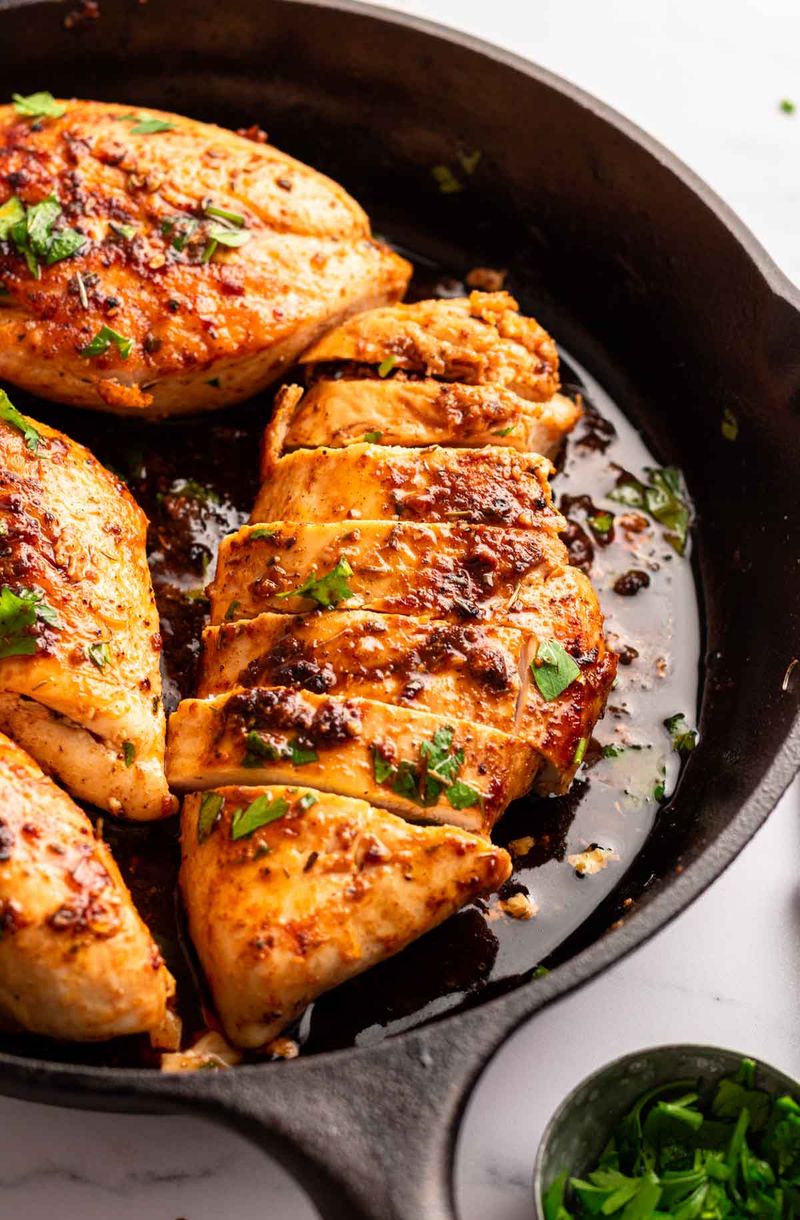
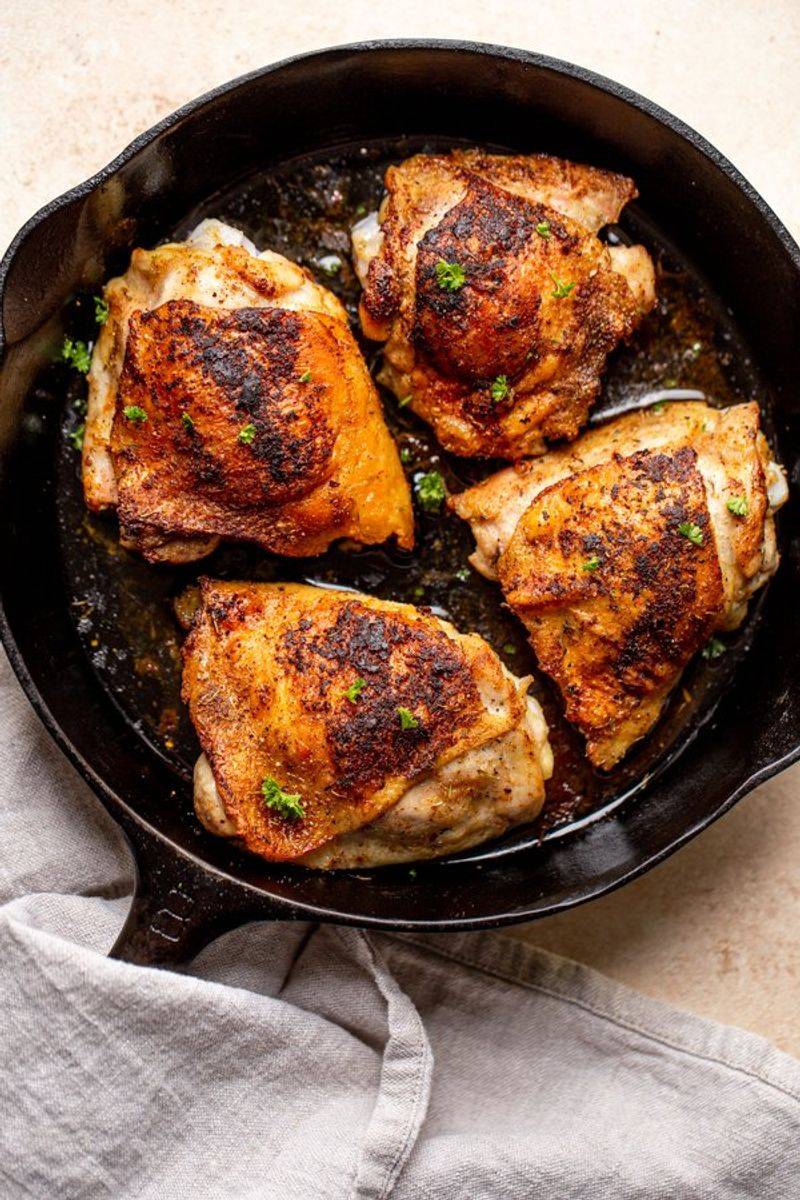
5. Use Cast Iron For Even Crispiness

Butter behaves best in a heavy, evenly heated pan, and cast iron holds heat like a champ. Once you get that first sizzle, you’re in for the golden crust of your dreams.
Stainless steel is fine, but cast iron is where the real magic happens. It also looks cool sitting on the stove.
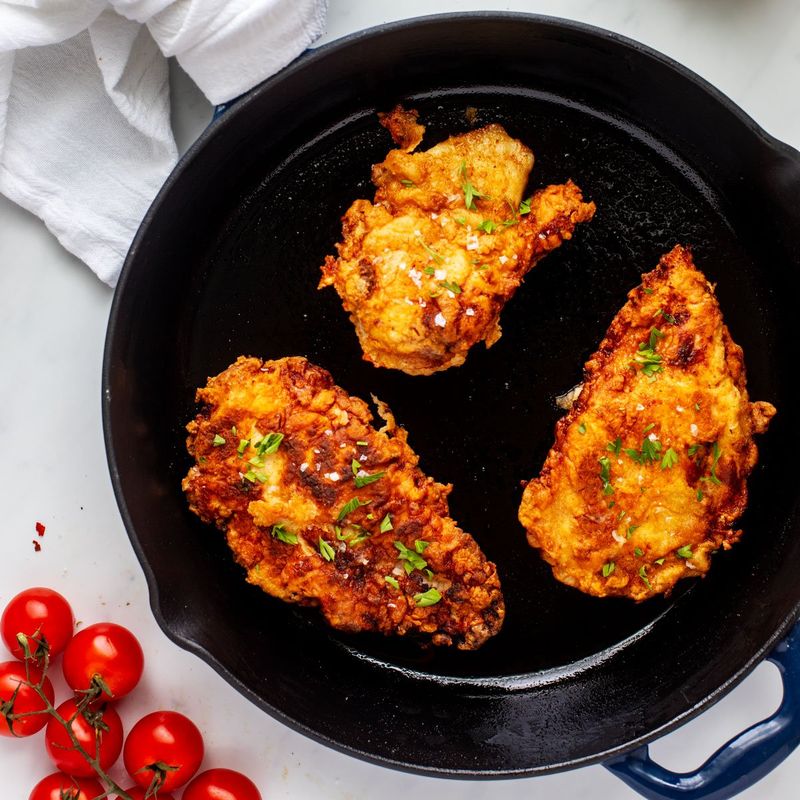
6. Dredge In Cornstarch For Extra Crunch
Flour is fine, but cornstarch makes chicken shatteringly crisp. It reacts beautifully with butter, creating an almost tempura-like texture without deep-frying.
I mix half-and-half with seasoned flour for the best of both worlds. It’s light, crackly, and stays crunchy even after a butter baste.
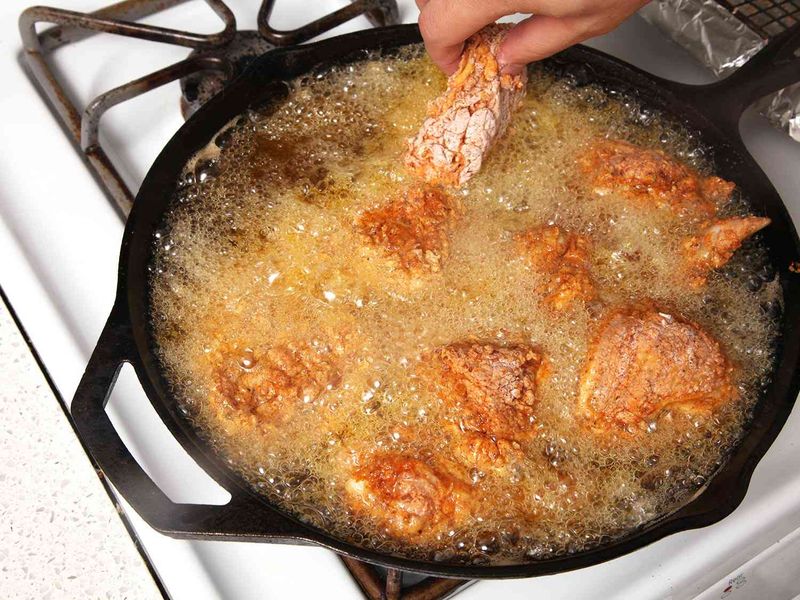
7. Don’t Crowd The Pan
If your chicken pieces are shoulder-to-shoulder, they’ll steam instead of sizzle. Give them space to brown, and your butter will stay golden instead of turning cloudy.
I used to rush this step—now I work in batches and it’s so worth it. The flavor difference is dramatic.
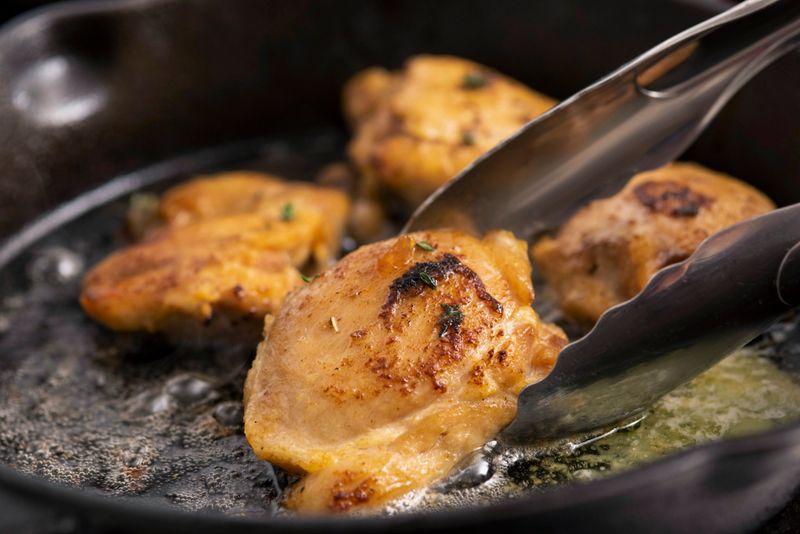
8. Flip Just Once For Better Browning
Too much flipping messes with the crust and cools the butter. Let it sit, sizzle, and build that golden shell before turning.
You’ll hear when it’s ready—the crackle calms, the smell deepens. It’s the easiest patience test in the kitchen.
9. Add A Splash Of Oil To Stabilize The Butter
Butter alone has a low smoke point, but add a neutral oil like avocado or canola and it can go longer without burning.
You still get that rich, nutty flavor but with more control. I do two parts butter to one part oil for the perfect fry. It’s an elegant fix.
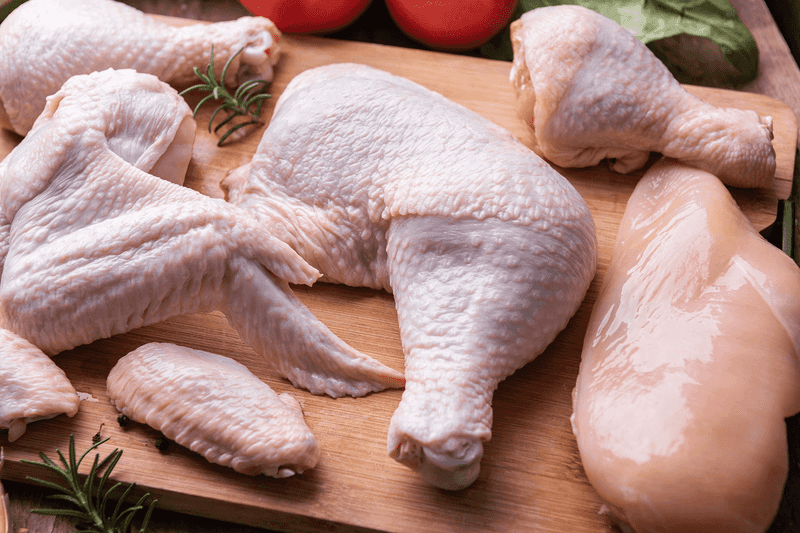
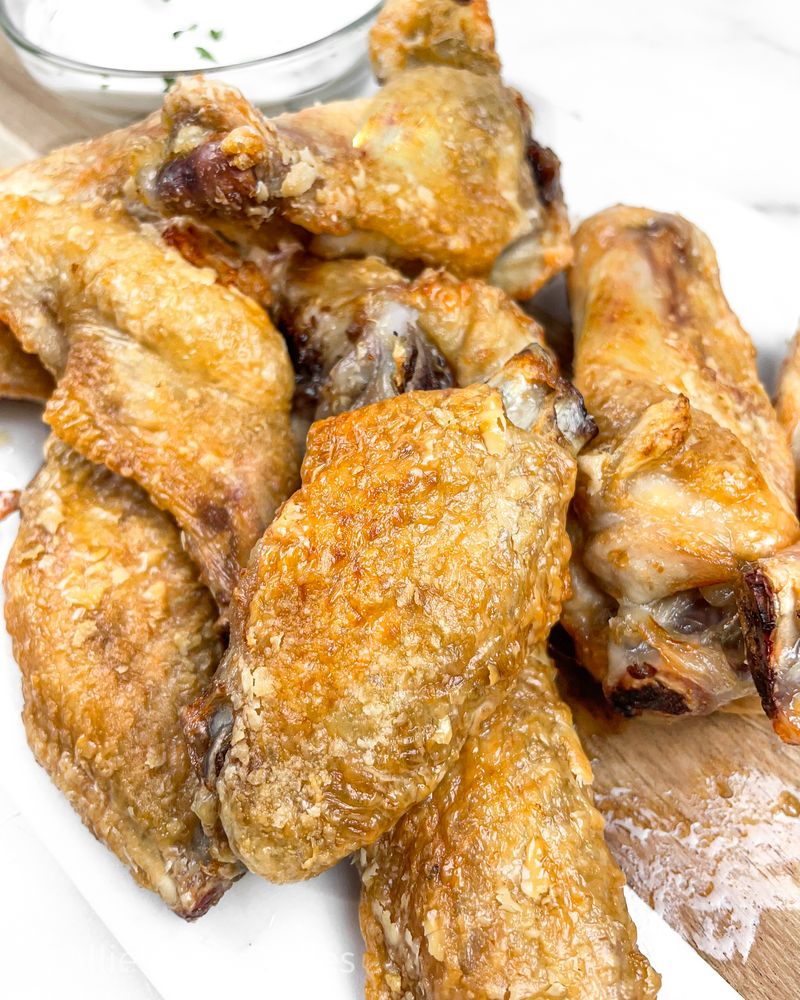
10. Use Bone-In, Skin-On Cuts For More Flavor
Boneless breasts dry out fast, but thighs and drumsticks thrive in buttery heat. The bones help retain moisture, and the skin crisps up like the best part of roast chicken.
Butter makes it glossy, golden, and ridiculously juicy. I’ve never gone back to boneless since trying this.
11. Let The Chicken Rest After Frying
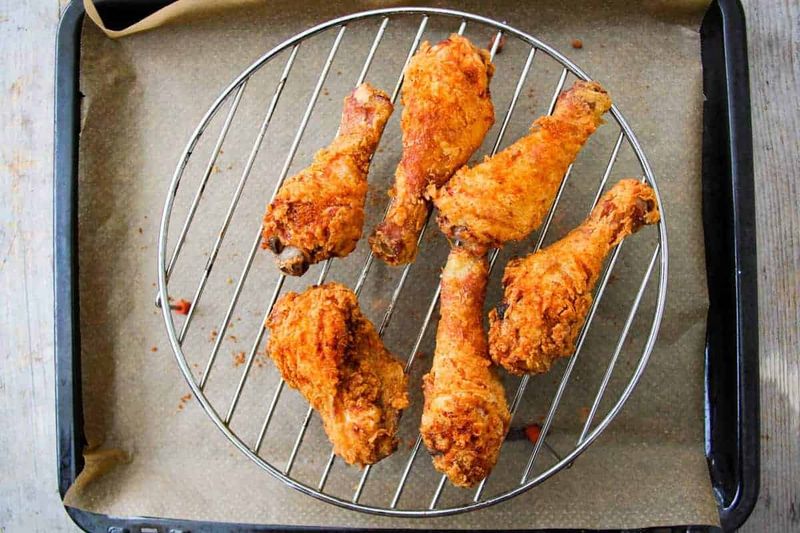
Straight from pan to plate means juice loss. Give it 5–10 minutes on a rack or paper towel and the flavors settle in like a nap after Thanksgiving dinner.
It also helps the crust firm up instead of steaming itself soft. The restraint pays off in richer flavor.
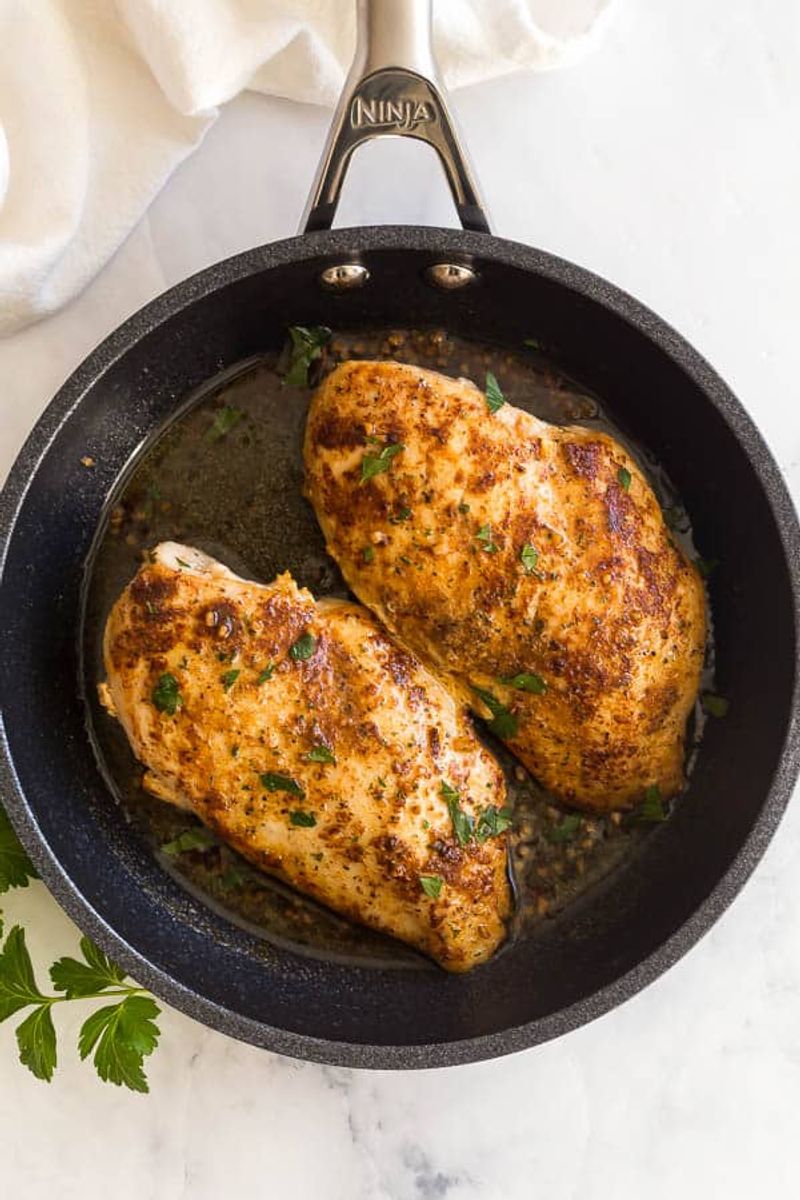
12. Deglaze The Pan For A Quick Butter Sauce
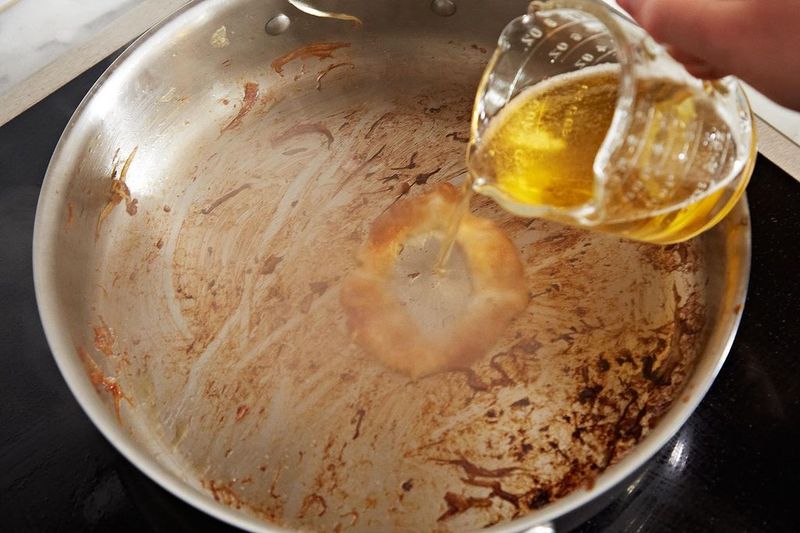
Don’t toss those brown bits stuck to the pan—they’re liquid gold. Add a splash of white wine, lemon juice, or stock and swirl in a little more butter.
What you get is a silky, herby sauce ready to spoon over everything. I drizzle it on rice, potatoes, or just more chicken.
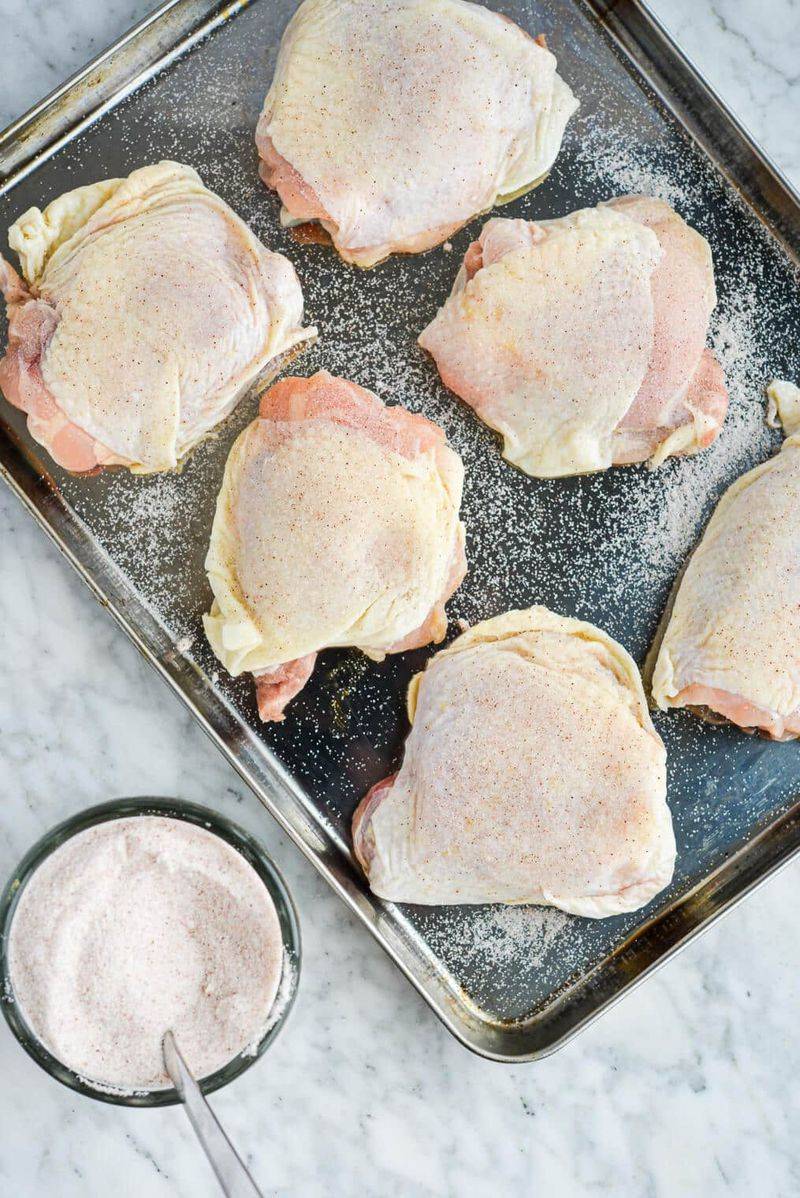
13. Add A Dash Of Paprika Or Cayenne To The Butter
A little spice in the butter gives color and kick without overpowering. Paprika adds smokiness, cayenne adds a slow burn—use both and people will think you went to culinary school.
It’s a shortcut to flavor town that takes two seconds. Stir it in while the butter melts.
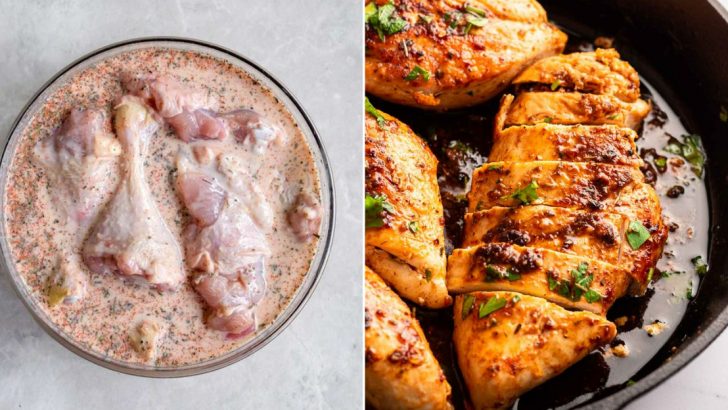
14. Marinate In Buttermilk Before Frying
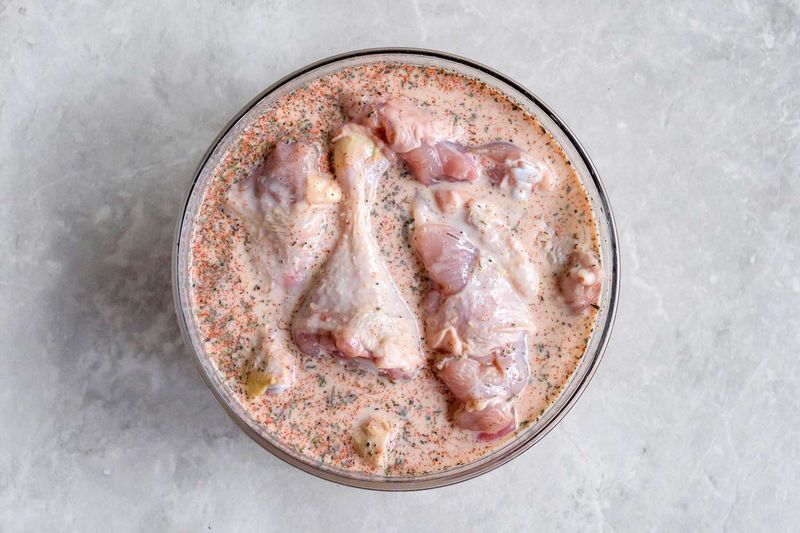
Buttermilk tenderizes like a charm and gives chicken a tangy backbone that plays beautifully with butter. An overnight soak makes the meat silky and full of flavor.
Drain and pat dry before frying for the best texture. Southern grandmas have known this forever—trust them.
15. Finish With A Butter Baste Right Before Serving
Once the chicken’s nearly done, tilt the pan and spoon the hot, herby butter over the top. It adds shine, more flavor, and a little bit of drama.
I always feel like a pro chef when I do this. It’s messy and magical and totally worth it.