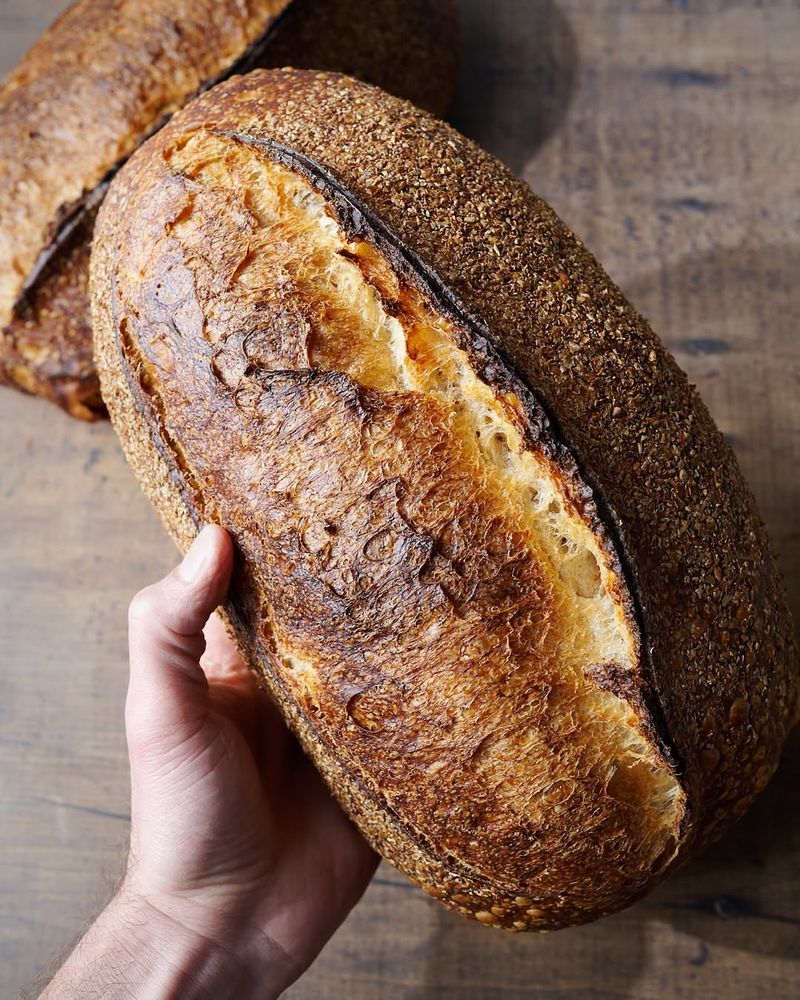
I’ve always found an unbelievable joy in baking bread from scratch—something about combining just a few ingredients and ending up with a warm, crusty loaf that makes the whole kitchen smell heavenly.
The process might seem epic, but with a bit of guidance and a dash of patience, it’s more approachable than you’d think. And believe me, once you’ve nailed a tender, golden loaf, you’ll wonder how you ever settled for supermarket slices.
Follow these 32 steps to master homemade bread baking! This guide will walk you through each essential step, from selecting the right ingredients and tools to perfecting your baking techniques.
1. Choose The Right Flour

I used to grab any old bag of flour off the shelf, but bread can change drastically based on protein content. Bread flour packs extra gluten for structure, while all-purpose can yield softer, more tender loaves or rolls. Feel free to experiment with a blend if you want the best of both worlds.
For chewy, lofty artisan bread, bread flour is my go-to. But if you’re aiming for a gentler crumb (like for sandwich bread), all-purpose is perfectly fine. Mixing half bread flour and half AP is also a neat compromise.
2. Use Quality Yeast
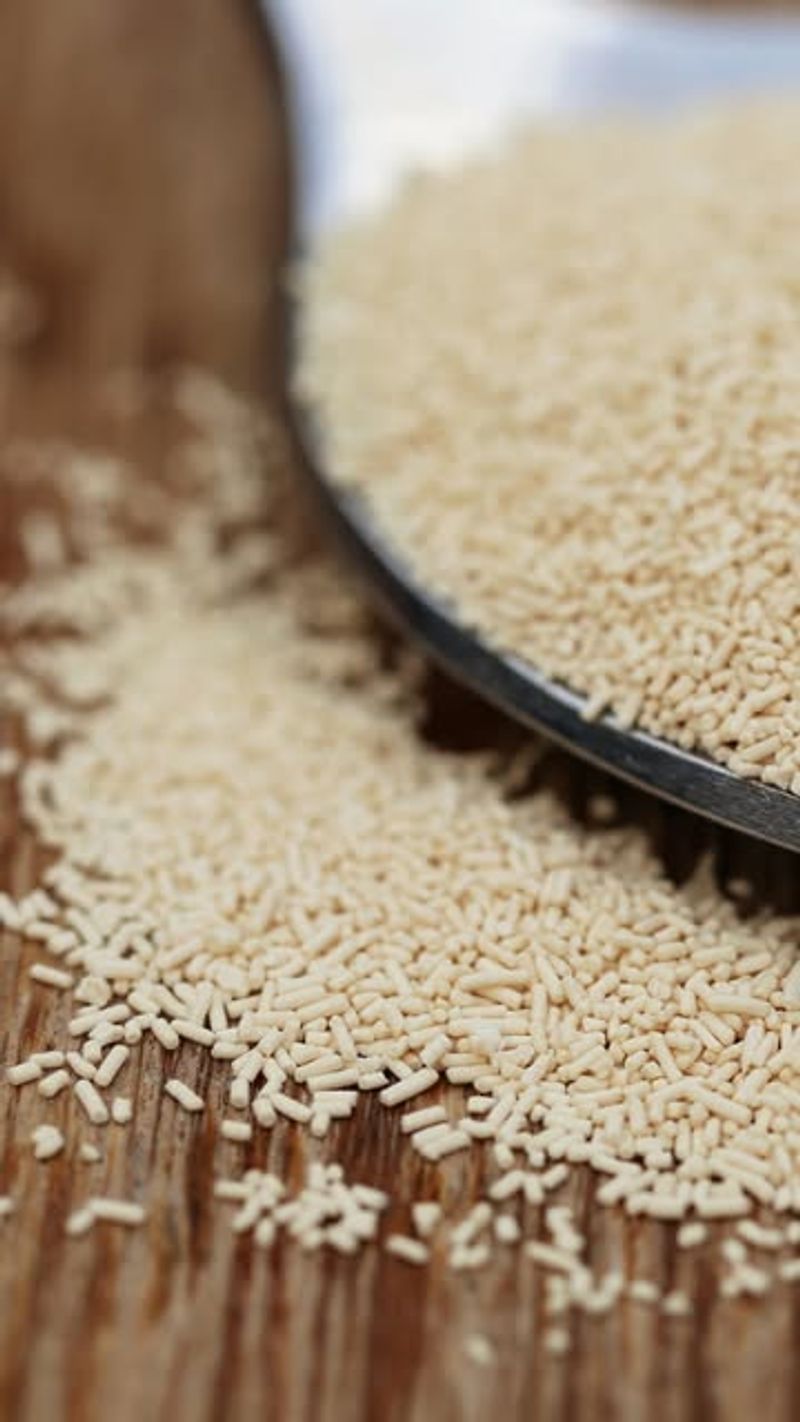
Yeast might seem like a minor player, but it’s really the star performer. Active dry, instant, or fresh yeast all do the job—just confirm it’s not expired. Stale yeast leads to dough that stays flat and lifeless, which can deflate your baking enthusiasm too.
Personally, I gravitate toward instant yeast for speed and convenience, but fresh yeast has a wonderful aroma and old-world feel. Whichever you pick, ensure it’s stored properly in a cool, dry spot.
3. Measure Ingredients Correctly
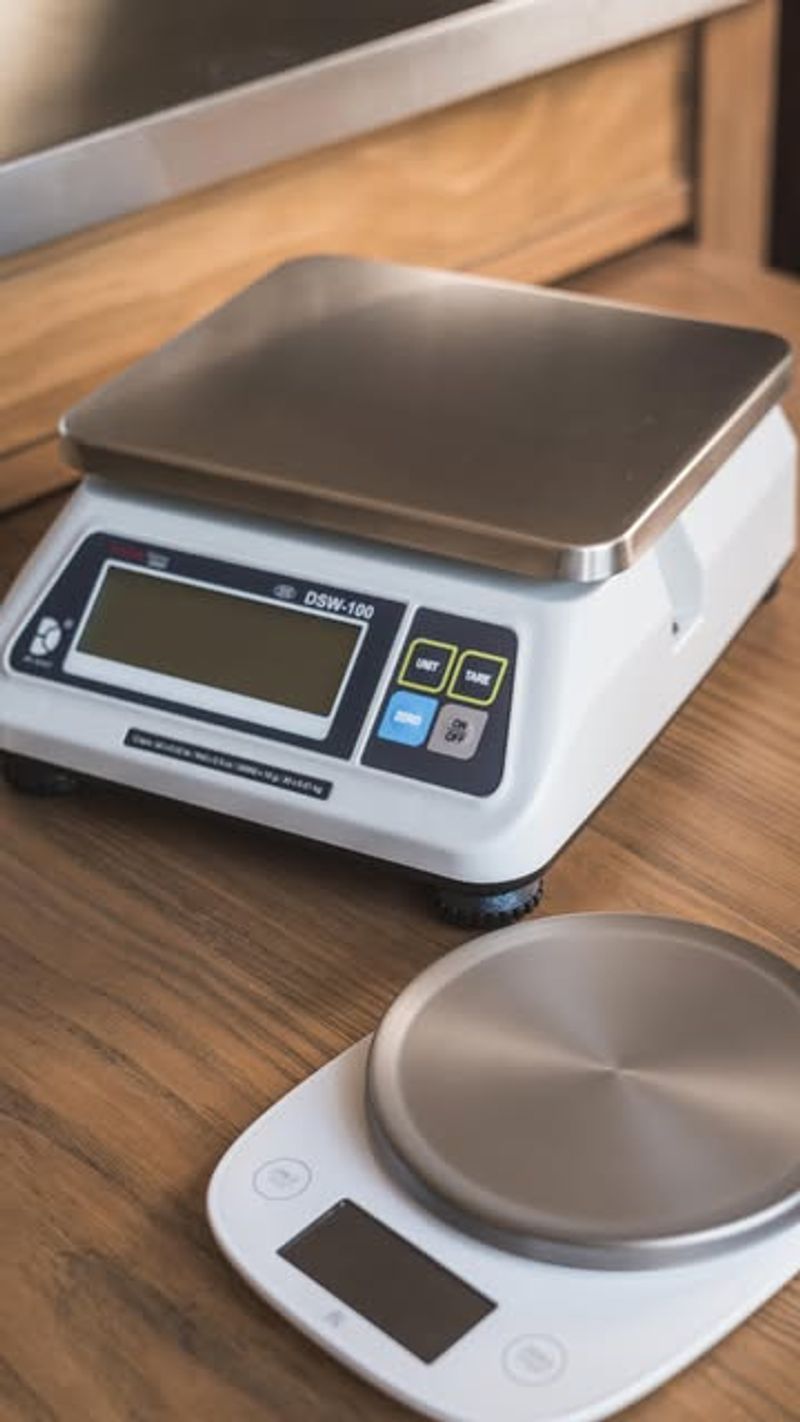
Weighing flour is one trick that changed my baking life. Scooping flour by volume can pack extra grams, making the dough too stiff. A digital scale gives consistent, professional-style results.
If a scale isn’t handy, fluff your flour with a spoon, lightly scoop, then level it off with a knife. That helps avoid sneaking in extra flour that can sabotage your texture.
4. Pick The Right Liquid

The liquid choice sets the tone of your bread. Water is classic, yielding a crisp crust, while milk or buttermilk lends softness and a gentle, slightly sweet flavor. Some adventurous recipes even call for beer or whey.
If you’re new, water is a safe bet. Once you’re comfortable, try swapping half for milk to see how it softens the crumb. Just be sure to account for sugar or salt content if you’re using something like a sweetened almond milk or such.
5. Get Essential Tools
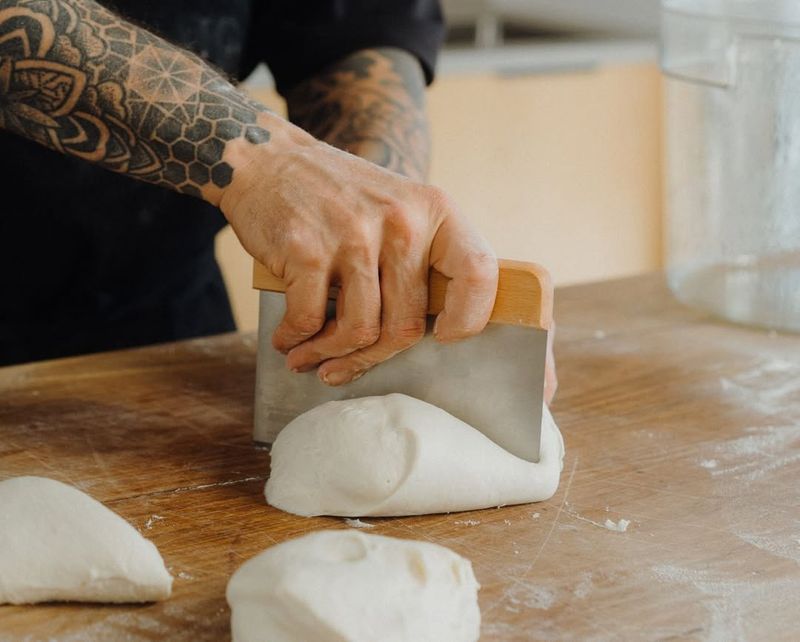
You don’t need a fancy stand mixer to succeed at bread, but a few basics help. A sturdy mixing bowl, dough scraper for shaping, and a kitchen scale are top of my list. A baking stone or Dutch oven can give you a pro-style crust if you’re serious about artisanal loaves.
In the early days, I mixed dough in a big pot and used my hands as the only “tool.” It worked fine but was messy. Having the right implements just makes everything smoother.
6. Test Your Yeast
Active dry yeast requires “proofing” to confirm it’s alive and kicking. Dissolve a teaspoon of sugar and the yeast in warm water (not too hot) and watch for foam or bubbles in about 10 minutes. If it’s flat and silent, toss it and get fresh yeast.
I learned the hard way that dead yeast gives you a sad, dense loaf. Testing saves you from hours of wasted effort.
7. Mix Dry & Wet Ingredients Separately
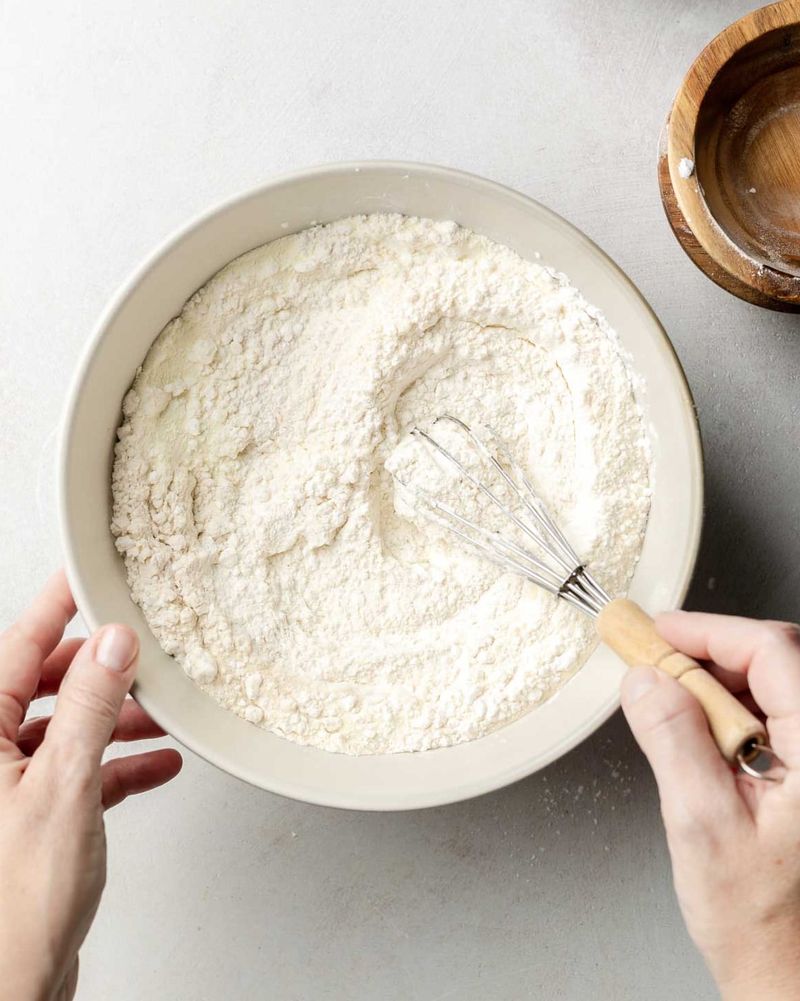
Start by combining flour and salt in one bowl, and all your liquids (like water, milk, and dissolved yeast) in another. This ensures salt doesn’t kill yeast before mixing them together.
I like to whisk my dry ingredients so salt disperses evenly. Then, when I pour in the liquids, everything blends harmoniously without lumps.
8. Incorporate Yeast Mixture
Combine the dry mix with your yeast-laced liquid gradually. It’ll form a shaggy mass that may look awkward, but that’s normal. Bread dough is meant to be messy at first.
Keep stirring or folding until it starts to come together. I sometimes use a wooden spoon to scrape up stray flour from the bowl’s edges.
9. Hydration Is Key
Aim for a dough that’s slightly sticky but not soupy. Too dry, and you’ll end up wrestling a stiff ball. Too wet, and it’ll smear all over your counter. A bit of stickiness is good, though—it typically means a lighter crumb.
If it’s too dry, drip in extra water a tablespoon at a time. Too wet, dust in a spoonful of flour. It’s about finding that Goldilocks spot.
10. Let It Rest
After that initial mixing, let the dough rest for about 10-15 minutes. This moment—called autolyse—allows the flour to soak up moisture, making kneading easier later.
I love this break because it feels like the dough is taking a mini nap, preparing for the workout that is kneading.
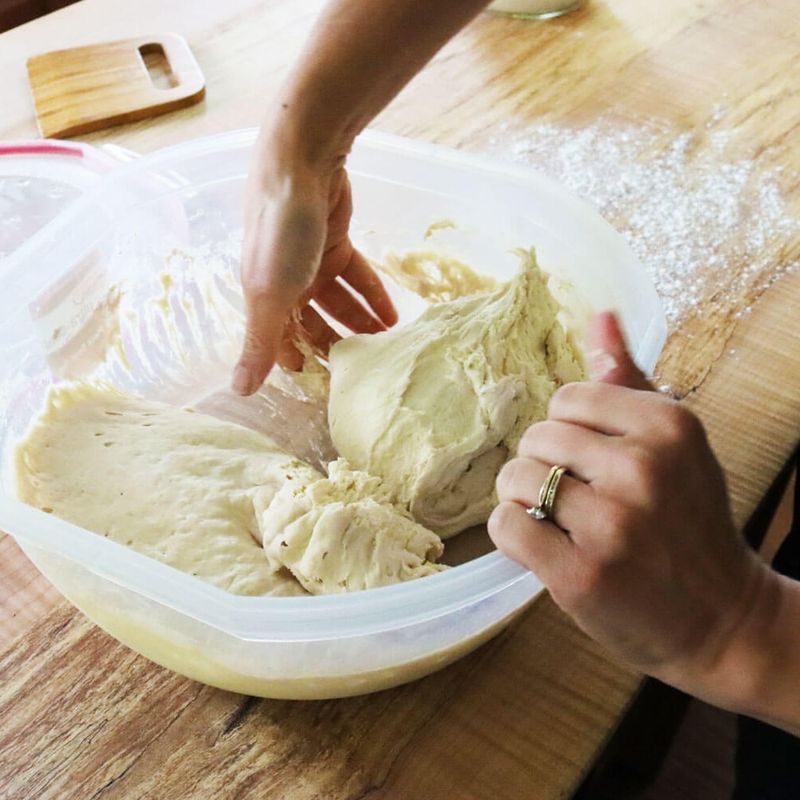
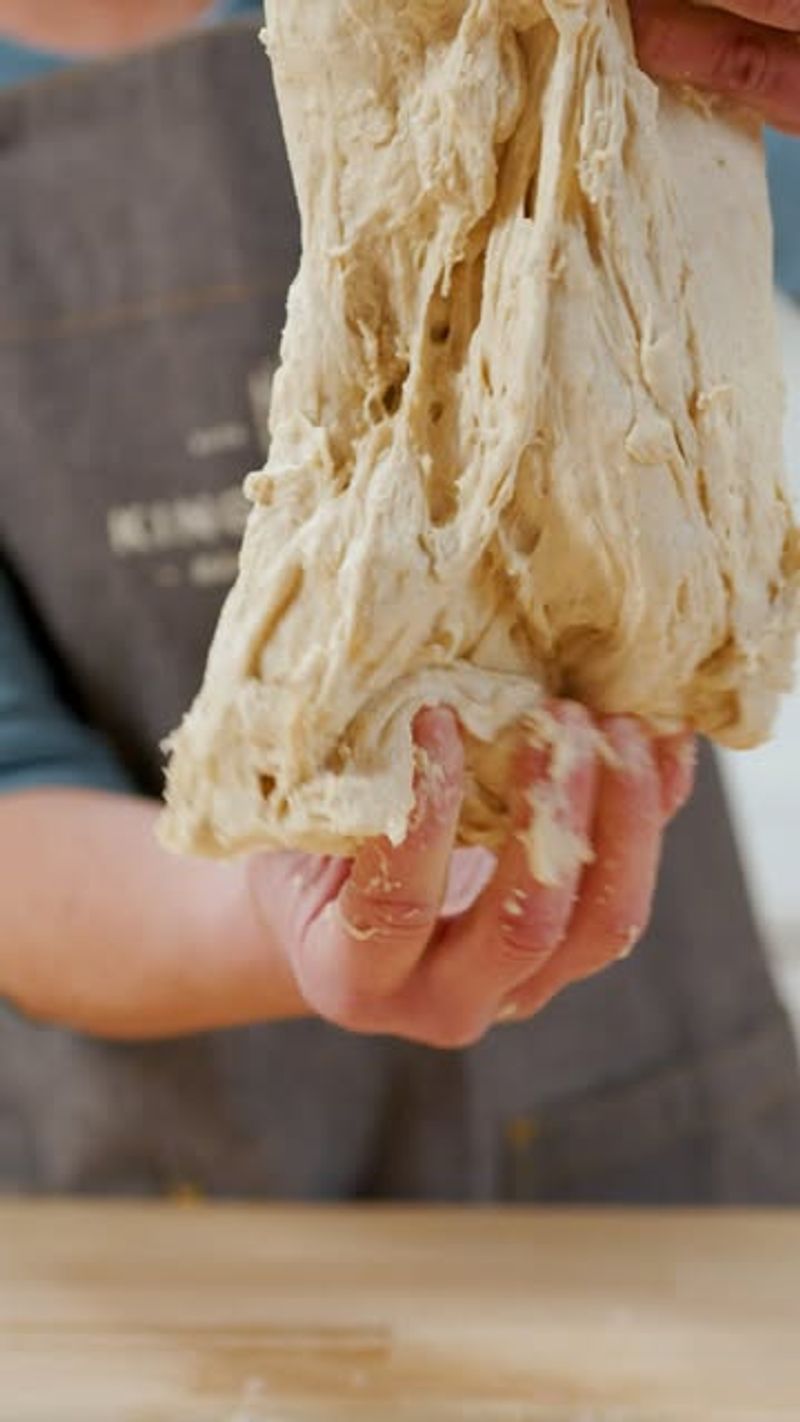
11. Use The Right Kneading Technique

Kneading can be done by hand or with a stand mixer. Either way, the idea is to fold, press, and turn the dough to develop gluten. That’s what turns a loose blob into a unified, stretchy mass.
By hand, I do a simple push-fold-turn routine: push the dough away with my palm, fold it back, turn it 90 degrees, repeat. It’s rhythmic and a bit therapeutic.
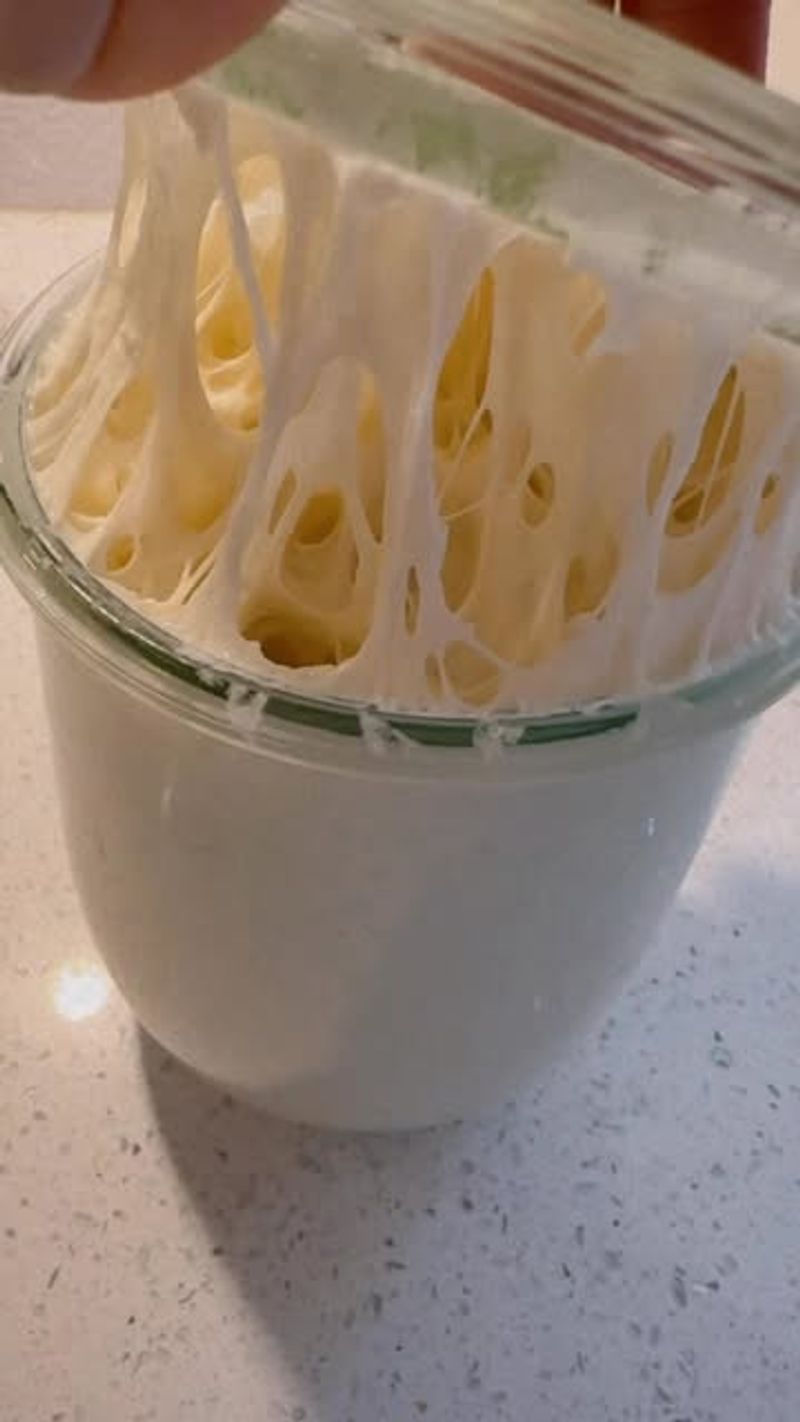
12. Stretch – The Windowpane Test
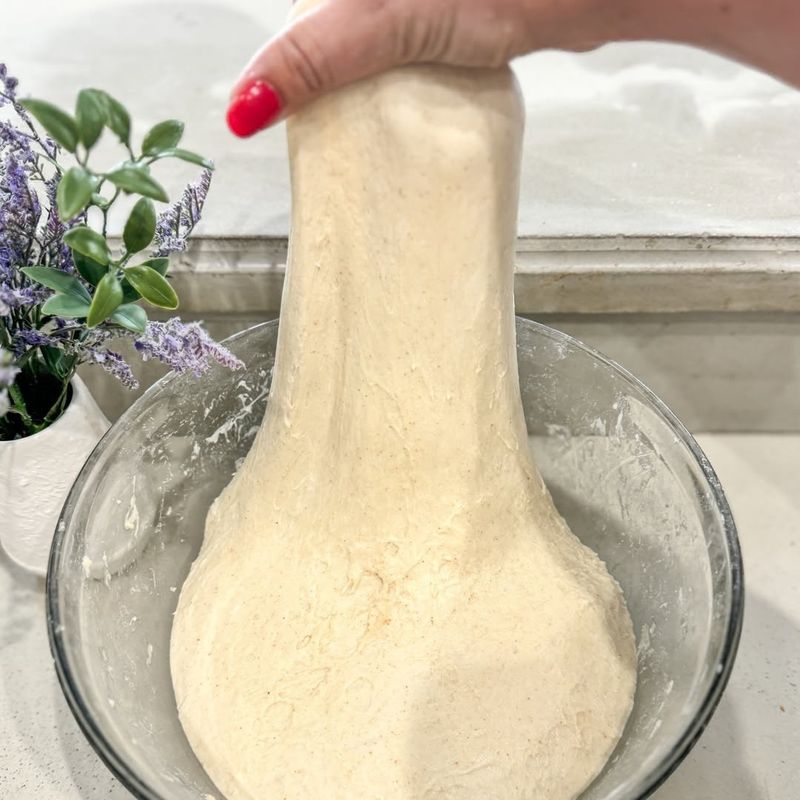
Check for the windowpane test, where a small piece of dough can be stretched thin without tearing. It’s your sign that the gluten web is strong enough to trap gases and create lofty bread.
It’s such a thrill to watch that translucent dough membrane—like you’ve become a bread wizard conjuring perfect elasticity.
13. Avoid Over-Kneading
Knead just until the dough is elastic and no longer sticky. Overdoing it can result in a dense, stiff crumb. Some bread recipes call for gentle handling, so trust the directions.
If you’re kneading by machine, watch carefully. Kneading time can vary from 5 to 15 minutes, but it’s easy to overshoot.
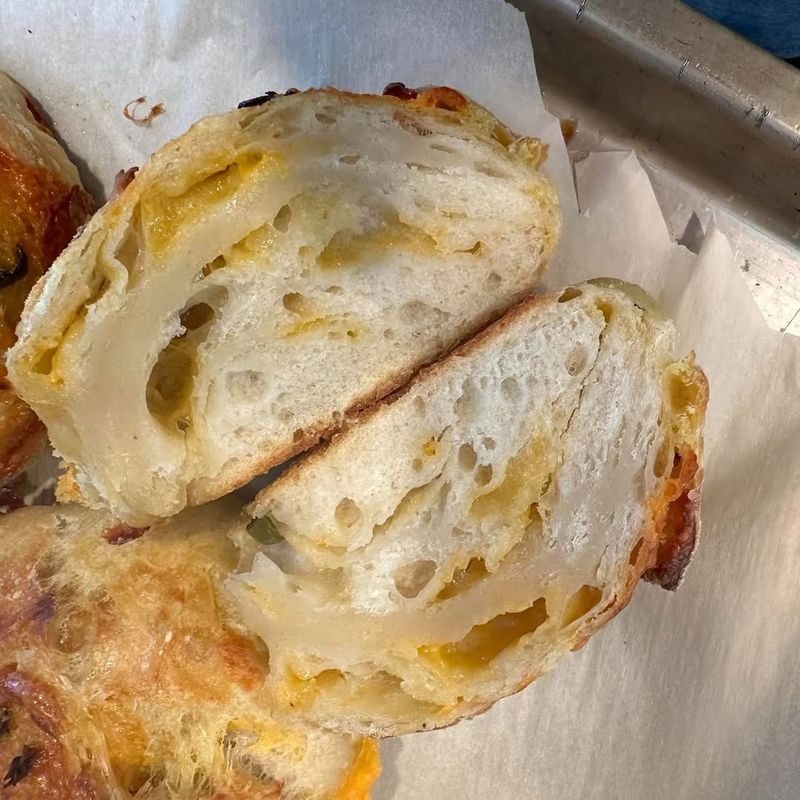
14. Add Flavor Enhancements
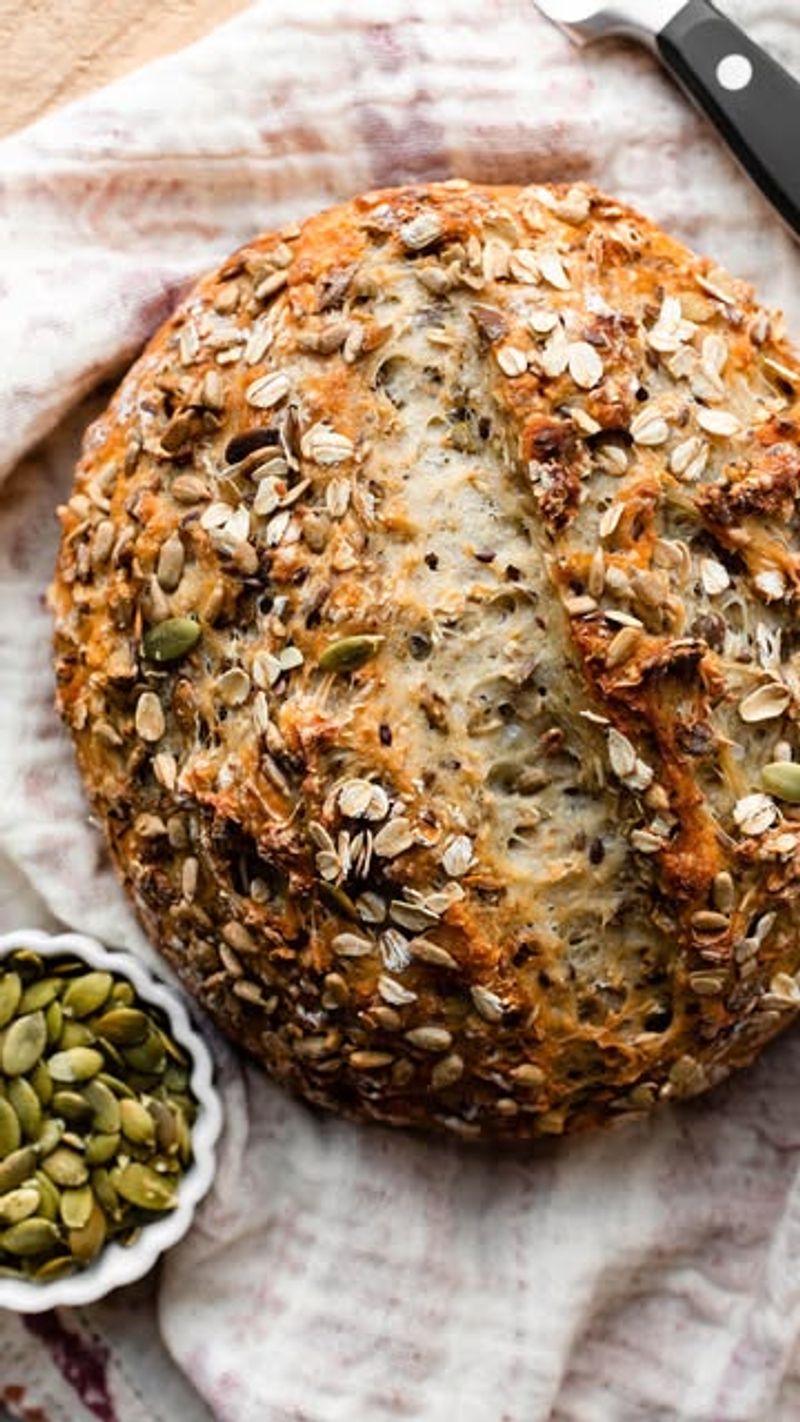
If you’re feeling fancy, you can knead in herbs, cheese, or seeds once the gluten has formed. This ensures the extras distribute evenly without inhibiting initial gluten development.
My personal favorite is rosemary and olive oil for a focaccia vibe—just knead gently so the herb bits don’t clump.
15. Resting Again
Give your dough a short 5-minute break after kneading. That rest softens it up, making it more obedient for shaping later on.
During these micro-pauses, I tidy up my workspace and get excited about how the dough is transforming.
16. Oil Your Hands If Sticky
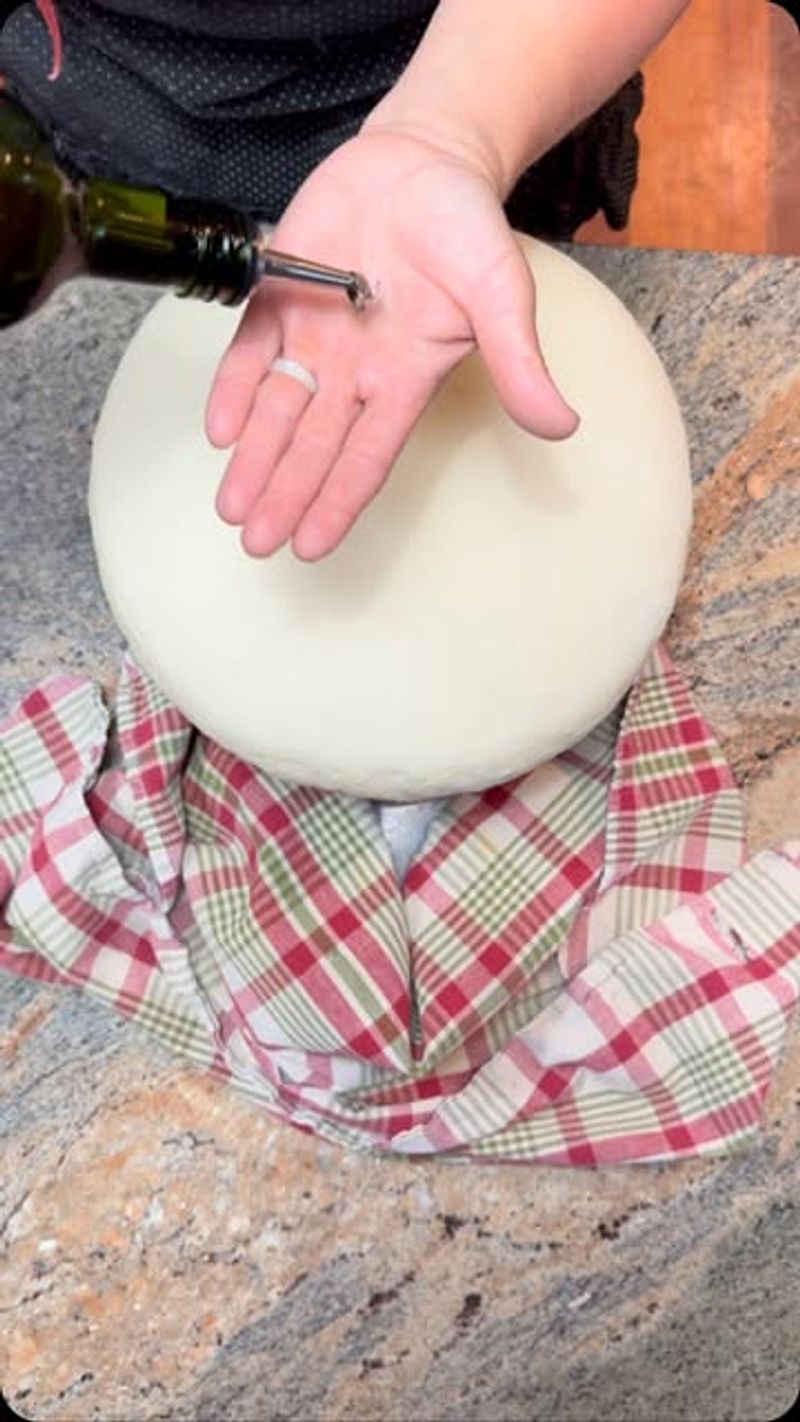
If the dough keeps clinging to your fingers like clingy plastic wrap, lightly rub some oil on your palms. It prevents you from adding too much flour, which can dry out the loaf.
I learned this trick after dusting handfuls of flour in frustration. Oil is less messy and keeps the dough from toughening.
17. Choose A Warm Place To Rise
For the first proof, you want a draft-free spot that’s around 75-85°F. Could be an off oven with the light on or a sunny window area. Warmth encourages the yeast to multiply.
Overly hot areas (like 100+°F) can kill yeast or speed things up so fast the flavor suffers. A gentle warmth is plenty.
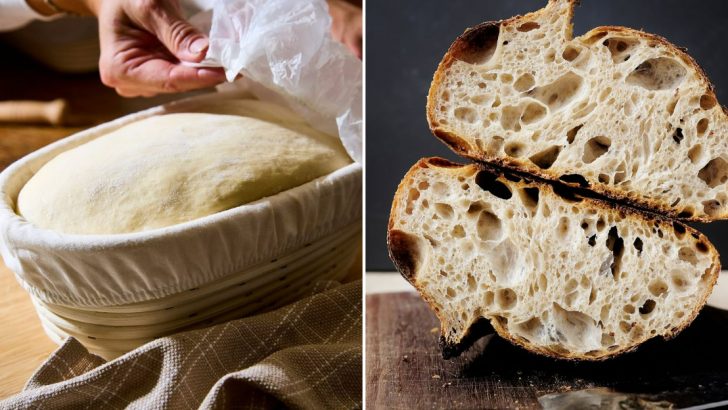
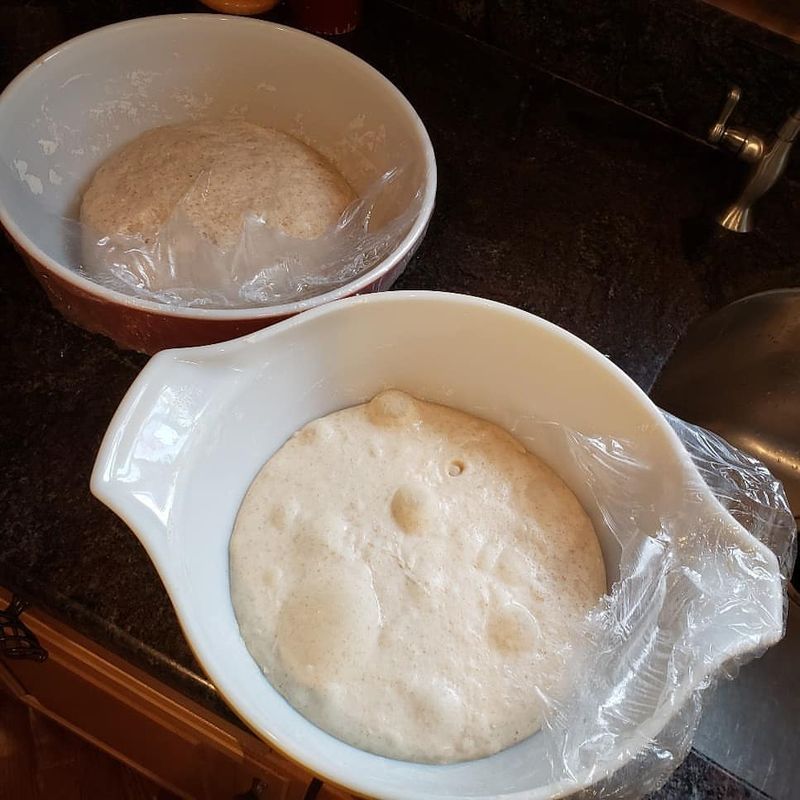
18. Cover The Dough Properly
Use a clean towel or plastic wrap to keep the dough from drying out. I like lightly oiling plastic wrap so it won’t stick if the dough puffs up.
It’s amazing how quickly dough surfaces can crust if left uncovered, messing with your final texture.
19. Time It Right

Many doughs take about 1-2 hours to double in size. The key is “double,” not the clock—some days it might be 45 minutes, others it might be two hours. Yeast can be moody.
Stay patient. Rushing at this stage leads to half-risen bread that’s dense and sad.
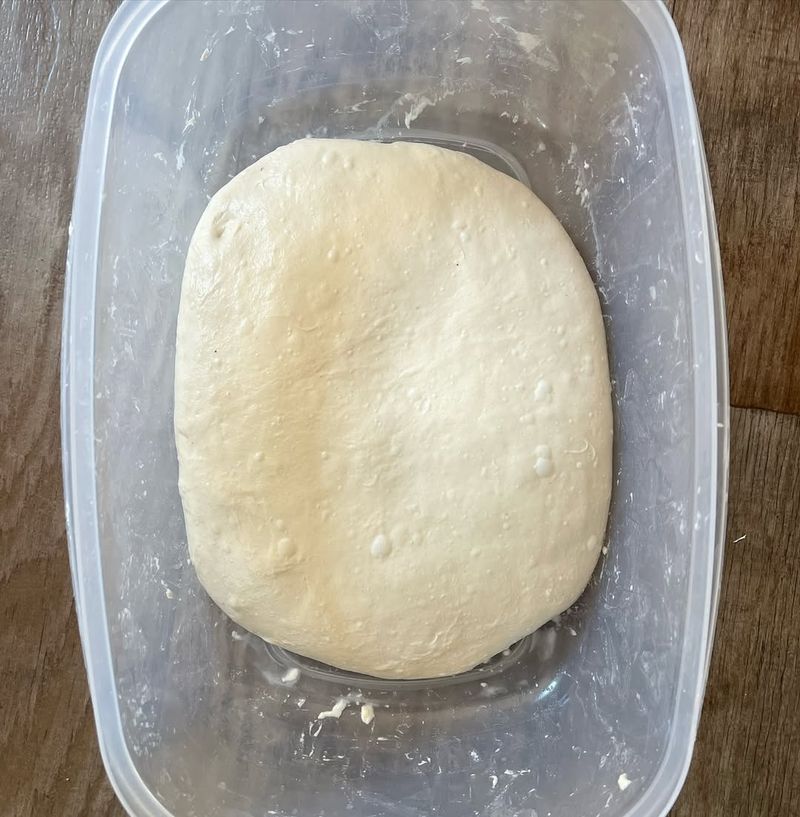
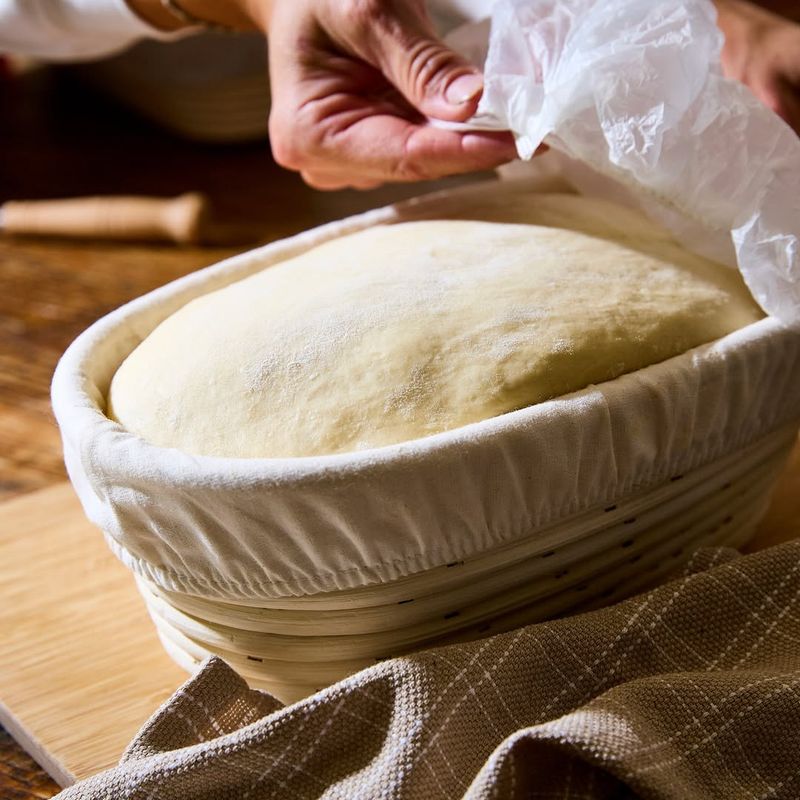
20. Know When It’s Ready
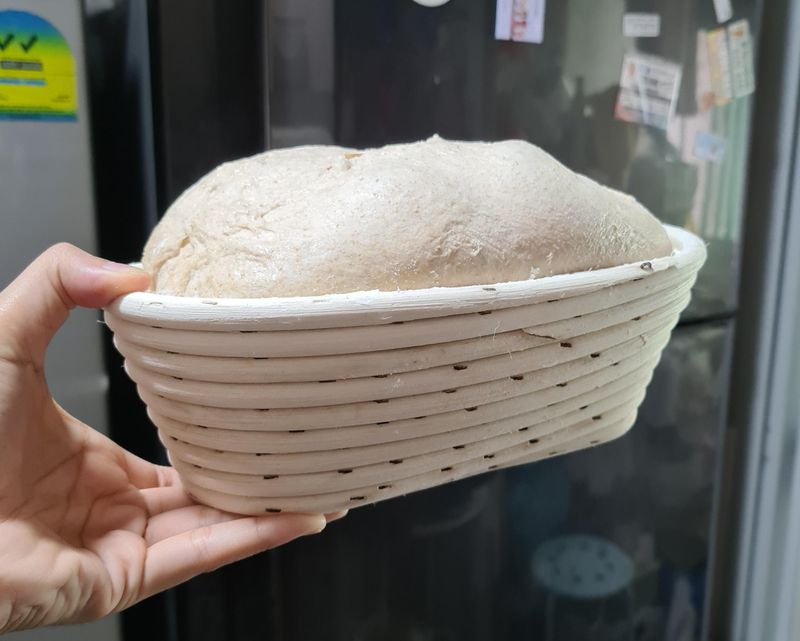
The dough should look puffed and airy. You can do a gentle poke test—if the indent stays or slowly springs back, it’s prime. If it bounces back immediately, let it rest longer.
You’ll sense a slight jiggle if you move the bowl, indicating those glorious gas bubbles inside.
21. Punch Down Gently
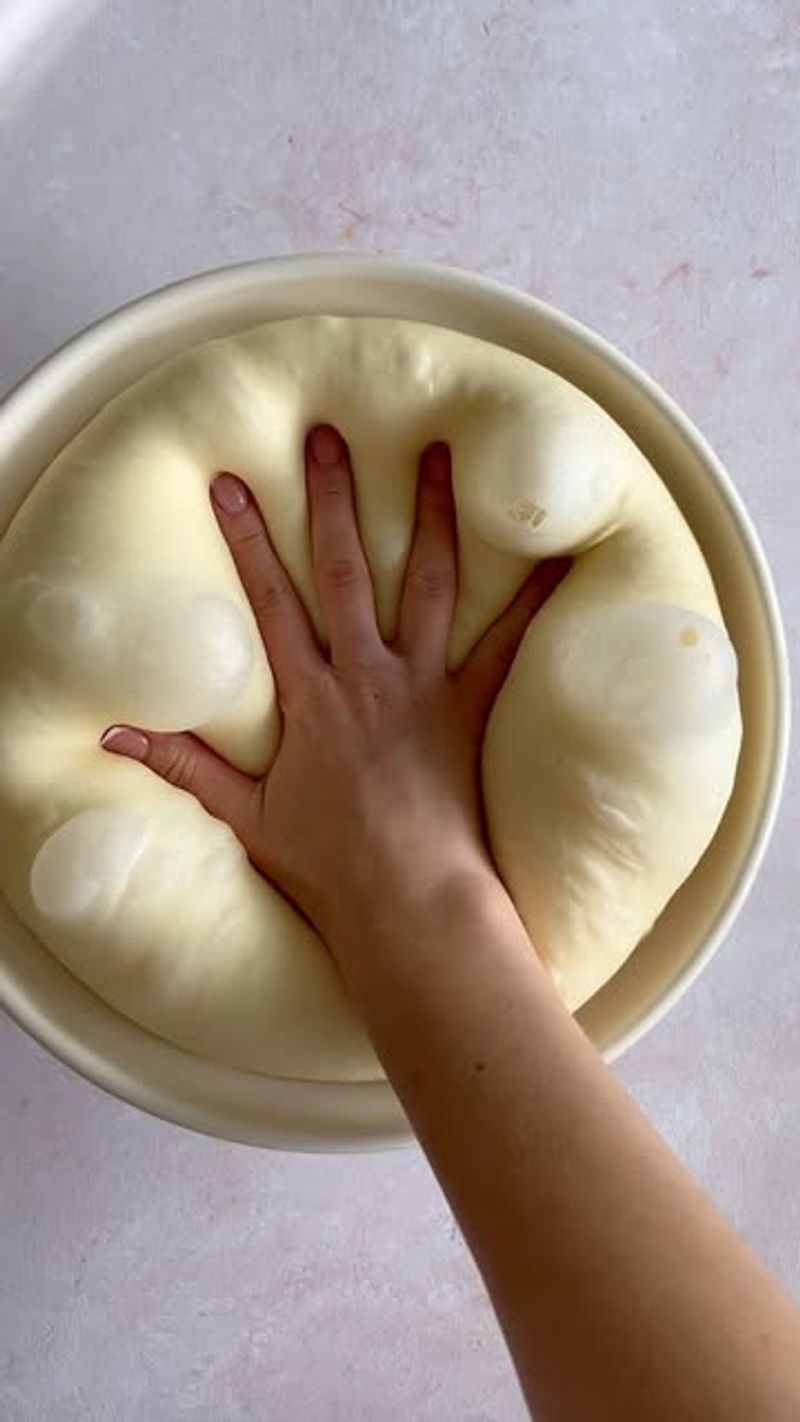
“Punching” might sound aggressive, but it’s really a gentle deflation to let out excess gas. This redistributes yeast and encourages a second rise.
Be mindful: you don’t want to flatten it into a pancake. A soft press or two is all you need to coax out big air pockets.
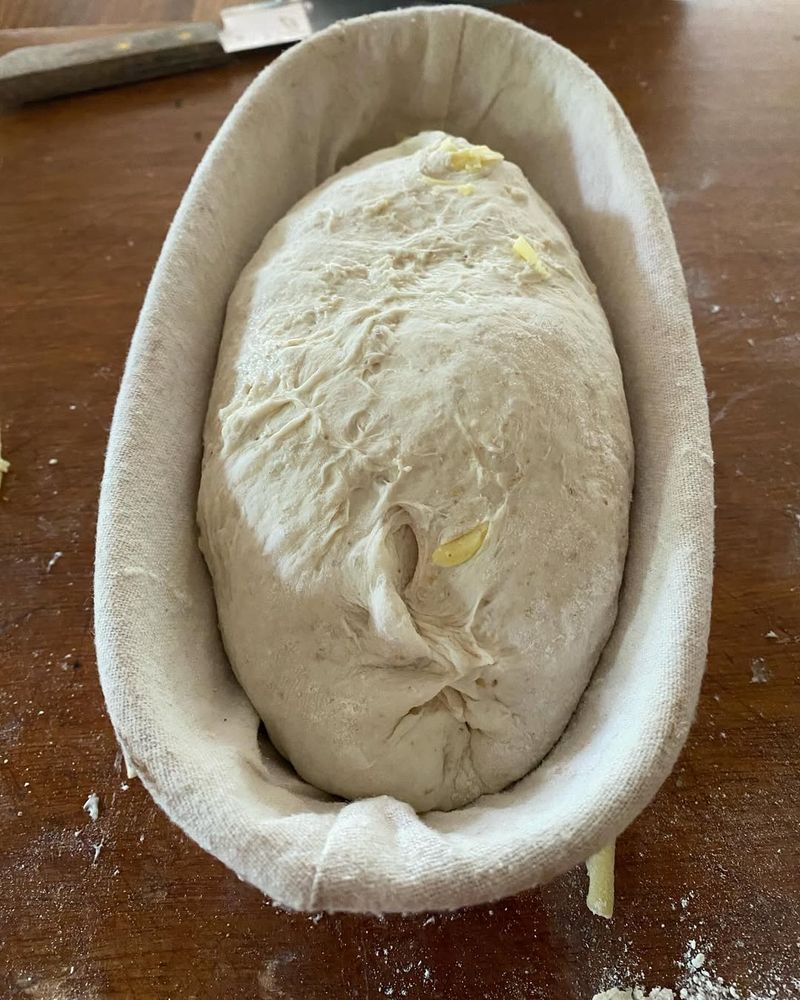
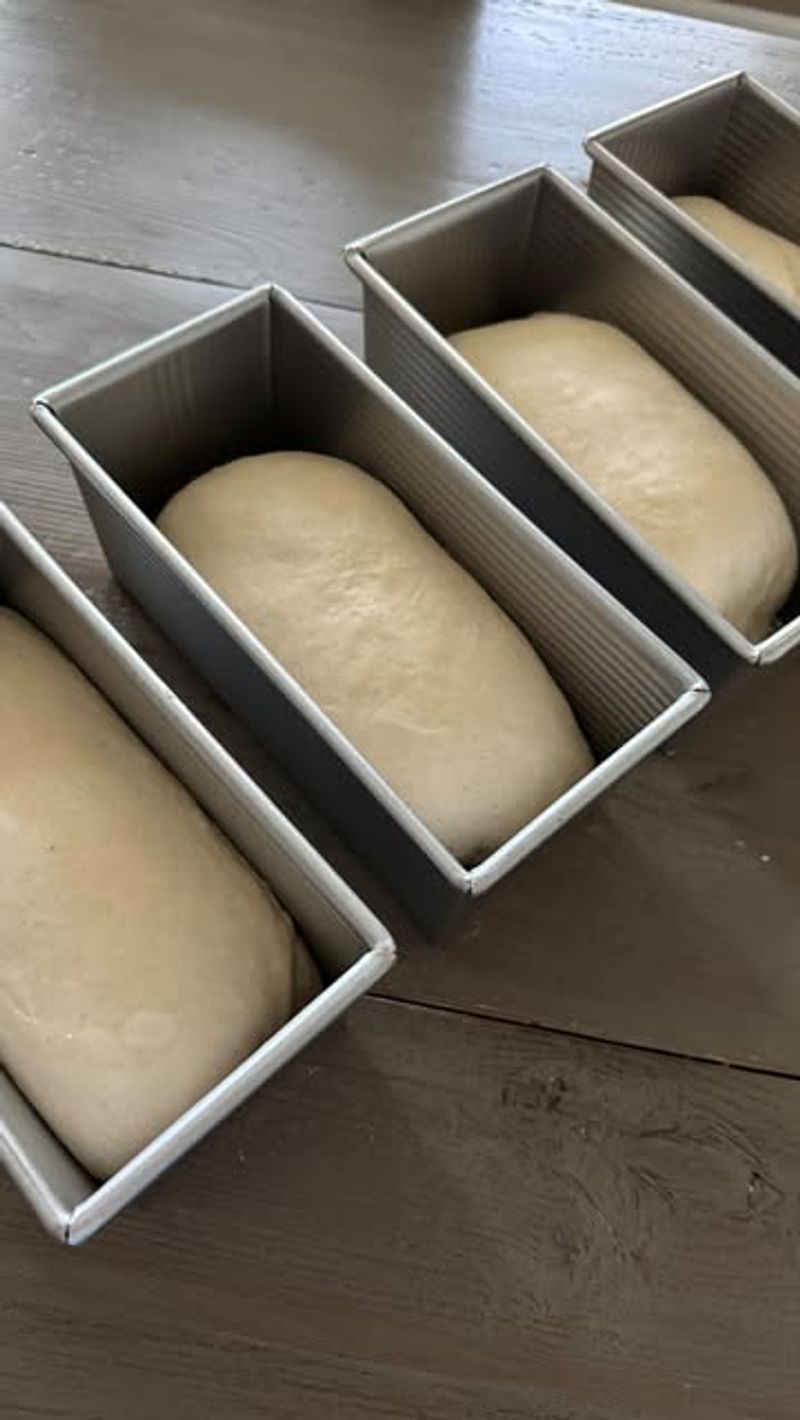
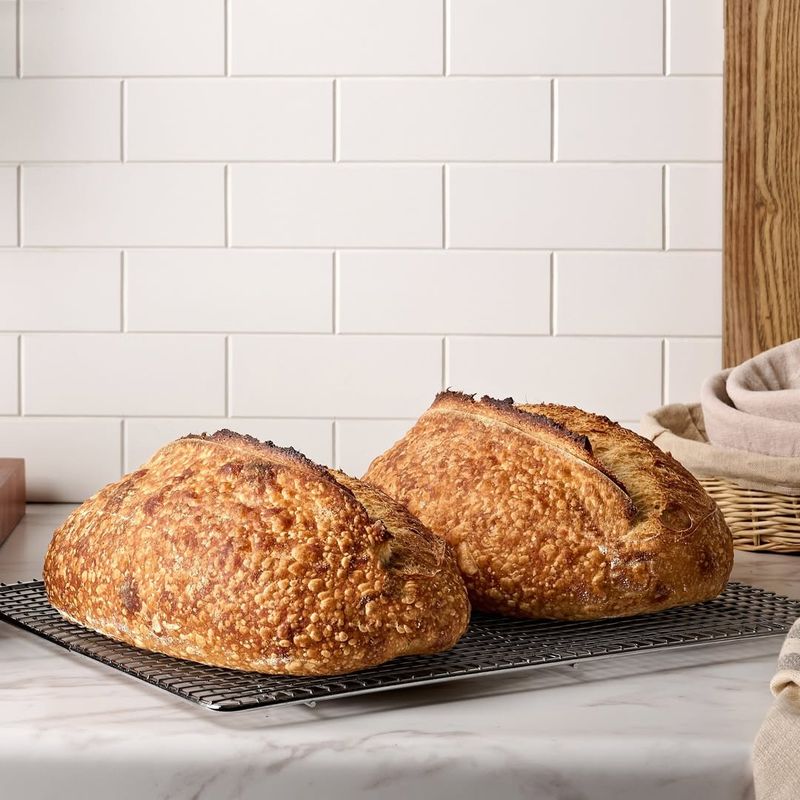
22. Shape According To Your Loaf Type
Round boule, oval batard, braided loaf, or just a log for a standard pan—whatever shape you fancy. The goal is to create surface tension by folding the dough edges under.
That tension helps the loaf maintain structure during the final rise and baking. It’s part aesthetics, part science.
23. Tighten The Surface
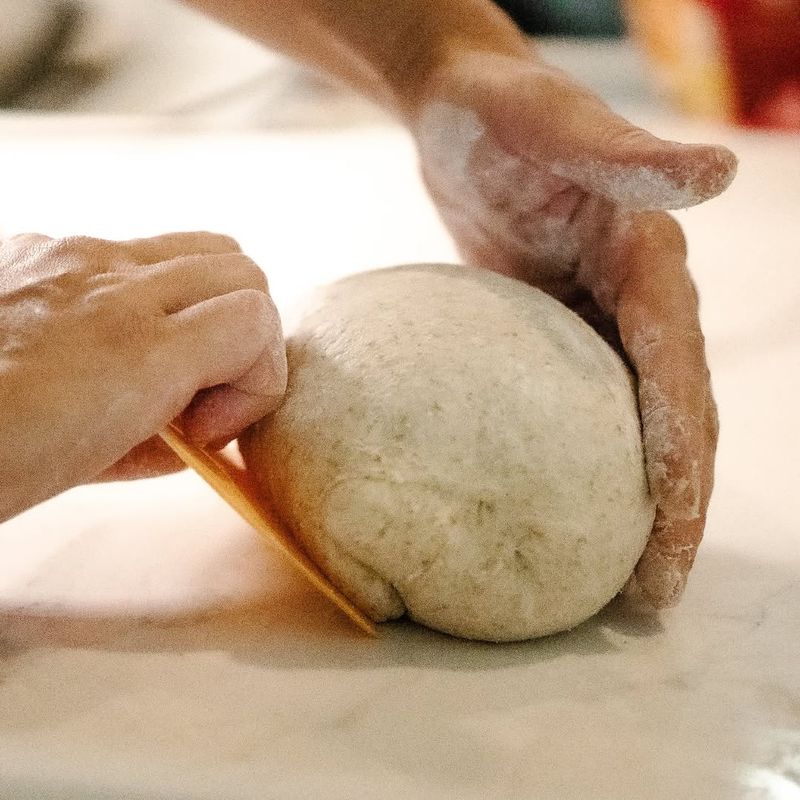
Pull the dough’s outer skin taut without tearing it. This neat package is what fosters that Instagram-worthy loaf.
Think of it like wrapping a present: not too tight that it tears, but snug enough to hold everything securely inside.
24. Let It Rise Again
A quick second proof (about 30-60 minutes) refines the crumb and deepens the flavor. If you skip it, your bread might taste and feel underdeveloped.
Keep an eye out—some dough doubles again, some just need a gentle puff. Over-proofing here can flatten your final shape.
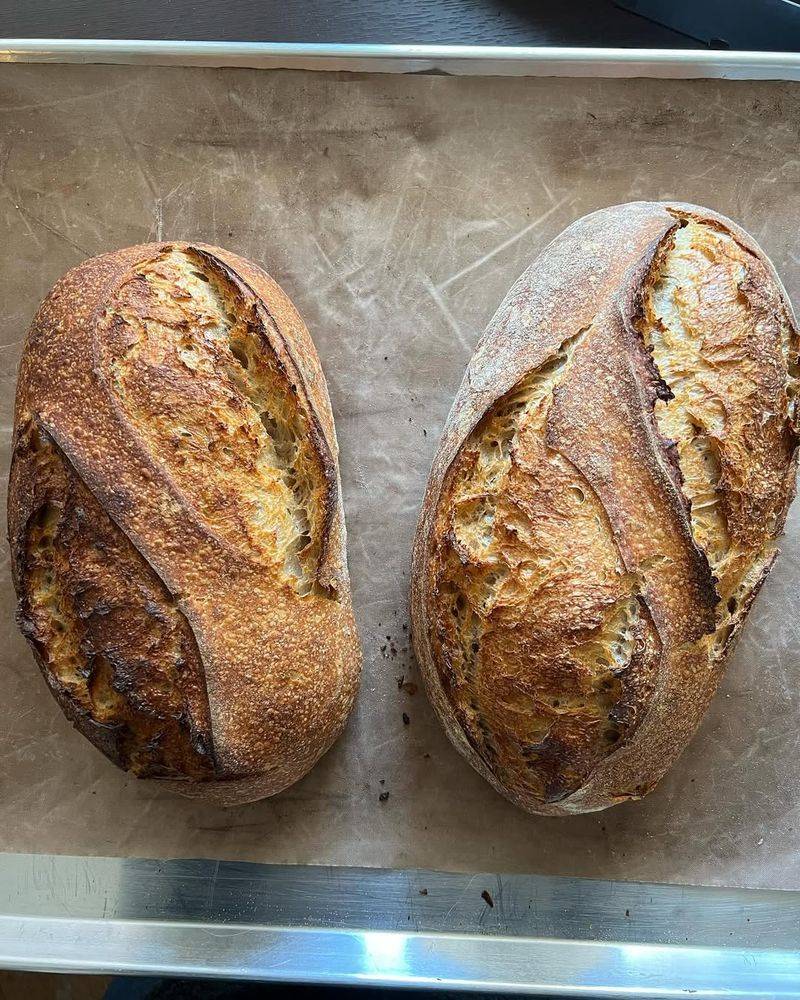
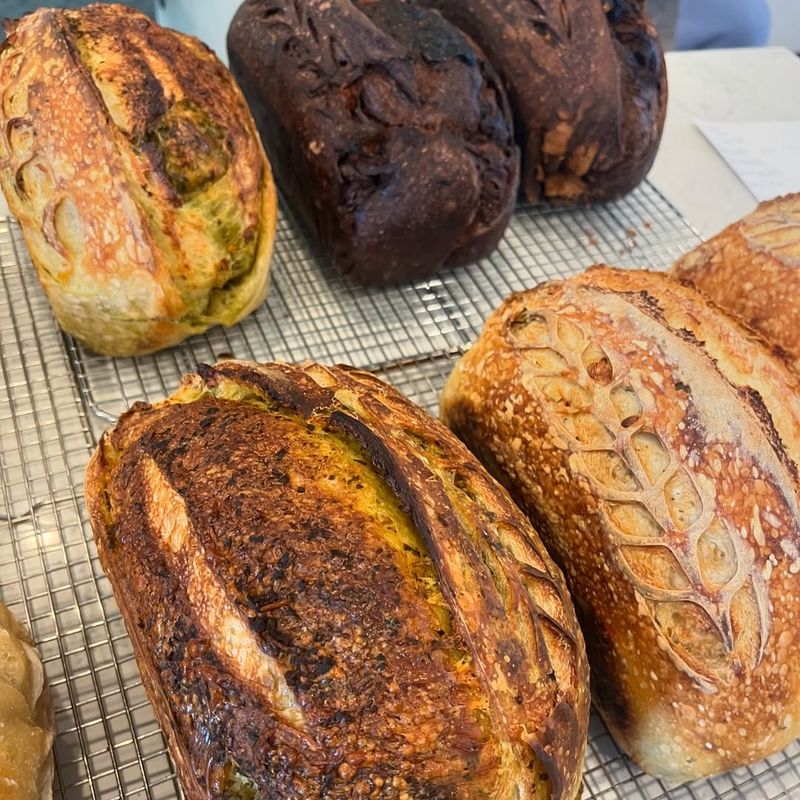
25. Slash The Dough (Scoring)
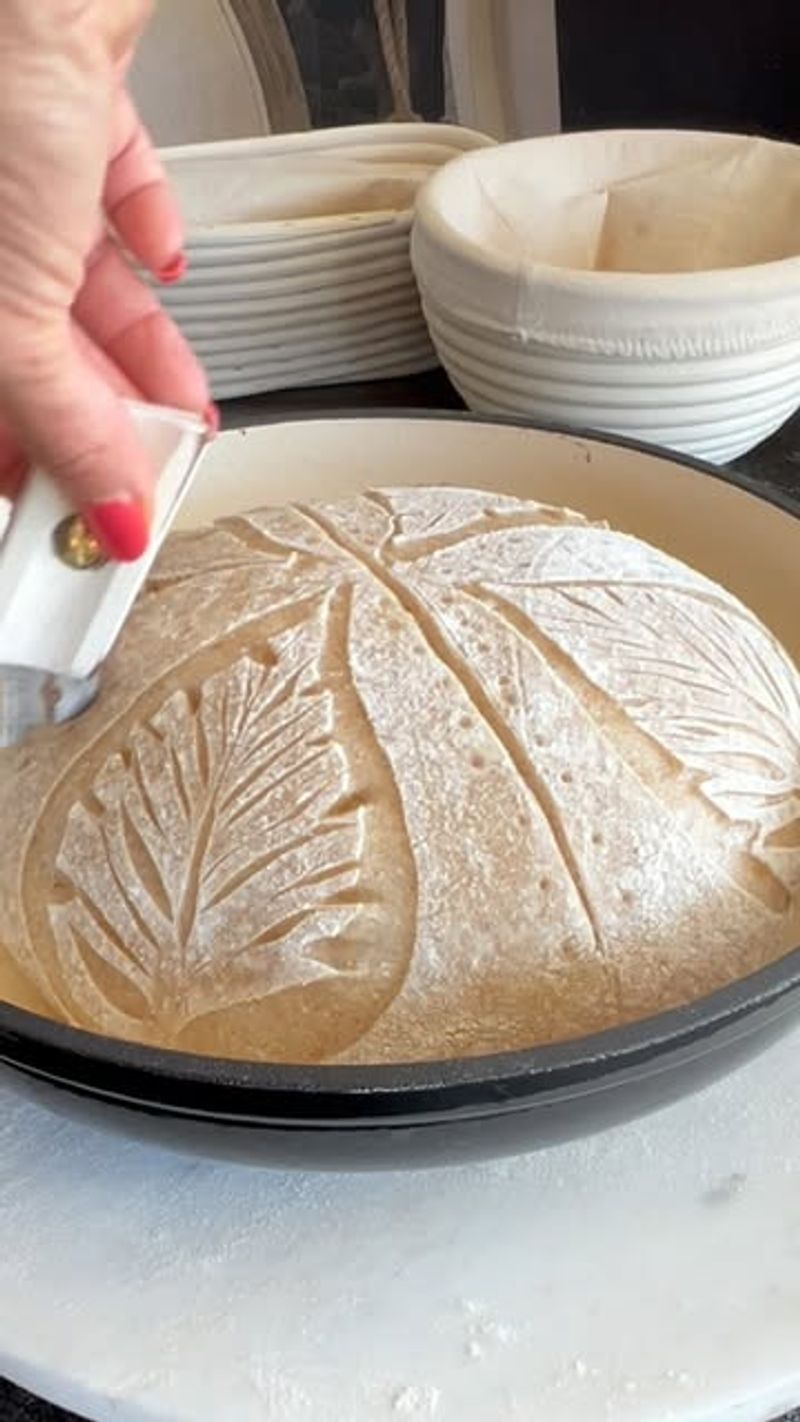
A sharp knife or lame is your best friend for making slashes. It prevents random cracks by giving steam a designated exit. Also, it looks pretty pro, right?
Slashing can be a bit nerve-racking at first. Go bold with a confident hand, and try not to second-guess mid-slice.
26. Brush the Surface
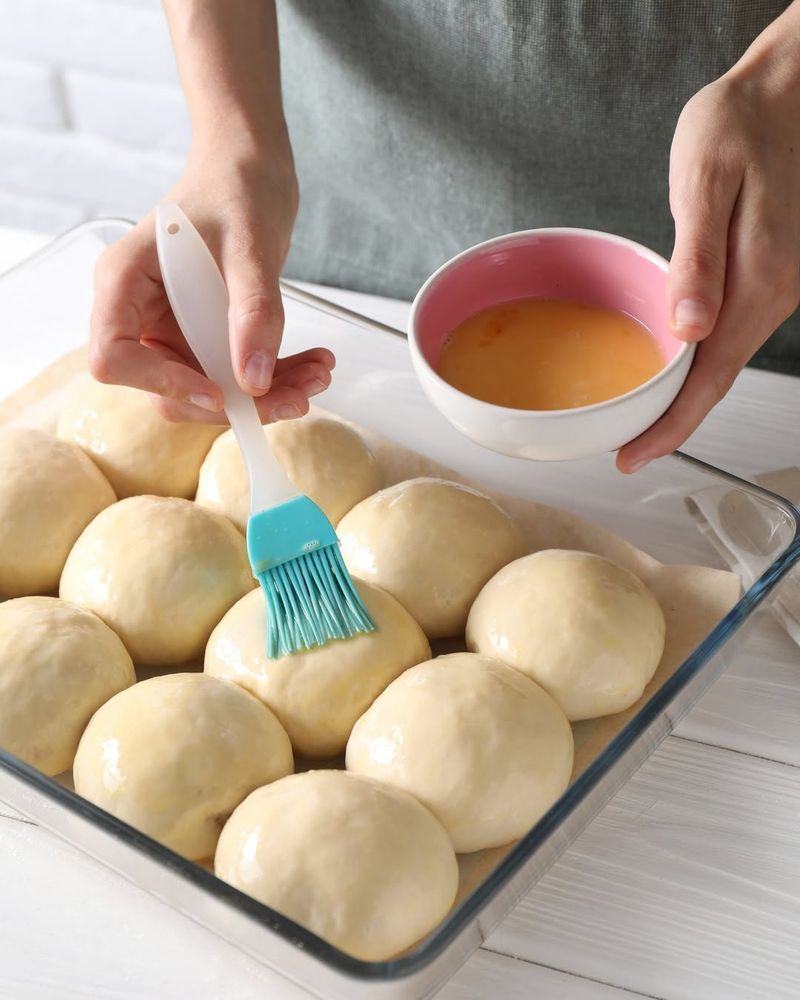
If you want a shiny top, an egg wash does wonders. For a rustic flair, a dusting of flour. For a golden hue, melted butter. Each choice modifies the appearance and taste of the crust.
Experiment: egg wash yields a deep brown sheen; butter is more subtle but oh-so delicious.
27. Preheat The Oven Properly
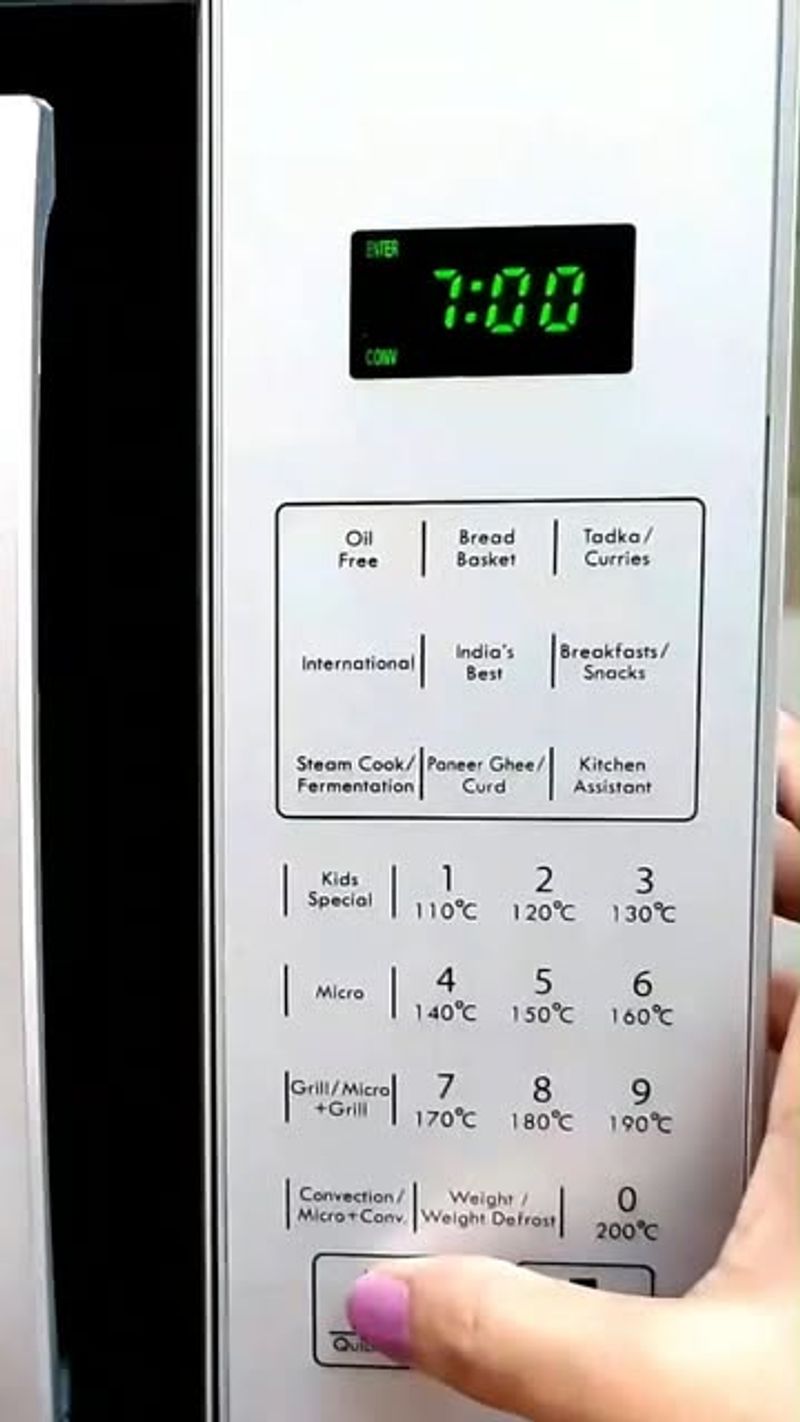
At least 20 minutes (longer if you have a baking stone). A thoroughly hot oven is key to that initial burst of oven spring.
If you have an oven thermometer, verify the temp. Household ovens can be off by 25°F or more, affecting your bread’s outcome.
28. Use Steam For A Crisp Crust
A pan of hot water at the oven’s bottom or a quick mist of water after loading the dough helps create steam. Steam is your crisp-crust secret.
That moisture in the air keeps the surface flexible, allowing the loaf to expand fully before setting into a crunchy shell.
29. Check For Doneness
Tap the loaf’s bottom—it should produce a hollow sound. Alternatively, use a thermometer: around 190-210°F internally is typical.
Nothing’s worse than slicing into what looks perfect, only to find gummy insides. The hollow knock test rarely fails me.
30. Let It Cool Before Slicing
I know, the smell is irresistible. But slicing too soon lets steam escape, resulting in a gummy middle. Resist the urge—give it at least 20-30 minutes.
Feel free to pace around the kitchen inhaling that bready perfume. Anticipation often makes that first bite taste all the better.
31. Store Correctly
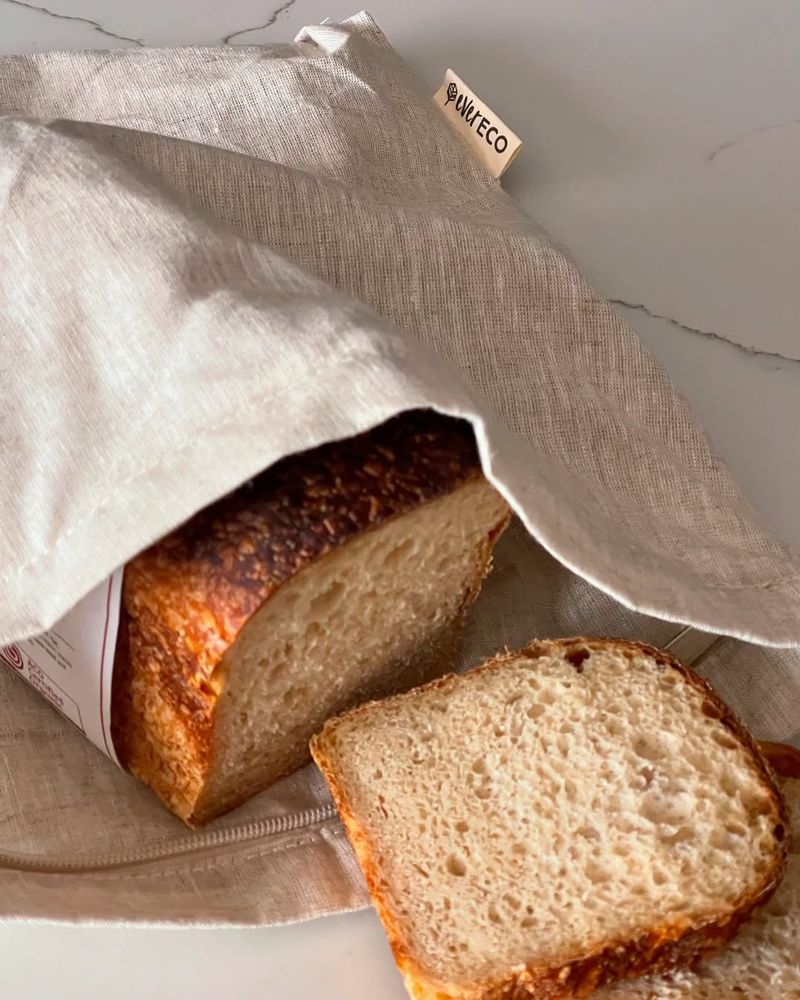
If you love a crisp crust, keep it in a paper or cloth bag. For a softer crust, a plastic bag is fine, though it might sacrifice crispness.
Some bread can be frozen—just wrap it tightly, defrost at room temp, and it’s nearly as good as fresh out of the oven.
32. Enjoy & Experiment!
Now that you’ve got the basics, don’t be afraid to tinker. Try whole wheat flour, seeds, or swirl in some cinnamon sugar for a sweet loaf. Each loaf is a new adventure.
Baking bread is a never-ending journey of discovery. The thrill of seeing your dough transform into a beautiful loaf is downright addictive—so keep kneading, keep experimenting, and savor every crumb!