Summer brings a bounty of juicy, ripe fruits that often disappear too quickly from markets. Freezing these seasonal treasures lets you enjoy summer flavors all year round.
With these simple tricks, you’ll transform your kitchen into a fruit preservation powerhouse and save money while reducing food waste.
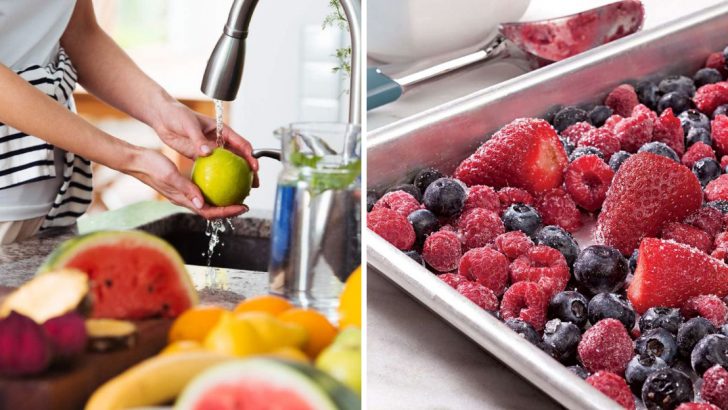
1. Wash Before The Big Freeze

Dirt doesn’t stand a chance! Rinse your fruits under cool running water to remove pesticides, bugs, and garden grit before freezing. For berries, a quick vinegar bath (1 part vinegar to 3 parts water) kills mold spores that cause spoilage.
Pat everything dry with paper towels or a clean kitchen cloth – moisture is the enemy of perfectly frozen fruit. Those water droplets will form ice crystals that damage delicate cell walls.
2. Pre-Freeze On Baking Sheets
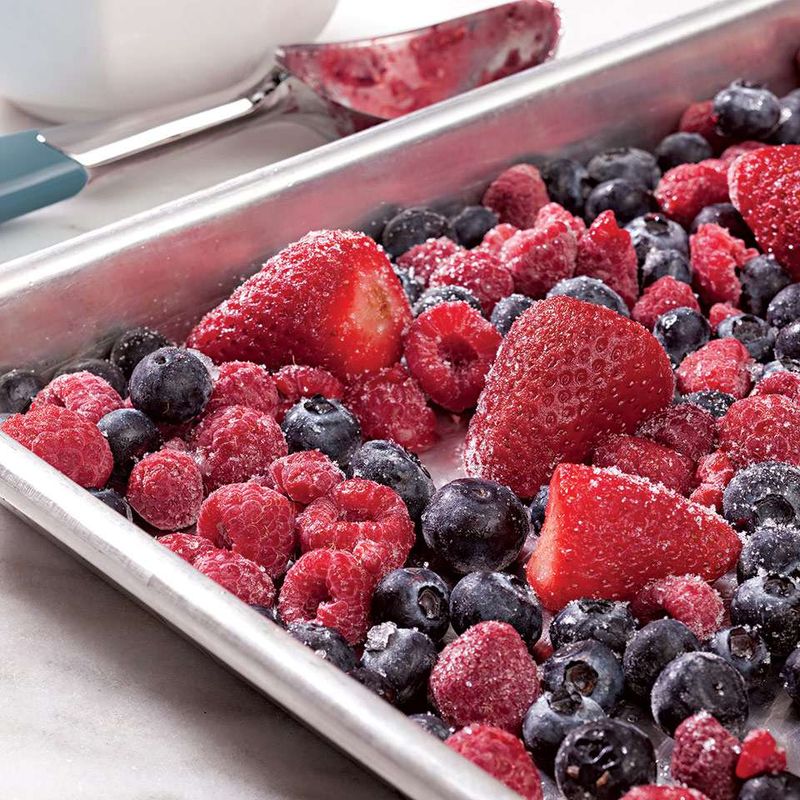
Forget the fruit clump catastrophe! Line baking sheets with parchment paper and arrange your washed, dried fruits in a single layer with small gaps between pieces. Pop these trays into the freezer for 2-4 hours until fruits are solid.
This method prevents the dreaded berry blob – that frozen mass requiring a hammer to separate. The individually frozen pieces can be transferred to storage containers afterward, allowing you to grab exactly what you need.
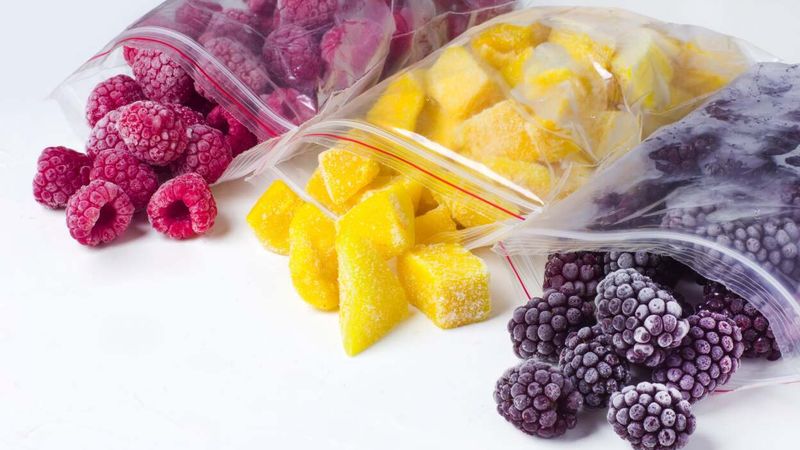
3. Slice Large Fruits For Freezer Success
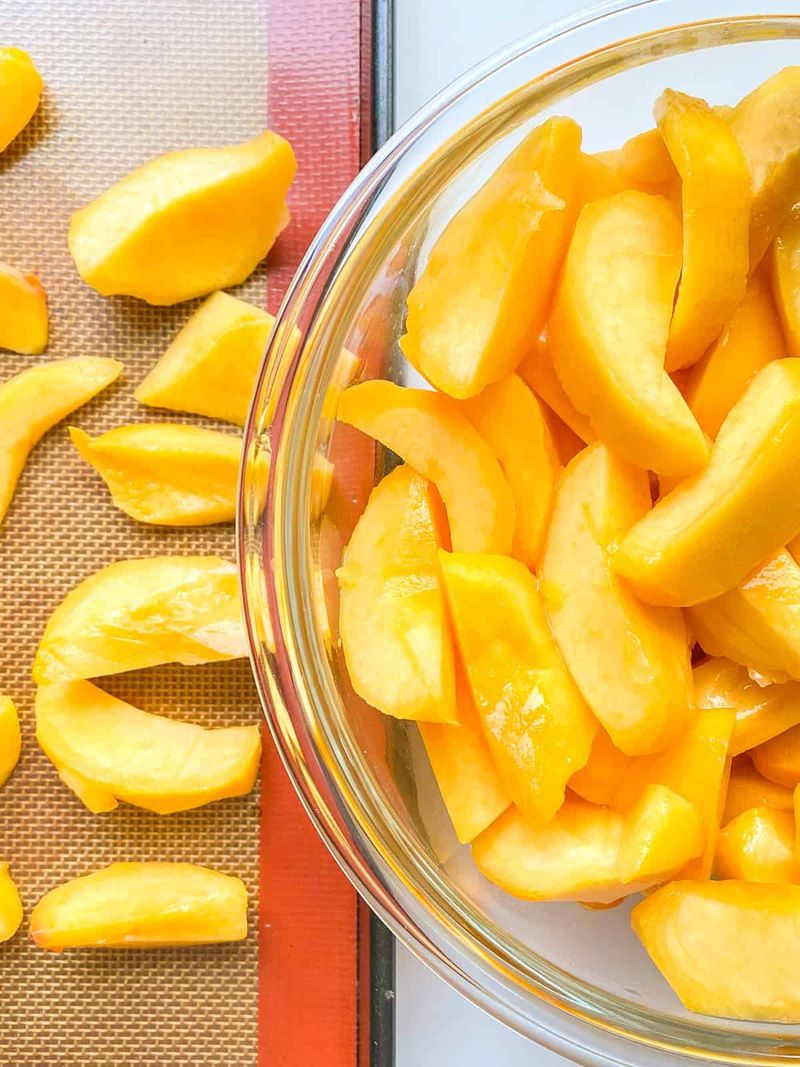
Whole watermelons don’t belong in freezers! Cut larger fruits like peaches, nectarines, and mangoes into bite-sized chunks before freezing. This simple step eliminates the need to thaw entire fruits when you only need a portion for your morning smoothie.
Uniform sizes freeze at consistent rates, preventing some pieces from becoming freezer-burned while others remain unfrozen. Aim for 1-inch cubes or slices about ¼-inch thick.
4. Remove Pits And Seeds Before Freezing
Cherry pits make terrible surprise guests in smoothies! Remove all pits, cores, and seeds before your fruits hit the freezer. For stone fruits like peaches and plums, slice along the natural seam, twist to separate halves, then pop out the pit.
Melon seeds scrape away easily with a spoon. For apples and pears, a corer tool makes quick work of the job, though a sharp knife works too.
5. Sugar Coat Juicy Fruits To Prevent Freezer Burn
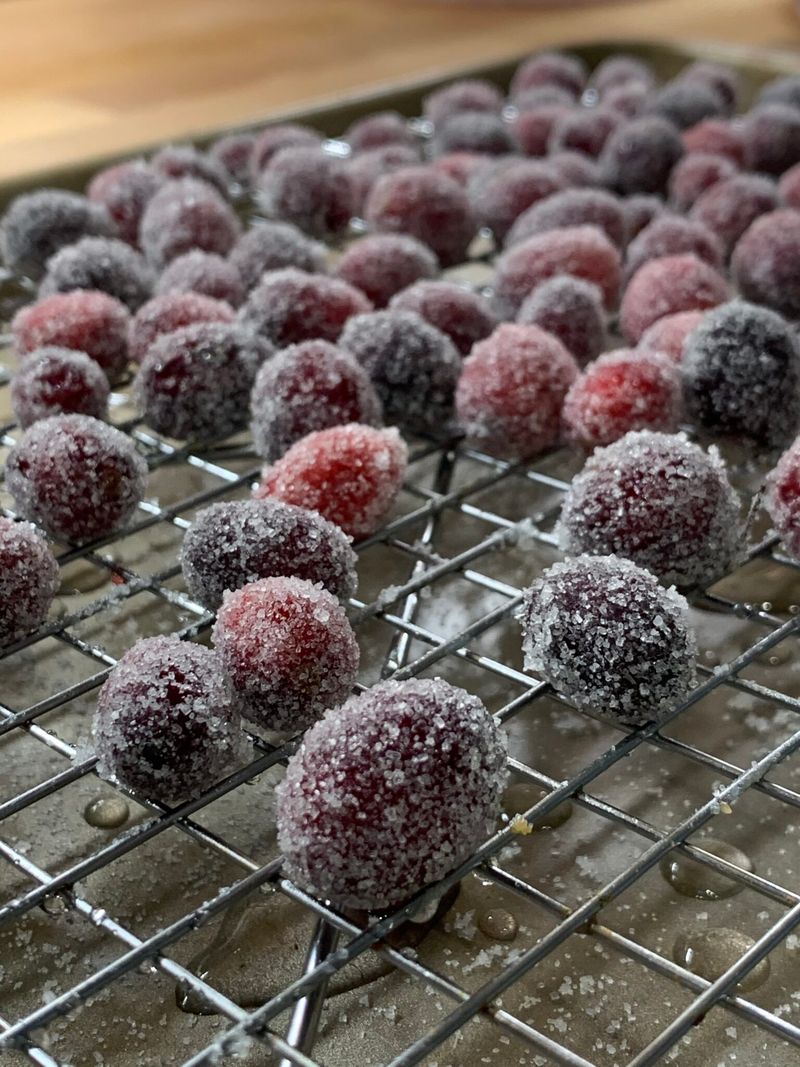
Sugar isn’t just for sweetness – it’s your secret weapon against freezer burn! Toss sliced peaches, strawberries, and other juicy fruits with a light coating of granulated sugar (about 1/4 cup per quart of fruit) before freezing.
The sugar draws out natural juices, creating a protective syrup that prevents air exposure. This technique preserves color, texture, and flavor while minimizing those disappointing ice crystals.
6. Lemon Juice: The Color-Saving Hero

Brown apples are sad apples! Prevent discoloration by tossing cut fruits with a splash of lemon juice before freezing. This acidic shield works especially well for apples, pears, peaches, nectarines, and apricots – all notorious for turning brown when exposed to air.
The vitamin C in lemon juice acts as an antioxidant, preserving the bright, appetizing colors of your summer bounty. Just 1-2 tablespoons per quart of fruit does the trick.
7. Vacuum Sealing: Banish The Dreaded Freezer Burn
Freezer burn turns delicious berries into tasteless ice rocks! Vacuum sealers suck every last air molecule away from your precious fruit, preventing the dehydration that causes freezer burn. The initial investment pays off with months of perfectly preserved summer flavors.
No vacuum sealer? Fake it by placing fruits in zip-top bags and using a straw to suck out excess air before sealing. Or try the water displacement method – submerge the open bag (with fruit inside) in water up to the zipper, then seal.
8. Honey Simple Syrup For Delicate Berries
Raspberries transform from delicate jewels to mushy messes in standard freezing! Create a honey simple syrup (1 part honey, 3 parts water, heated until combined) and cool completely. Place clean berries in containers and pour just enough syrup to cover them.
The syrup creates a protective barrier against freezer damage while infusing subtle sweetness. Bonus: the syrup prevents berries from floating to the top and getting exposed to air.
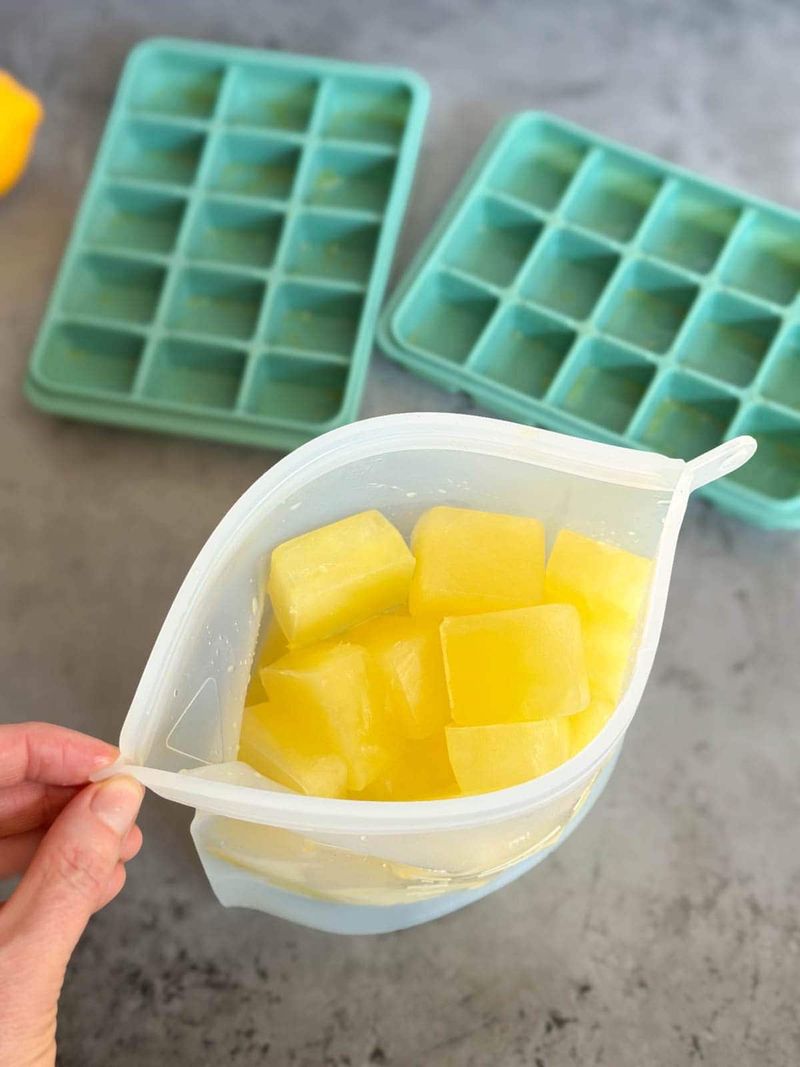
9. Portion Control With Ice Cube Trays
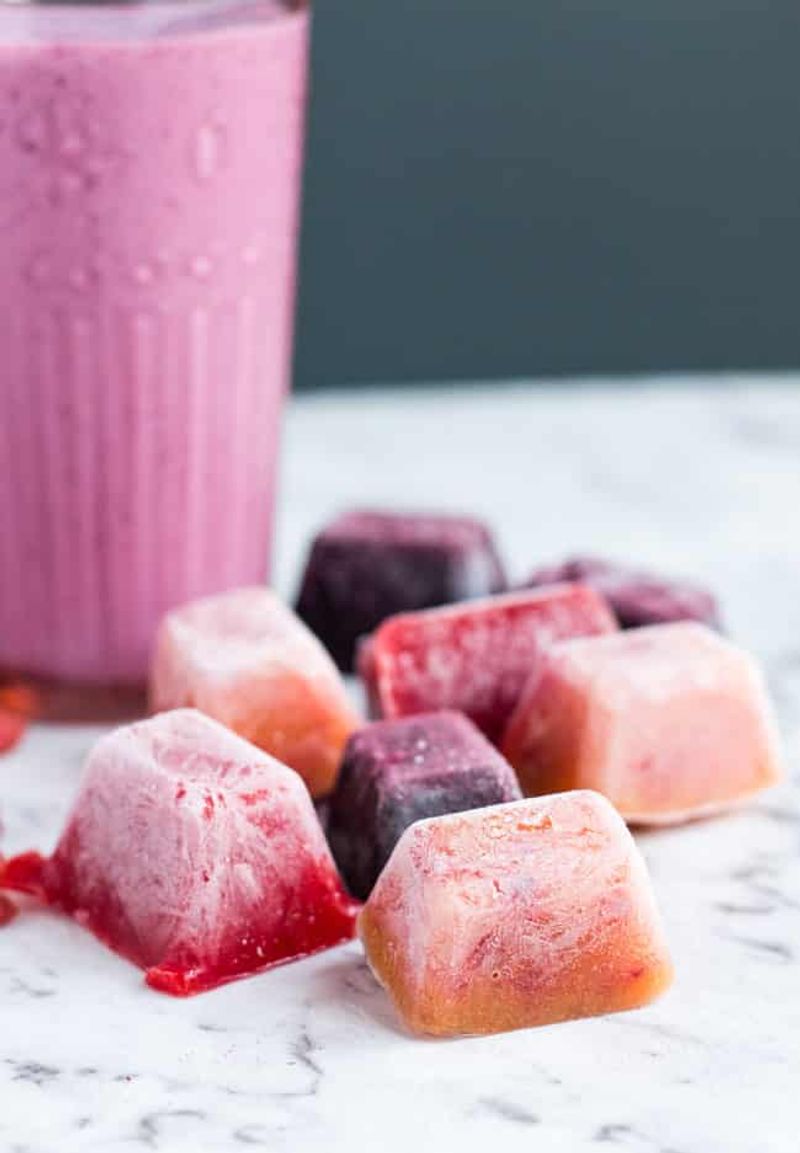
Smoothie lovers, rejoice! Puree your favorite fruits and pour them into ice cube trays for perfect single-serving portions. Each cube equals about 2 tablespoons – ideal for blending into yogurt, smoothies, or cocktails without thawing massive amounts.
For chunky fruit cubes, finely dice peaches, strawberries, or kiwi, pack into ice cube wells, then top off with a splash of water or juice. After freezing solid, pop cubes into labeled freezer bags.
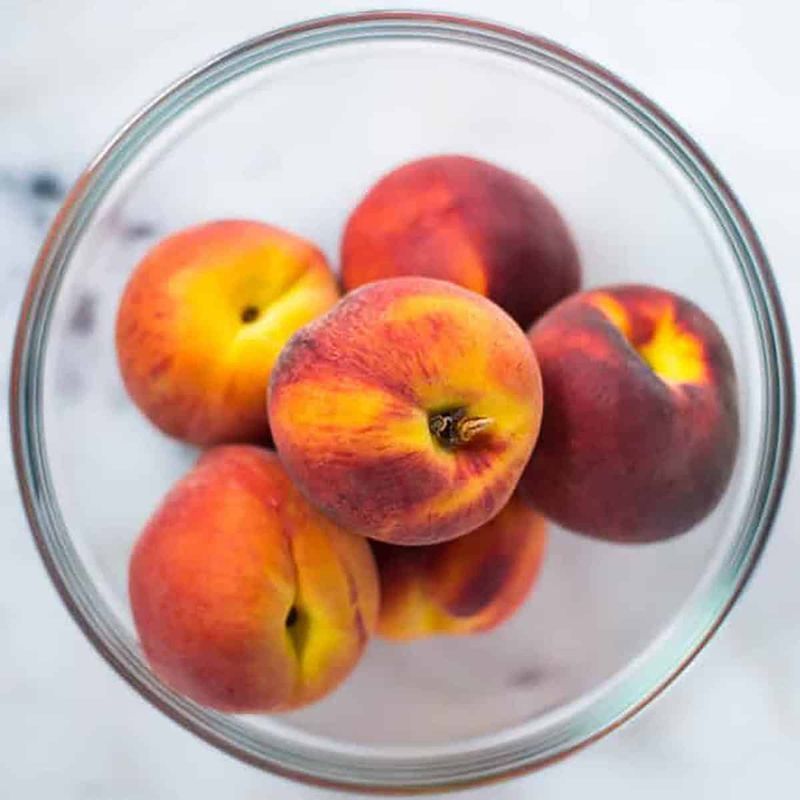
10. Freeze Fruit At Peak Ripeness

Timing is everything! Capture fruits at their perfect ripeness – sweet, aromatic, and slightly yielding to gentle pressure. Under-ripe fruits lack flavor and never develop proper sweetness after freezing. Over-ripe specimens turn to mush during the freezing process.
The exception? Bananas destined for smoothies or baking actually freeze best when heavily speckled with brown spots. Their starches convert to sugars at this stage, creating sweeter results.
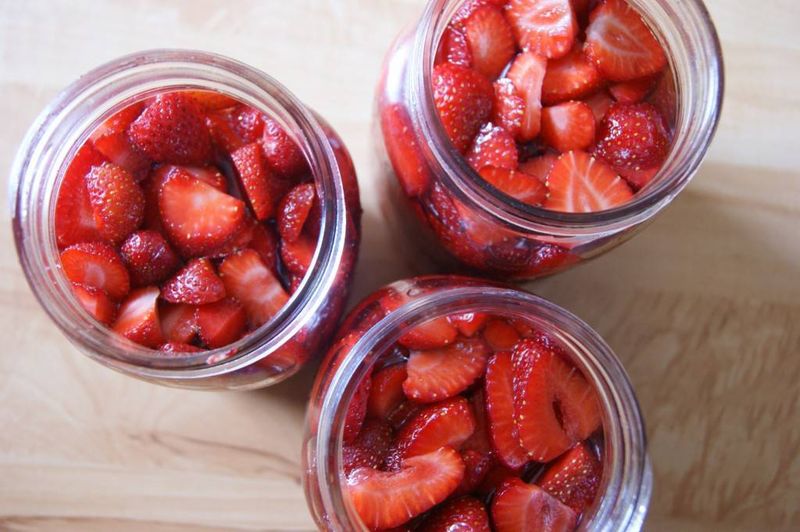
11. Blend Now, Freeze Finished Products
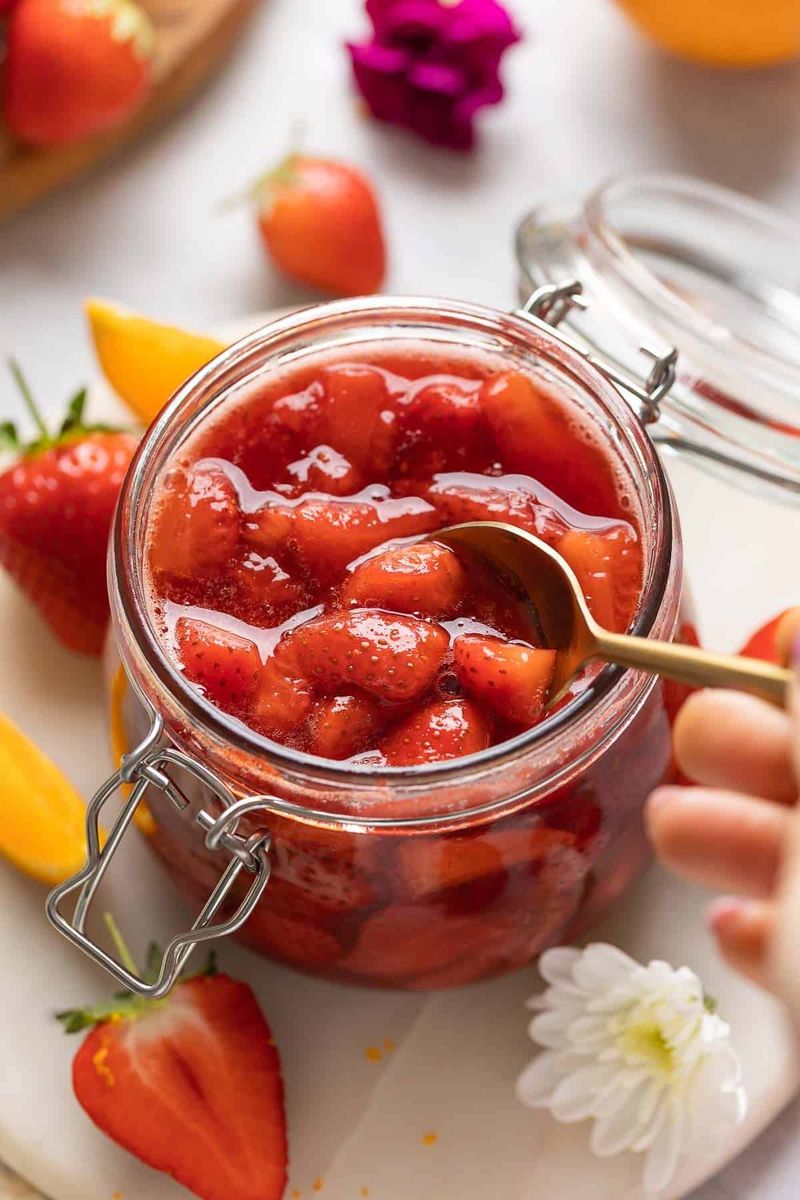
Skip the middleman! Transform your fruit abundance directly into finished products before freezing. Whip up batches of strawberry sauce, blueberry compote, or peach butter while fruits are at their peak.
These concentrated fruit products freeze beautifully in wide-mouth mason jars (leave 1-inch headspace for expansion) or in flattened zip-top bags that stack like books. The cooking process already breaks down cell walls, so you’ll avoid the texture changes that plague frozen raw fruit.
12. Flash-Freeze Grapes For Healthy Snacking
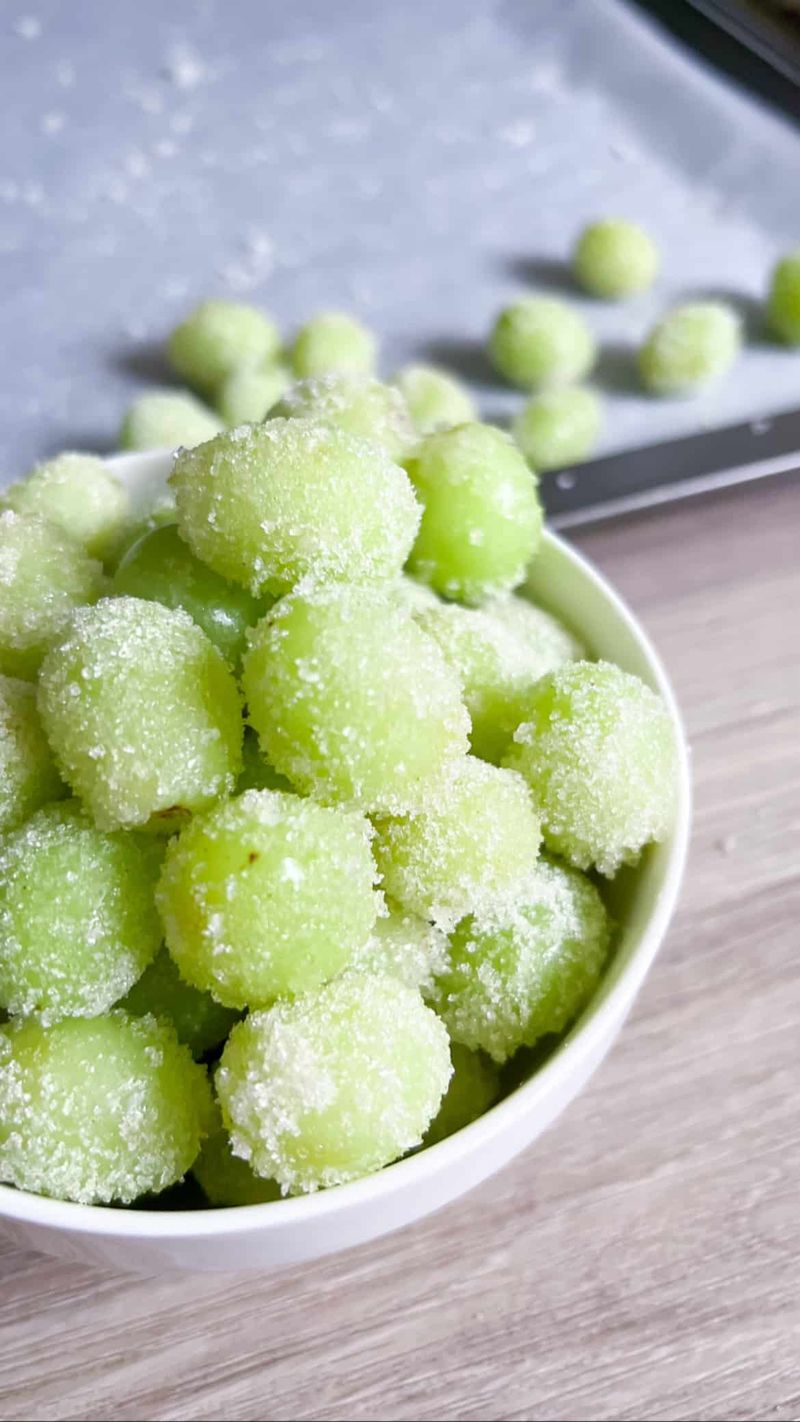
Nature’s candy gets even better! Wash seedless grapes, pat completely dry, and arrange on a baking sheet for flash-freezing. Once solid, transfer to containers and keep frozen until snack time.
Frozen grapes transform into mini sorbet bites with concentrated sweetness and satisfying crunch. Red and black varieties offer the most intense flavor when frozen, though green grapes develop a pleasing tartness that kids love.
13. Puree And Freeze Overripe Fruits
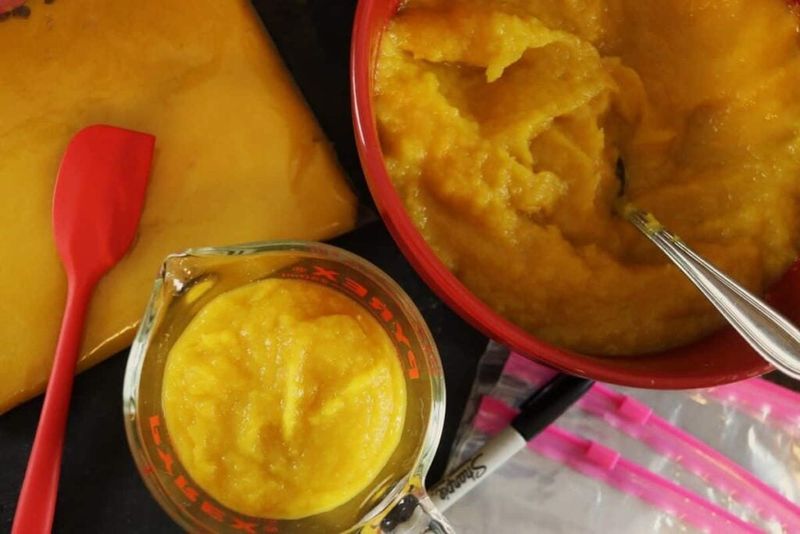
Spotted bananas and mushy peaches deserve second chances! Blend overripe fruits into smooth purees before freezing in measured portions. Those too-soft specimens make perfect smoothie starters, baking ingredients, or baby food.
For accuracy, freeze purees in 1/4-cup or 1/2-cup portions – common recipe measurements that eliminate guesswork later. Silicone muffin tins or measured ice cube trays work perfectly for this purpose.
14. Dry-Pack Method For Whole Berries
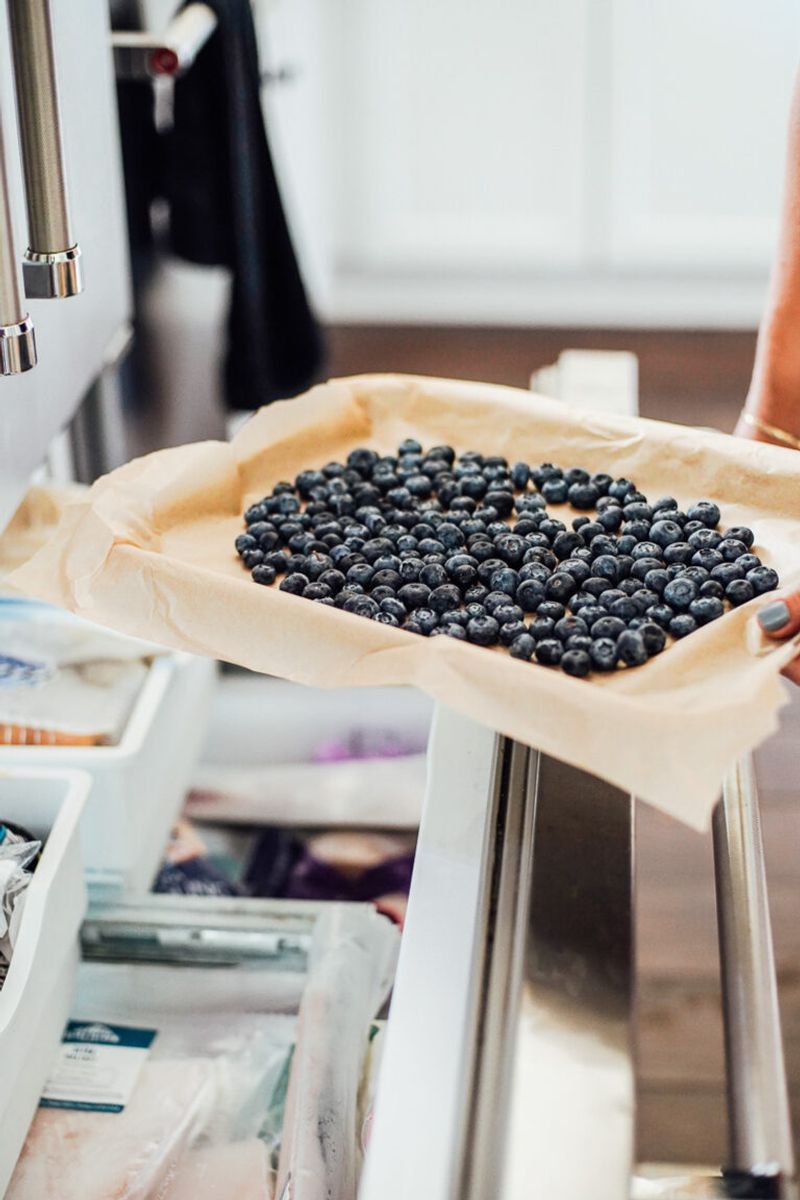
Blueberries keep their perfect round shape with the dry-pack method! After washing and thoroughly drying small berries, freeze them without any additional liquid or sugar. This technique preserves their natural flavor profile without added sweetness.
The key lies in the initial flash-freezing on trays before transferring to containers. Completely dry berries develop fewer ice crystals, maintaining better texture when thawed.
15. Freeze Fruit In Recipe-Ready Combinations
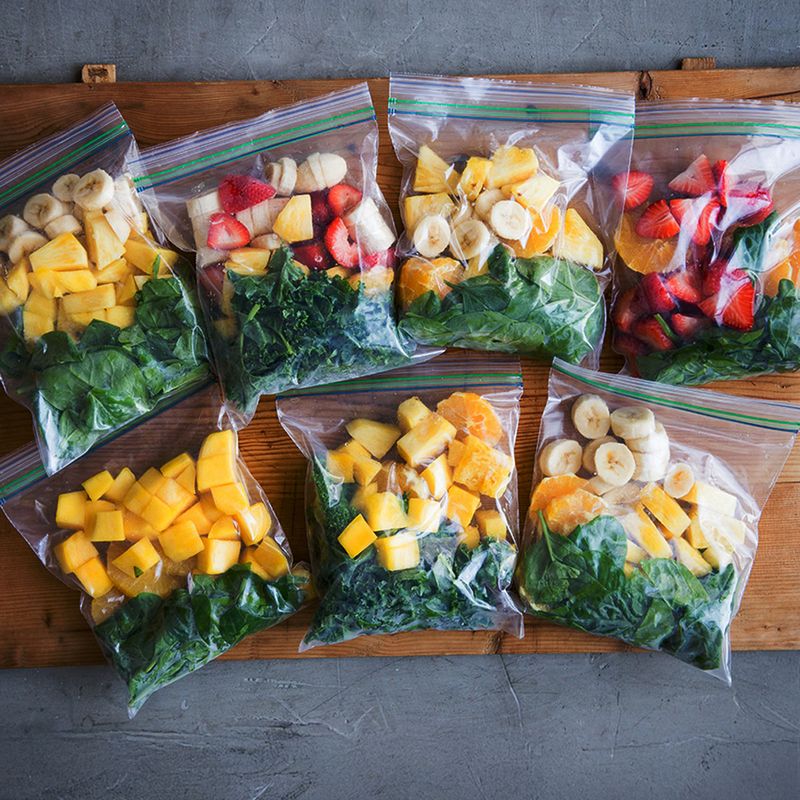
Smoothie packets transform morning routines! Combine fruits in your favorite recipe proportions before freezing in single-serving bags. A typical blend might include half a banana, 1/4 cup strawberries, and 1/4 cup blueberries – ready to dump directly into the blender.
Pie filling packets work the same way – measure exact amounts needed for your favorite recipes, add appropriate spices, then freeze flat in labeled bags. Apple-cinnamon, peach-nutmeg, or mixed berry combinations await your future baking inspiration.
16. Use Rigid Containers For Delicate Fruits
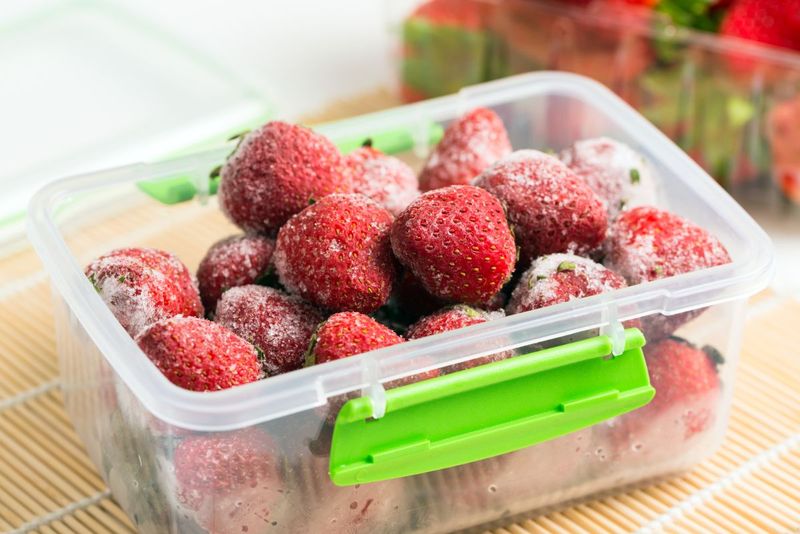
Squashed raspberries make sad smoothies! Protect delicate fruits by freezing them in rigid containers rather than bags. Plastic or glass containers prevent crushing during the inevitable freezer rearrangement sessions.
Leave about 1/2 inch of headspace in each container to allow for expansion during freezing. This prevents the frustrating lid pop-off that spills precious berries throughout your freezer.
17. Freeze Citrus Zest And Juice Separately
Summer lemons and limes deliver sunshine year-round! Zest citrus fruits before juicing, then freeze both components separately. Zest freezes beautifully in small containers or ice cube trays with a bit of water.
For juices, ice cube trays create perfect 2-tablespoon portions that easily substitute for fresh in recipes. Larger portions work well in small mason jars – just leave headspace for expansion.
18. Label Everything
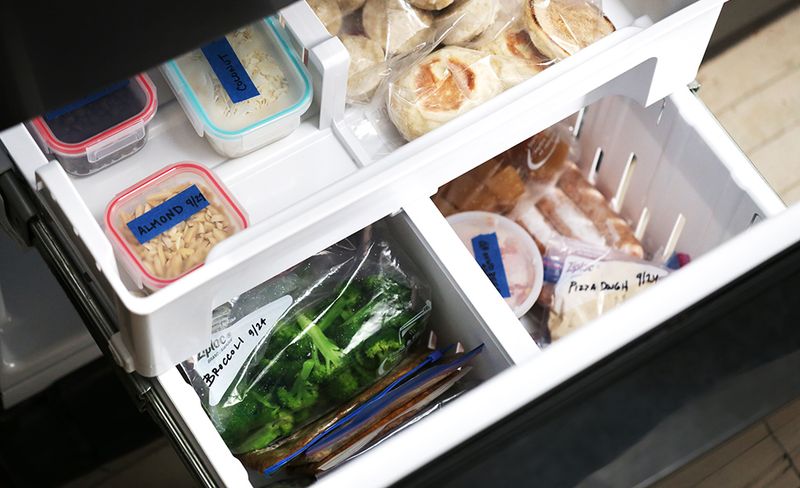
Mystery freezer packages lead to kitchen disappointment! Label all frozen fruit containers with contents, quantity, date, and any added ingredients. “Strawberries, 2 cups, sugar-packed, 7/15/23” tells your future self everything needed to use this treasure appropriately.
Freezer tape and permanent markers create labels that withstand freezer conditions. For extra organization, color-code by fruit type or intended use (smoothies, baking, snacking).
19. Roast Fruits Before Freezing For Intensity
Flavor bombs await! Roast fruits like peaches, plums, and strawberries before freezing to concentrate their sweetness and create ready-to-use flavor powerhouses. Toss cut fruits with a tiny bit of sugar, arrange on baking sheets, and roast at 375°F until caramelized but still juicy.
This pre-freezing step intensifies natural sugars while driving off excess moisture. The result? Frozen fruit with deeper flavor and better texture than raw-frozen counterparts.